Lens Whacking 101: How to Create Interesting In-Camera Effects by Detaching Your Lens
Distance makes the heart grow fonder—and the camera effects cooler. Learn what happens to your images when you detach your lens from your camera.
Most filmmakers, even those who are new to the craft, know how to capture a lens flare. You point your camera toward the general vicinity of a bright light source, allowing it to pour into the front element of your lens, reflect, and scatter until it washes out or displays a flare artifact in your image. Boom! You're done! But did you know you can do this with the rear element as well?
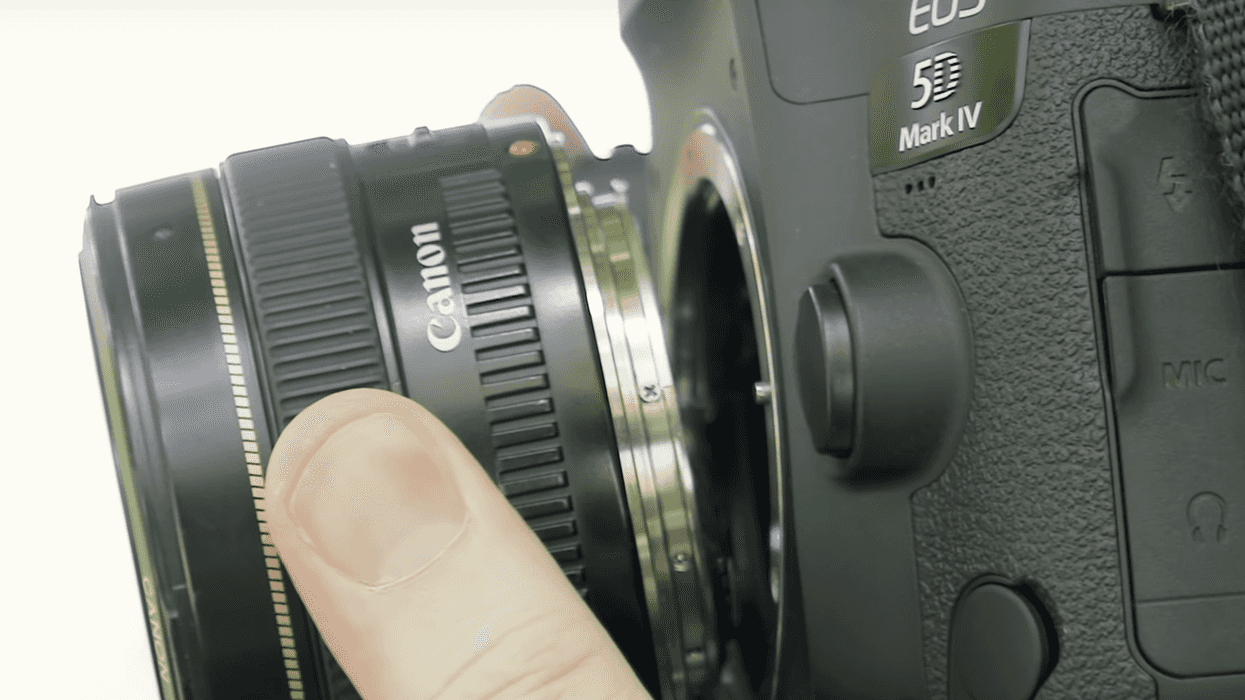
In this video, David Bergman of Adorama goes over a technique called "freelensing" or "lens whacking," in which you shoot through your detached lens in order to produce some gorgeous lens flares, light leaks, and tilt-shift focus effects. Check it out below:
Now, before you run off and try this technique, understand that yes, detaching your lens exposes your sensor to any dust, debris, and moisture that is in the air, which can cause some serious damage. So, doing this on a windy beach or in a rainstorm probably isn't the best idea. Also, try not to make a day of it—limit the amount of time your sensor is exposed, because the longer it is, the more time the elements have to find its way onto it. If you're still not thrilled about the idea of leaving your lens unprotected, Riley Hooper from The Vimeo Blog shared filmmaker and lens whacking extraordinaire James Miller's technique for doing so. Just "[cut] a piece of optical quality polyester film like Melinex, or ND filter film, and [fit] it into the lens mount hole under the outside ring and above the contact pins."
Once you take some necessary precautions, lens whacking is really just a fun way to experiment with the artifacts that occur when light hits your sensor from many different angles. It takes a little finesse and practice, namely how to tilt the lens and move it closer and further from your camera body to get the desired effect, but you'll eventually be able to capture some beautiful, dreamlike scenes with interesting tilt-shift effects and flares.
What are some helpful lens whacking tips? Share yours down in the comments.
Source: Adorama