5 Essential Cuts You Should Master as a Film Editor
As an editor, if you want to make the cut, then you've got to know your cuts.
Editing is an arduous, time-consuming, and complicated craft that challenges both hemispheres of your brain as well as your assertion that, yes, filmmaking and editing is something you want to do for the rest of your life. (Pretty sure I've wanted to quit after almost every project I've ever edited.) However, one thing that makes the process a little easier and go a little more smoothly is knowing your editorial tools like the back of your hand, namely the types of cuts that you'll use most often in your work. The team over at Filmora breaks down five of them in the video below, offering explanations of what they are, what they do, and how to use them when you head into post.
Now, before we get into all the fancy schmancy cuts (they're really not that fancy), I think it's important to first establish what a standard cut is and how it functions. For most of you, I know, this is like the first day of Remedial Editing for First-Time Beginners 101, but stay with me.
A standard cut is simply cutting from one clip to another. That's it. There aren't any transitions or cool visual tricks. It's literally: Clip A plays, ends, and then is followed by the beginning of Clip B. So, why are these cuts important to talk about? Well, because they'll most likely make up 90% of all of your edits, and knowing how to use them correctly is integral to becoming a better, more professional editor.
However, once you get the hang of using standard cuts, these five techniques will help you enhance your story, allowing you to soften all of those rough edges and give your edit a more polished, visually appealing look. Let's quickly go through each of them:
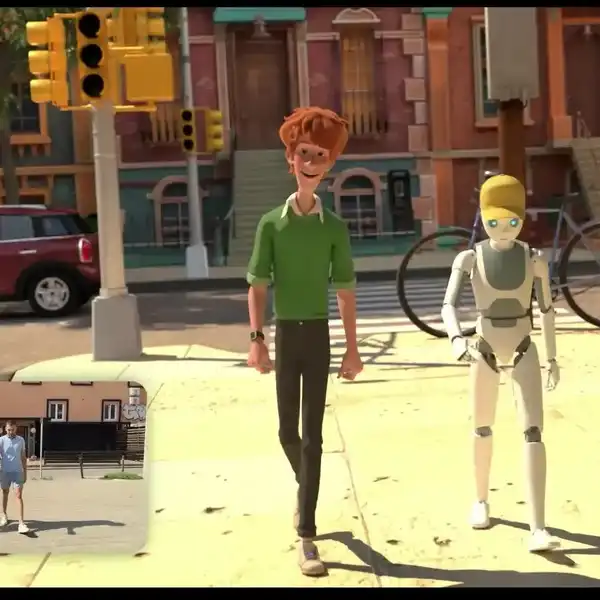
- Match cut: This technique is not only quite artistic but it's also a great way to transition from one scene to another. This is because it uses a similar object, shape, color, or any other element within the frame to bridge two shots. You can also use a similar action or camera movement. Here's a good example: The scene in Kubrick's 2001: A Space Odyssey when the ape throws the bone in the air and the next shot is of a space station that has a similar shape, color, and screen positioning.
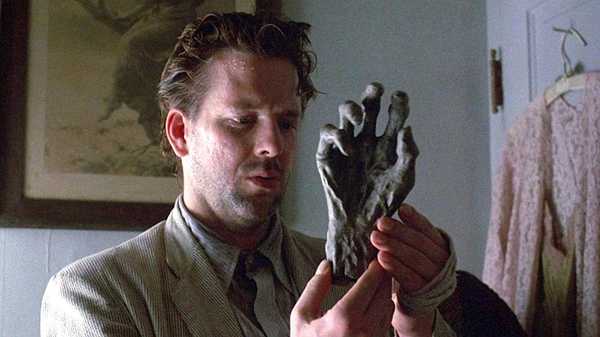
- Jump cut: These cuts allow you to abruptly jump forward (or backward) in time, resulting in, many times, a sense of confusion, heightened emotions, disorientation, inebriation, and frenzied thinking. My favorite example of a jump cut comes from the title sequence of American Splendor.
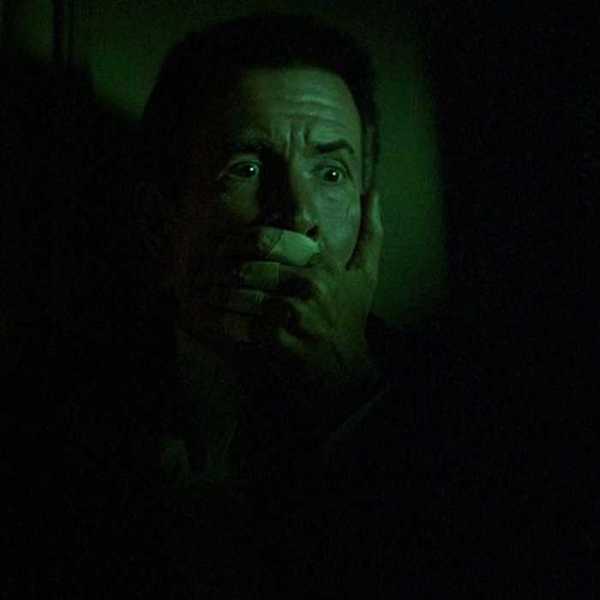
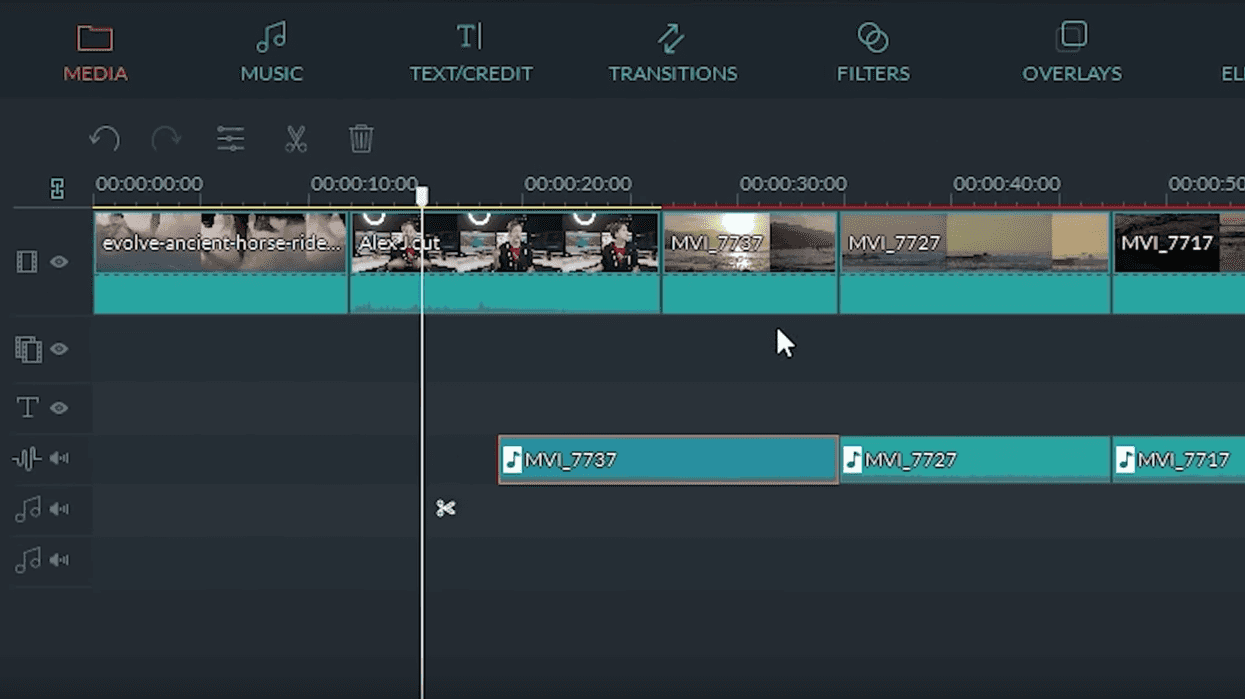
- J cut and L cut: These techniques serve as excellent and very stealthy transitions from one scene to another, but they come in handy during dialogue scenes as well.
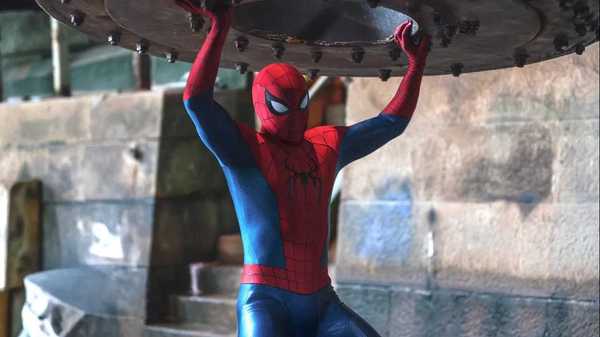
- Cutting on action: If you want to avoid clunky, robotic, and just downright horrible on-screen action (regardless of how large or small it is), learning how to "cut on action" is an absolute necessity. Skilled editors will know how to take the action captured in multiple shots, whether it's a character punching someone in the face or getting out of a chair, and cut them together to make the action seem fluid.
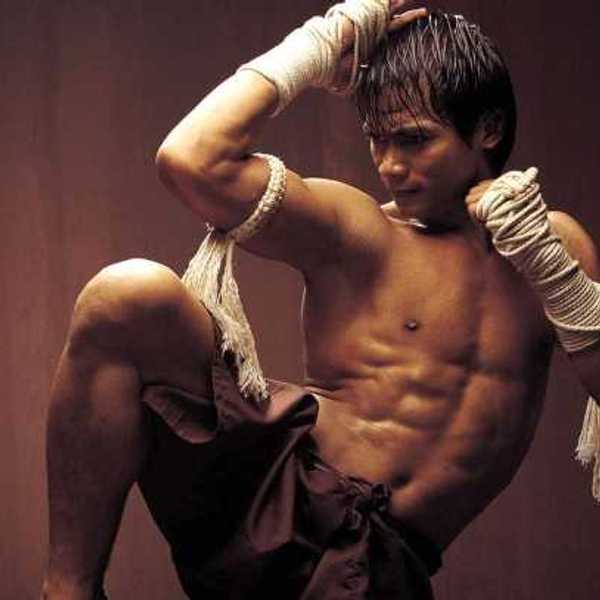
- Montage: The 80s might've overdone it with the training montages, but this technique is essential if you want to quickly show the progression of something that in reality takes an extended period of time, whether it's your protagonist's fitness (Damn you, 80s!), their complete fashion makeover, renovating their house, or literally any other big task or accomplishment.
These are certainly not the only techniques worth learning about, but they'll definitely give you a good start (and keep you busy). What are some other important editing techniques that new editors should learn? Let us know down in the comments.
Source: Filmora