The sound on your productions is one simple thing that can easily make a project seem really polished and expensive, or cheap and poorly produced. Even if you're not an audio expert, there are some basic tools available in Adobe Premiere Pro that can help you perfect your sound in post.
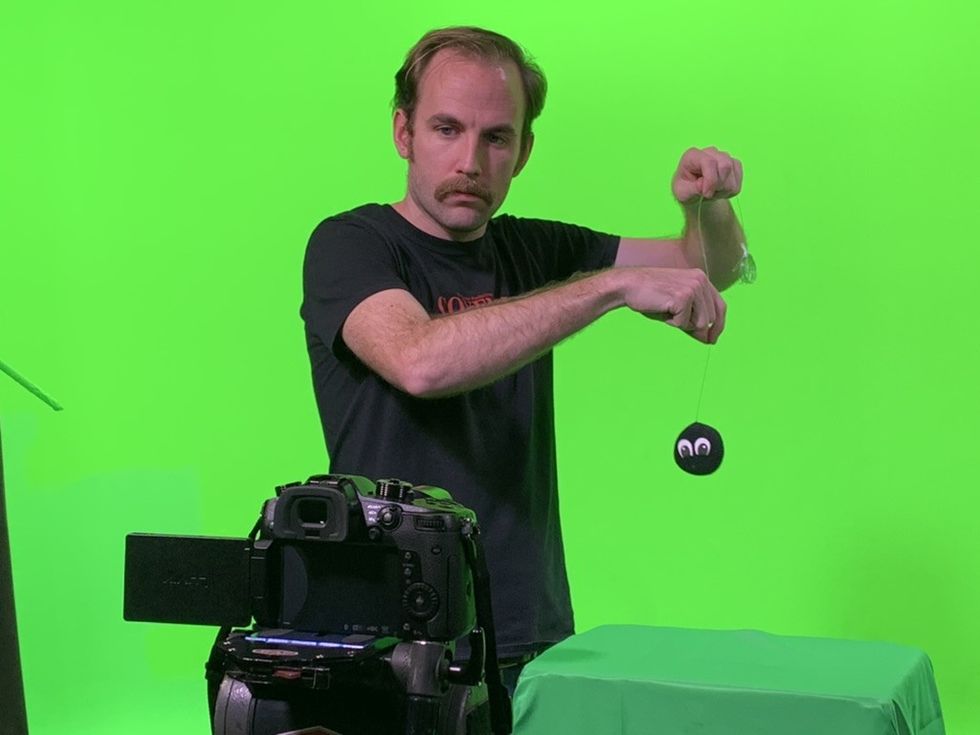
SonduckFilm takes a look at five simple, easy audio effects to use during post-production on videos being edited in Adobe Premiere.
Watch their video below.
1. DeNoise
DeNoise is a super basic tool that most editors will know already.
It can be really difficult in imperfect locations to get totally clean sound. Using the DeNoise tool, you can get rid of fuzzy background noise in your shots. The tool has options for "heavy" or "light" noise reduction.
The heavy noise reduction can lead to audio distortion, so use your best judgment with the level of reduction you choose.
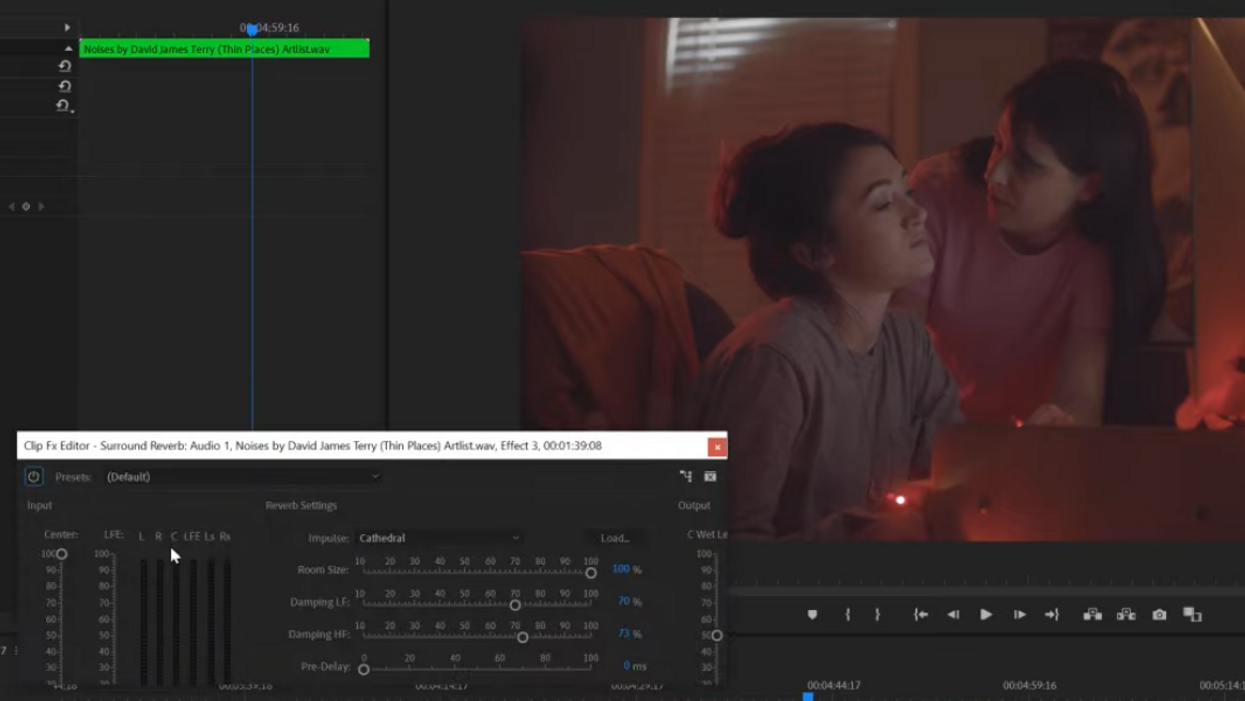
2. Surround Reverb
As the video points out, Surround Reverb is a great tool for blending effects and music, so any sound you're adding in post matches the ambiance of the scene.
If, for example, you want to have two characters listen to music in a scene, and you're adding the music in post, you don't want that music to sound as if it's just laid over the video.
By using the tool called Surround Reverb, you can choose how you'd like that music to sound. Options include settings for locations like "deep well," "theater," or "small room."
 Credit: SonduckFilm
3. Balance
The Balance tool can come in handy if you would like your clips to have more of a stereo sound. Stereo just means the creation of the illusion that sound is coming from multiple directions.
Using balance, you can change the "direction" of your sound by having it favor the right or left side of a speaker system.
You can use this to give the effect of a voice coming from just direction, for example, instead of head-on at the viewer.
 Credit: SonduckFilm
4. Mastering
If you want to easily adjust the audio for a clip, SonduckFilm says the Mastering tool is the one for you.
The Mastering tool gives you an option for output gain. Output gain refers to a volume level before processing. Basically, it's a tool that can be used to increase or decrease the ceiling of your sound. So if you have a loud clip you don't want going over -6dB, set output gain to -6dB, and that will put a limiter on your sound.
If you want the freedom to make your clips louder, like in this tutorial video, push the output gain all the way to 15dB. Then you can adjust the volume of your clip on the clip itself.
Reminder! You don't want your audio to be too loud. Watch your levels and make sure they aren't too far into the orange or red.
5. Lowpass
This is a simple stylistic effect that can be used to muffle sound on a clip.
SonduckFilm says this is great for adding emotion to a moment by making all sound outside a character's head seem distant or muted. Maybe the character has just suffered a blow or an explosion, and voices are muffled until the character regains their hearing.
It could also be used to suggest music playing from a distance, or voices inside a building or another room.
What's next? Check out more tips for working with sound.
Here's how you can get great sound while you're still on set, and we've got even more advice for working on sound in Adobe Premiere. Also check out some easy plugins to use on your post-production sound.
What are some of your go-to fixes for working with sound in post? Let us know in the comments!
Source: SonduckFilm