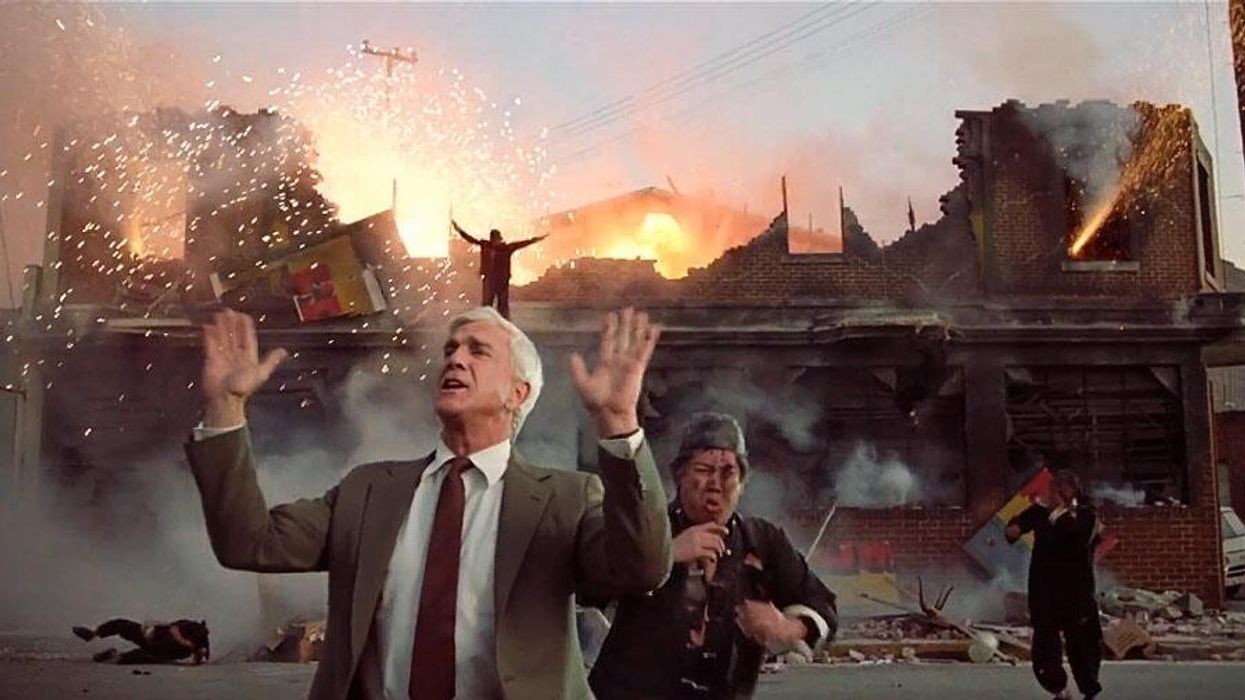
Maybe you're a YouTube vlogger or a Twitch streamer wanting to key out your background. Maybe you're shooting a film, and you need to change the view out a window or composite in some driving footage for a car scene.
These are just a few of the ways you can use a green screen professionally, but unless you know what you're doing, you might run into some problems. Lighting and camera settings can be especially tricky.
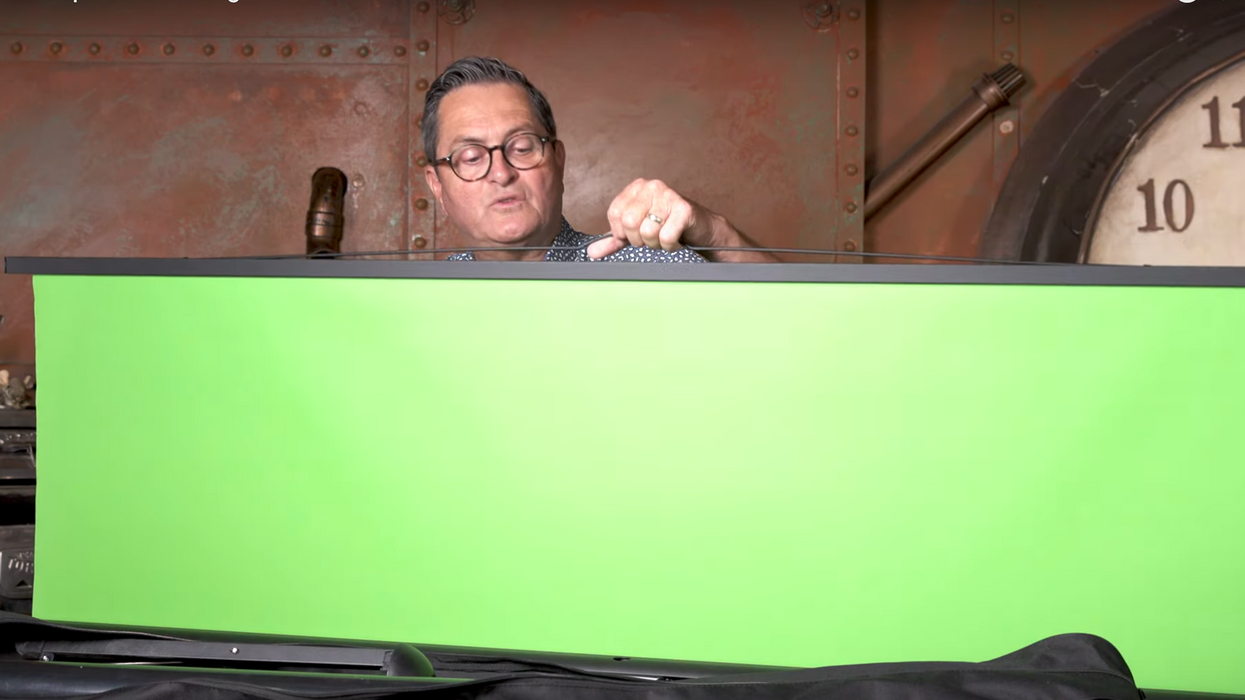
The Slanted Lens has put together a six simple tips for shooting with portable green screens. They're specifically looking at the Valera Creator 95 and the Valera Explorer 90.
Watch their video below.
1. Don't over-light the green screen
The Valera green screens have a ChromaBoost wrinkle-resistant screen, which they claim will allow you to achieve a great chroma key even in low light.
But in general, if you put too much light on a green screen, you risk getting a lot of reflected green that will show up in your talent's hair and skin. It can be torture to fix in post.

2. Use the green screen in the context of your background or scene
What this means is that you should set up the scene and the subject first, then place the green screen within that setting. You are lighting the subject so they match the background you want to place them in, not lighting them for the green screen.
3. Use minimal light to reduce shadows on the green screen
The video says you should use a "kiss of light" on the screen, just to get an even finish and reduce shadows.
If you do this simple step, you will get a clean enough outline that will allow you to work with the footage in post.

4. Match the subject's lighting with their background
This is another big reason for lighting the subject first. You need to keep in mind where the subject will "appear" when you replace the background. Are you editing them into a sunny day at the beach? What direction will the light be coming from? How hard is that light? How deep are the shadows?
If you're in a studio, your lighting setup will need to match the conditions of the scene you're trying to achieve. One easy way to do this is --
5. Take your green screen on location
Since these Valera screens are portable, you have the option to simply go outside and set up your shot within the lighting you're trying to match.
For the scenes in this video, the subject was acting against himself. He was able to shoot outdoors, in the same setting, for both parts. Keep in mind that you still need to be aware of light and shadows so that both subjects can appear to be standing together at the same time.

6. Match the motion of light with the background
If you're shooting in a studio setting and want to create some dynamism, consider using light to tie together your foreground (subject) and background (green screened footage).
The video suggests using a light to simulate a passing car or traffic signal. These kinds of simple effects can add to the illusion of your scene.
What's next? We've got more tips for working with green screens
Although the concept of using a green screen is easy, everyone can hit the occasional snag. Here are ten more tips for green screening like a pro, four things you should know about lighting a green screen, and five secrets for a great chroma key.
You can also enjoy these viral Russian green screen videos.
What are some of your go-to fixes for working with green screens? Let us know in the comments!
Source: The Slanted Lens