Watch: Color Grading Your Short Film in DaVinci Resolve
Quick tips and golden rules for color freshmen.
In low-budget filmmaking, there are two major hurdles in attaining the ever-elusive status of “high production value.” Namely, sound and color. If your sound lacks clarity and particularly if your color lacks depth, then your film lacks luster and falls short of that “professional” sheen.
SonduckFilm recently posted a solidly economic primer on color grading short films using DaVinci Resolve. Joshua Noel speeds through the basics and renders what might feel like complex software to beginners as accessible and intuitive...which is really helpful considering that more often than not it’s shorts and smaller, non-institutionally financed projects that require more nuanced, high-end love in post.
Noel breaks the process down into simple steps.
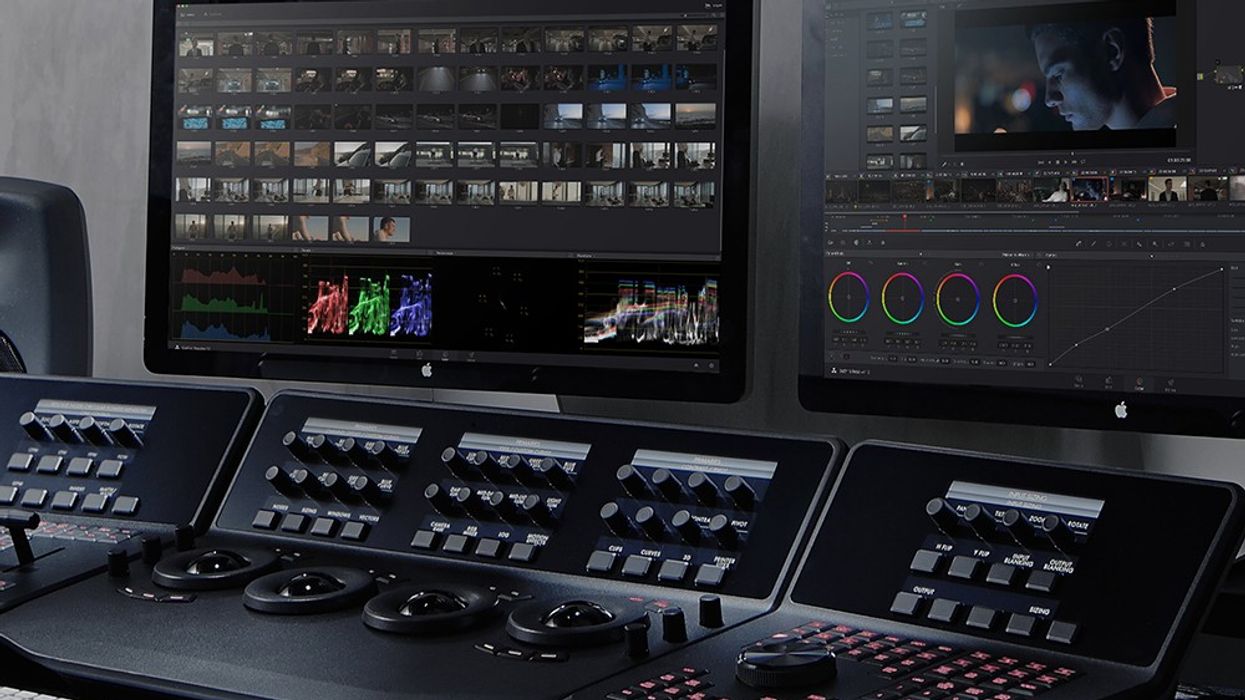
First: nodes, Resolve’s equivalent of layers. He designates a different color adjustment to each node: Contrast, Exposure, Color Balance and Blacks. These are, undoubtedly, foundational tools for the armchair colorist. The tutorial strikes a casual balance in exemplifying each adjustment without venturing too far into the weeds.
After some basic correction, Noel moves onto grading and this is where this brisk tutorial dabbles in some advanced functionality. He runs down layer nodes and Resolve’s quick ability to isolate and adjust skintones using the qualifier, saturation, and gamma windows. He then finishes out with an overview of using curves to maintain the integrity of blacks and whites.
Throughout, Noel is insistent on one binding precept: Color For Skintones. And while that’s a given for career colorists, it can be a fool’s gambit for rebels without a crew.
Luckily for those rebels, there are tutorials...
Source: Sonduck Film


