The DJI Mini 2 is the upgrade creators have been waiting for. The Mini was launched in October 2019, and notably, the consumer drone weighed only 249 grams, which is significant because it allows users to fly the drone without needing to register with the Federal Aviation Administration (FAA) as it falls below the weight of what's considered to be a commercial drone (250 grams). It featured 12MP stills, 2.7K at 30/25/24p video, bottom sensors for easy landing, and pre-programmed "QuickShots" for capturing cinematic quality footage.
Even with its stacked features for a drone of its size, people were left wondering why there wasn't a 4K video option.
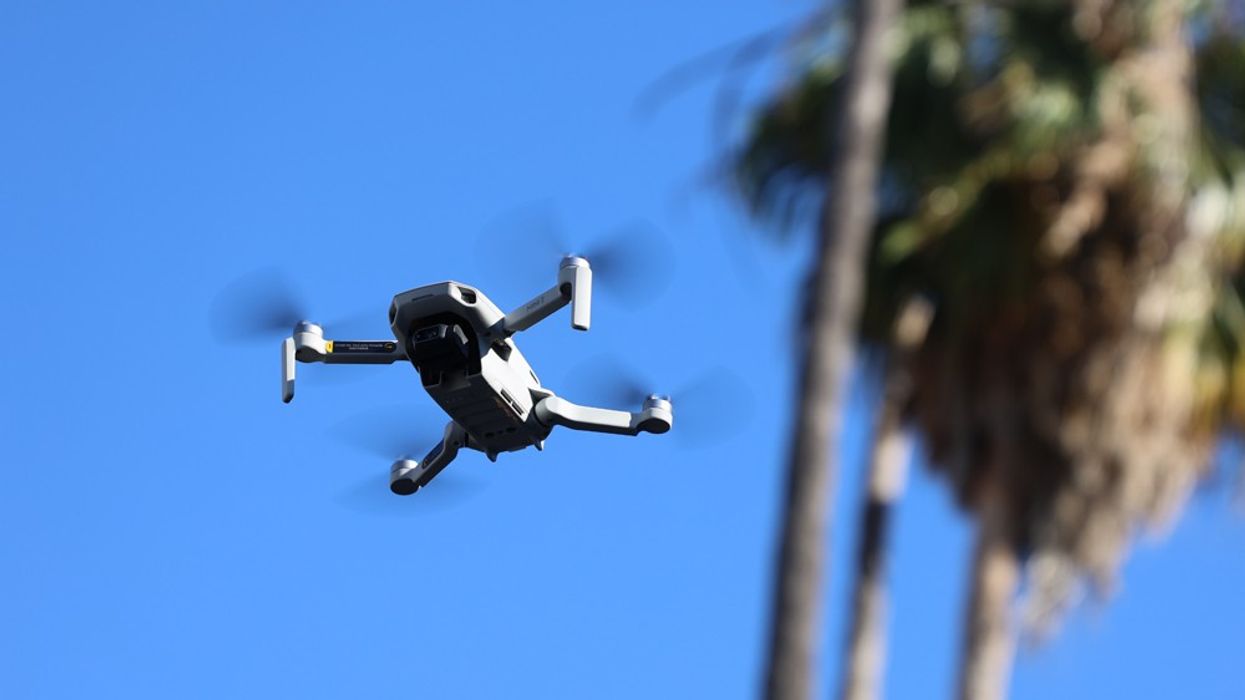
The Mini 2 changes all that and then some, as it packs in a 1/2.3 inch sensor, 4K video, Ocusync 2.0, and more robust motors for longer flight times, all while still weighing under 249 grams.
No Film School was provided with the Mini 2 for review directly from DJI, but as with all of our reviews, the company does not see it before publishing, nor does it affect how we review products.
Let's dive in.
Compact Size
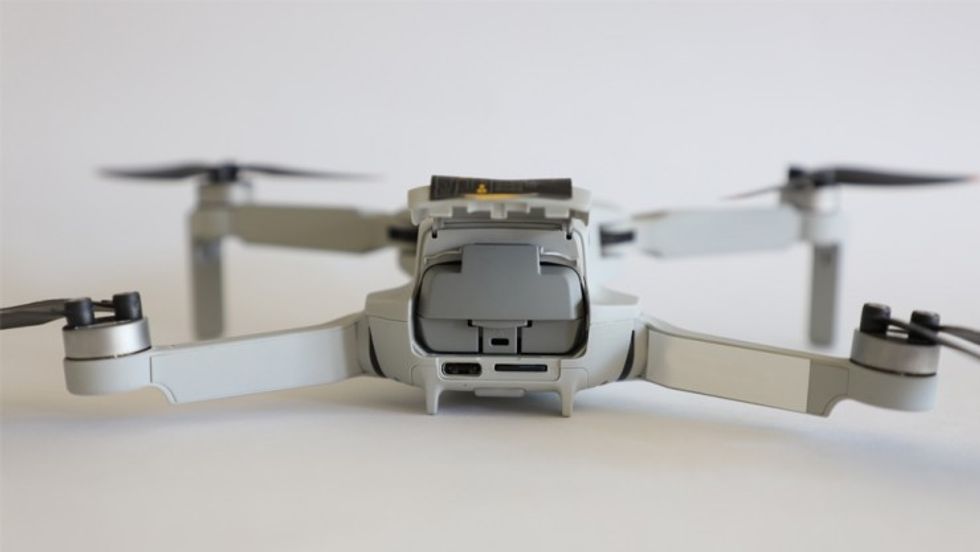
For those familiar with the Mini, the Mini 2 is essentially the same form factor and sports a similar grayish color found on the Mini and Mavic Air 2. The arms and propellers unfold/fold similarly as well, allowing the Mini 2 to be compact enough to fit in the front pocket of a hoodie. The battery is inserted in the rear of the unit which is directly above the microSD card and USB-C connector. The USB-C port allows you to charge the drone directly without needing the optional two-way charging hub.
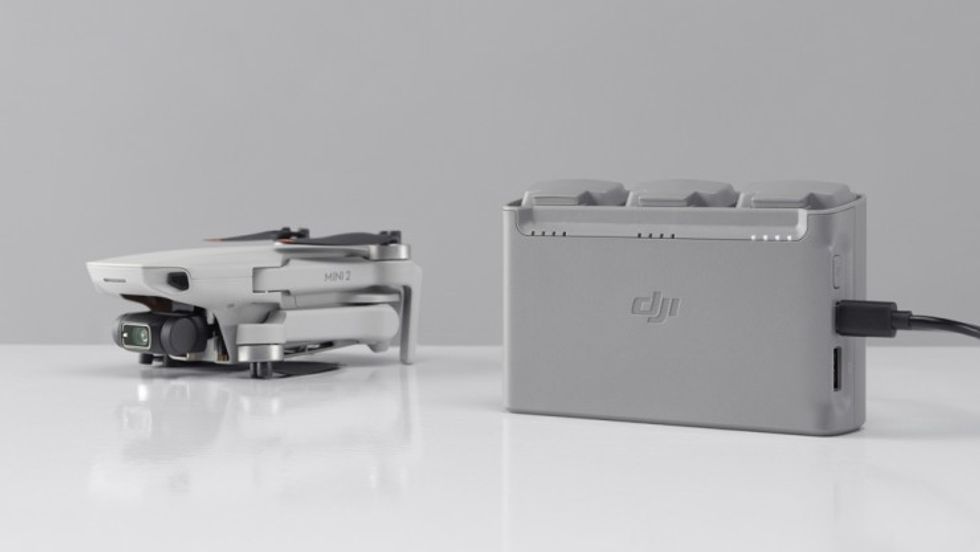
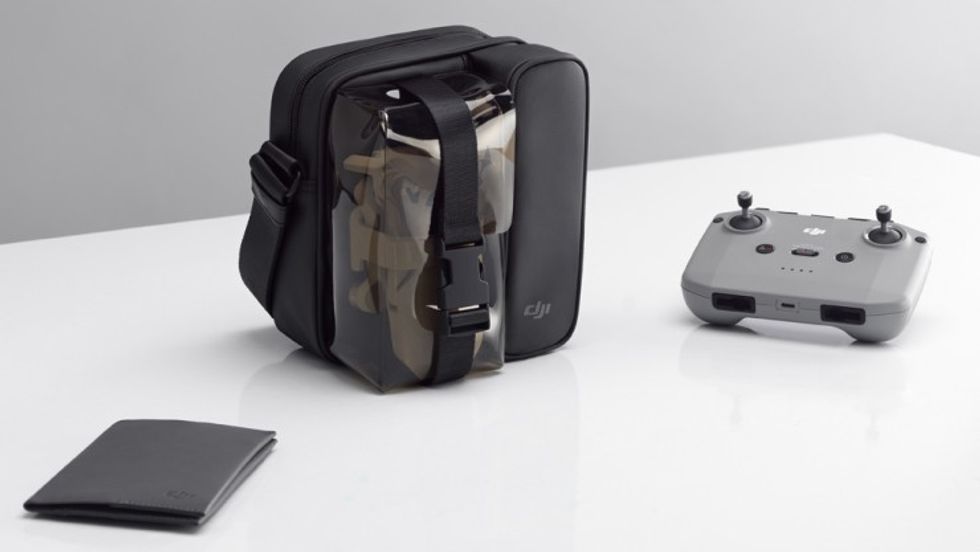
However, we do recommend getting DJI Fly More Combo, which includes the charging hub, three batteries, a remote control, and a carrying case. The hub can charge up to three lithium-ion batteries without needing to change them out. Plugging in the hub, it will fully charge one battery before moving on to the next. After the battery is charged, four white LEDs will stay illuminated.
We found that a low battery with one white illuminated LED takes under two hours to charge. Having the hub was very convenient, and even with the increased flight time, you can go through batteries fairly quickly. The hub also has a USB output where it can supply power to small devices.
In terms of charge time, we found a negligible difference between charging with the hub or when charging directly through the Mini 2. Alternatively, if you don't have the power 9V DJI power adapter, you can connect the USB-C into a laptop to charge or use the Apple iPhone 5V power adapter, but keep in mind, the 5V Apple cube will increase the charge time.
If you have the original Mini, the batteries can fit into the Mini 2, but the Mini 2 batteries won't fit into the Mini. That said, you should not use the original Mini batteries with the Mini 2. The Mini 2 requires a tad more voltage to fly, and the Mini batteries come up short. If you do use the Mini batteries, it can cause the Mini 2 to malfunction.
Remote, Longer Flight Times
The Mini 2 uses the same style of remote as the Mavic Air 2. It has a gimbal control knob for tilt on the left-hand side, a button to start recording on the right, an Fn button on the front, and a quick button to switch between camera and still modes. The left control stick operates up/down and rotation of the drone, while the right control stick operates the direction (left/right forward/back).
While some complained about the bulkiness of the remote, we actually like it, especially for those with larger hands. If DJI does trim it back in the next generation, hopefully it doesn't suffer from additional battery drain. We'd much rather have a longer-lasting battery than a smaller remote. Obviously, having the best of both worlds is ideal, but...
To pair the Mini 2 with the remote, you'll first need to download the DJI Fly app and create a profile. After signing into the app, connect the smartphone to the USB cord on the remote and place your phone in the spring-loaded holder. Depending on the type of phone you have, you may need to swap out the USB cord on the remote. It's also best to unlock the vertical display screen of your phone.
DJI supplies options for micro USB, USB-C, and an Apple lightning connector.
Before powering up the drone, be sure to remove the protective cover from the camera, which allows the gimbal to move freely during flight. The power button can be found underneath the Mini 2, and it does two things:
- Quick press: displays how much battery is left
- Quick press, then a second press and hold: powers up the drone
It may take you a few times to perfect the power-up sequence, but as long as you hear the Mini 2 chime and the rear light is blinking, you're good to go. Once the drone is on, power up the remote by using the same quick press/second press and hold method. The remote will display how much battery is left with a quick press.
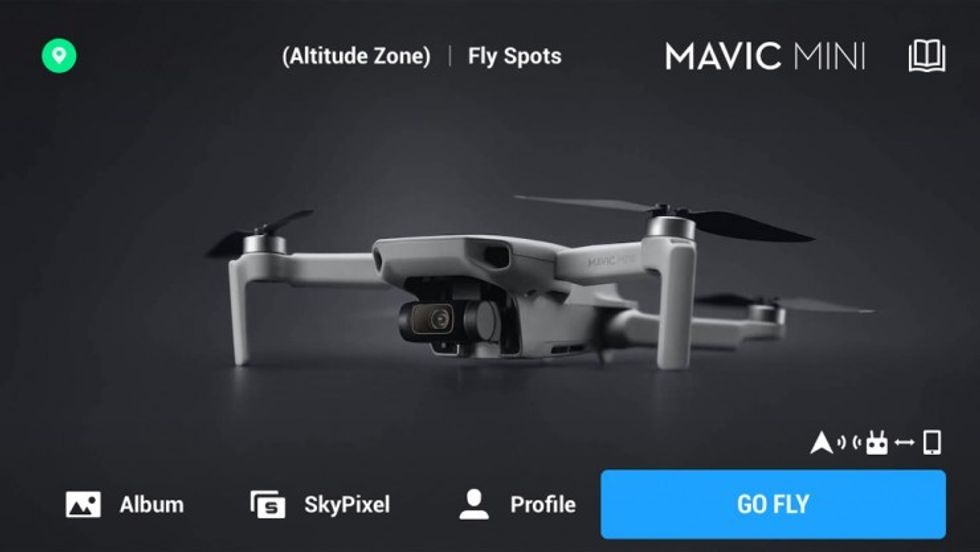
After everything is powered on, you'll be able to connect to the Mini 2 by pressing the Go Fly button in the app. If you have yet to fly a drone, it's a good idea to watch the tutorial in the DJI app and perform a pre-flight check before taking off.
We can't stress enough to always be a responsible pilot when flying a drone. Even though you do not need to register the Mini 2, do not ignore local and state laws.
By ignoring them, you're affecting a much larger community that's bigger than you and includes hobbyists that have been flying unmanned crafts well before DJI ever came into the picture. So don't be an asshole. Follow the rules and be respectful.

When you do start flying, the drone can be operated in three different modes: Sport, Normal, and Cine.
- Sport: Maximizes the speed of the drone and the sensitivity of the remote control sticks. Even with a light touch, the Mini 2 will respond. The mode is ideal for fast action. It has roughly a 13 m/s flight speed, 4 m/s ascent speed, and 3 m/s descent speed.
- Normal: Best for most situations. If you're starting out, operate in this mode or even Cine to get the hang of it.
- Cine: It's the slowest operating mode. Good for when you want to create cinematic looking shots. Speeds are slowed down to roughly 4 m/s flight speed, m/s 1.5 ascent, and m/s 1 descent.
While operating in Sport mode, we continually flew the drone and recorded video and the low battery warning light kicked on at 20% about 24 minutes into flying. Normal mode gave us approximately 30 minutes of flight time. Depending on the video mode (4K, 2.7K, 1080p) your runtime may vary.
Comfortably, you're looking at around 25 minutes of flight time outside of Sport mode. It can seem like a fast 25 minutes, and that's why we suggest getting multiple batteries.
While on the topic of the remote, the Fly More Combo does come with an AC adapter and a single USB-C cable, but it would be cool if DJI supplied a second USB-C cable. This way you can not only charge the batteries, but you could also charge the remote through the USB output on the charging hub or use another adapter.
Video & Stills
Video
The Mini 2 upgrades to 4K using what appears to be the same sensor as the Mini. To record 4K, 2.7K, or select any of the QuickShot modes, you will need to use a microSD card. 4K UHD is recorded at a max bit rate of 100Mbps in H.264. There is no Log options in video.
- 4K UHD, 2x lossy zoom
- 2.7K, 3x lossy zoom
- 1080p 4x zoom, 2x lossless zoom, 2x lossy zoom
QuickShots
Carried over from other drones, Mini 2 also has pre-programmed image capture modes.
- Dronie: Flies backward and upward, tracking your subject. Set a height limit of 40, 60, 80, 100, or 120ft
- Helix: Flies upward and away, spiraling around your subject. Set a height limit of 40, 60, 80, 100, or 120ft
- Rocket: Flies straight up into the air with the camera pointing downward following your subject. Set a height limit of 40, 60, 80, 100, or 120ft
- Circle: Circles around your subject at a constant altitude and distance
- Boomerang: Flies a boomerang-like oval flight path around your subject, starting and stopping video in the same place
 Mini 2 JPEG, F2.8, 1/2500, ISO 100
Stills
The Mini 2 can capture both 12MP JPEG or JPEG + RAW (DNG) images and offers different shooting modes, including three panoramic modes.
- Panoramas
- Sphere: Captures 26 images and stitches them together
- 180°: Captures 7 photos for sweeping landscape images
- Wide Angle: Captures a wide 3x3 image consisting of 9 images
Other still image modes include:
- AEB Triple Shot: Auto Exposure Bracketing (AEB) takes 3 images of varying exposure and merges them for a vivid image. This can be edited further to bring out a High Dynamic Range (HDR) image in post-processing.
- Timed Shots: Give yourself a few extra seconds before taking that photo with timed shots.
Besides the unique shooting modes, DJI has added the ability to download images and video (including 4K) to your phone directly from the drone. By connecting the drone to your smartphone (using the remote cable), you can go into the DJI Fly App and download the images without needing the remote. This especially comes in handy if your remote battery happens to be dead. From there you can edit your footage before publishing.
OcuSync 2.0
OcuSync was first introduced with the Mavic Pro. It's a wireless transmission system that offers a low latency wireless video signal and control over a long range. It's essentially the communication system between the drone and the remote. Now with OcuSync version 2.0, DJI has improved upon the original design by offering 1080p across all distances as it can auto-switch between 2.4 GHz and 5.8 GHz frequency bands for a more robust system. Latency is still around 130 m/s, but with drones, we'll take range over latency.
The Mini 2 now comes with OcuSync 2.0, which is a much more reliable system than what the original Mini had. It's the same reliability you can find with the Mavic Air 2. During our testing, we didn't find any connection issues or range issues with the drone.
Storage
The Mini 2 doesn't have internal storage like the Mavic Air 2. Instead, it can save still images or 1080p video directly to your phone. If you want to shoot 2.7K or 4K video you must use a microSD card. DJI recommends a number of different cards, but as long as it's formatted in FAT32 for cards under 32GB, or exFAT for cards over 32GB, you're generally good. Look for cards that are UHS-I Speed Class 3 or above.
Supported Memory Cards
- 16 GB: SanDisk Extreme, Lexar 633x
- 32 GB: Samsung Pro Endurance, Samsung Evo Plus, SanDisk Industrial, Sandisk Extreme V30 A1, SanDisk Extreme V30 A2, SanDisk Extreme Pro V30 A1, SanDisk Extreme Pro V30 A2, Lexar 633x, Lexar 667x
- 64 GB: Samsung Pro Endurance, Samsung Evo Plus, SanDisk Extreme V30 A1, SanDisk Extreme V30 A2, Lexar 633x, Lexar 667x, Lexar 1000x, Lexar High Endurance, Toshiba EXCERIA M303 V30 A1, Netac Pro V30 A1
- 128 GB: Samsung Pro Plus, Samsung Evo Plus, SanDisk Extreme V30 A1, SanDisk Extreme V30 A2, SanDisk Extreme Plus V30 A1, SanDisk Extreme Plus V30 A2, Lexar 633x, Lexar 667x, Lexar 1000x, Lexar High Endurance, Toshiba EXCERIA M303 V30 A1, Netac Pro V30 A1
- 256 GB: SanDisk Extreme V30 A1, SanDisk Extreme V30 A2
You can transfer the files directly from the Mini 2 using the USB-C cable directly to your computer. In order to do so, you may need to first power on the Mini 2 and then connect the device to your computer.
Flying the Mini 2
Flying the Mini 2 is a lot more fun than the Mavic Air 2. By design, it's smaller and more nimble, so that means it can go in tighter spaces. That said, it doesn't have any obstacle avoidance features. It being a smaller-sized consumer drone, you really need to know how to fly it since it's not equipped with any sensors that will allow it to either automatically stop or fly around an object like on the Mavic Air 2.
The Mini 2 does have GEO fencing that will alert you of nearby areas like airports and will keep the drone away. There's also the Return to Home feature that can be activated to return the drone to the pilot. Plus, the Altitude Lock in the Fly app will adjust how high the drone can go.
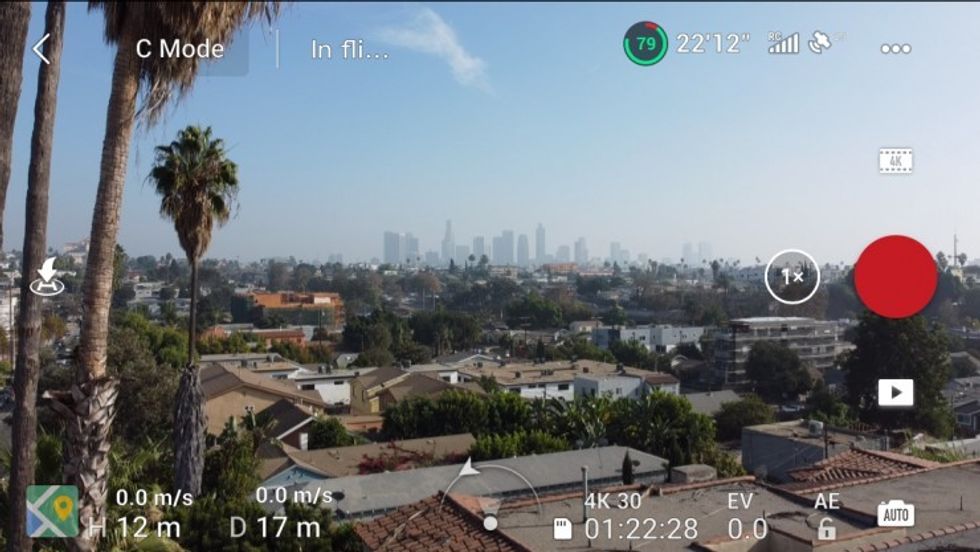
When flying, the app will display the battery level, the available record time on the microSD (in either capacity or time left), and shooting settings. Once the battery drops to about 20% the remote will start alerting you with a constant beep. When the battery gets too low the drone will automatically return home and land.
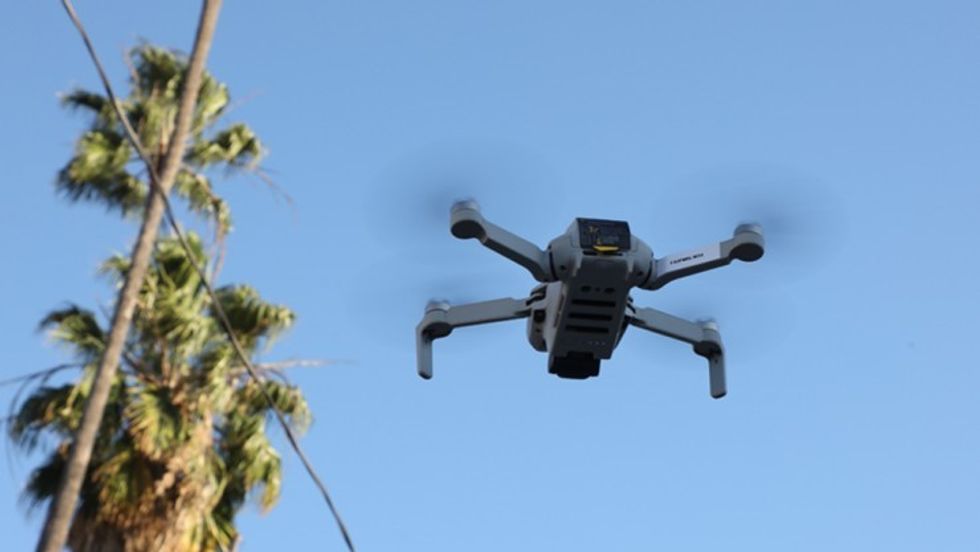
DJI says the Mini 2 has level 5 wind resistance up to 24 mph. We weren't able to test that feature specifically, but while flying, we did notice that the Mini 2 can get pushed around by the slightest of winds at a hover and at higher altitudes it will change positions. When shooting a descend you're going to want to consider your speed, as that will have the most resistance with the lighter drone.
Even as a smaller drone, the 3-axis gimbal was rock solid in terms of performance and creating steady shots. Just keep in mind that there is some latency when capturing images.

Accessories
Besides the standard and Fly More packages, the DJI Mini 2 has several accessories available:
- 360° Propeller Guards
- DJI Mini Bag
- Charging Display Case
- DIY Creative Kit: Personalize your Mini 2 with custom stickers or blank stickers to create your own artwork
- Snap Adapter: An adapter that snaps on to the top of the Mini 2 that allows for the attachment of a small LED screen

Who is it for?
Besides first-time drone buyers, those flying the Mini or Mavic Air 2 should consider the Mini 2. The image quality, shooting options, range, and safety features make it one of the best portable drones available.
Now, we're not saying the image quality is better than the Mavic Air 2. It's not, but if you find the Air 2 is not fitting in your kit at times, the Mini 2 can get what you need in a pinch.
If you happen to be a YouTube creator, vlogger, or publish content to social media, this drone is plenty capable. If you're looking for something more robust in terms of image quality, consider the Air 2 (or wait for the Mavic 3).
Competition
DJI has a stronghold on the under $500 drone market ever since Yuneec went more of a commercial route. There are other options available:
- Potensic T35 - $239
- Holy Stone HS700D - $229
- Holy Stone HS720 - $249
Skydio is another drone company on our radar. They have Skydio 2 and Skydio X2, but with price points above $1,000, they compare more with the Mavic Air 2 and Inspire.
Final Thoughts
If you've been curious about getting a drone, the Mini 2 is a solid place to start. It's small enough to go just about anywhere but has pro-style features and safety measures in place to protect you as a pilot. In terms of video image quality, it's good but not exceptional. And that's expected with a sensor of this size. It performs well enough for smaller-screen content like social media and YouTube, but it's not ideal for commercial work.
The biggest area DJI can improve on is its low light performance for the Mini 3. We shot some tests at dusk and there's quite a bit of noise in the shot. It may look like the sun in the video above but it's actually the moon. That said, it's best to use the Mini 2 when there's an ample amount of light. With golden hour, you'll get a decent range of colors but not a lot of dynamic range in the sky. However, we were testing the Mini 2 in the hazy-filled sky of Los Angeles.
DJI Mini 2
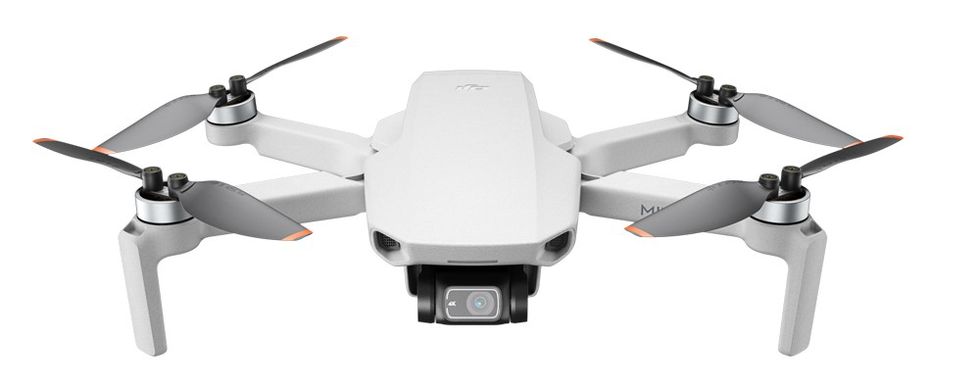
• 4K 30fps at 100Mbps
• 12MP JPEG + RAW Stills
• OcuSync 2.0
• Level 5 Wind Resistance
• Only 249g
Price and Availability
The DJI Mini 2 can be purchased in two options. The standard package includes a remote controller and one battery for $449 USD. The Fly More Combo comes with three batteries, the charging hub, remote controller, and case for $599.