3 Quick Tricks That Will Make You a More Efficient Editor
Ain't nobody got time for that...especially editors.
We all know editing a project takes a long time. It doesn't matter if it's your passion project or the silliest, most unimportant nothing video, it's going to take you ages to complete, which is why it's incredibly important to know to create a time-saving workflow. In this video, filmmaker Peter McKinnon shares with you a few really effective techniques in Premiere Pro that might help you become a quicker, more efficient editor. Check it out below:
Now, these tips aren't going to cut your work time in half or save you hours on your edit—I think the only thing that will do that is, like, bad editing—but they will help you work more efficiently and avoid a lot of the busywork that slows you down, which, yeah, will end up saving you a little time in the end.
Efficient Effects Folder
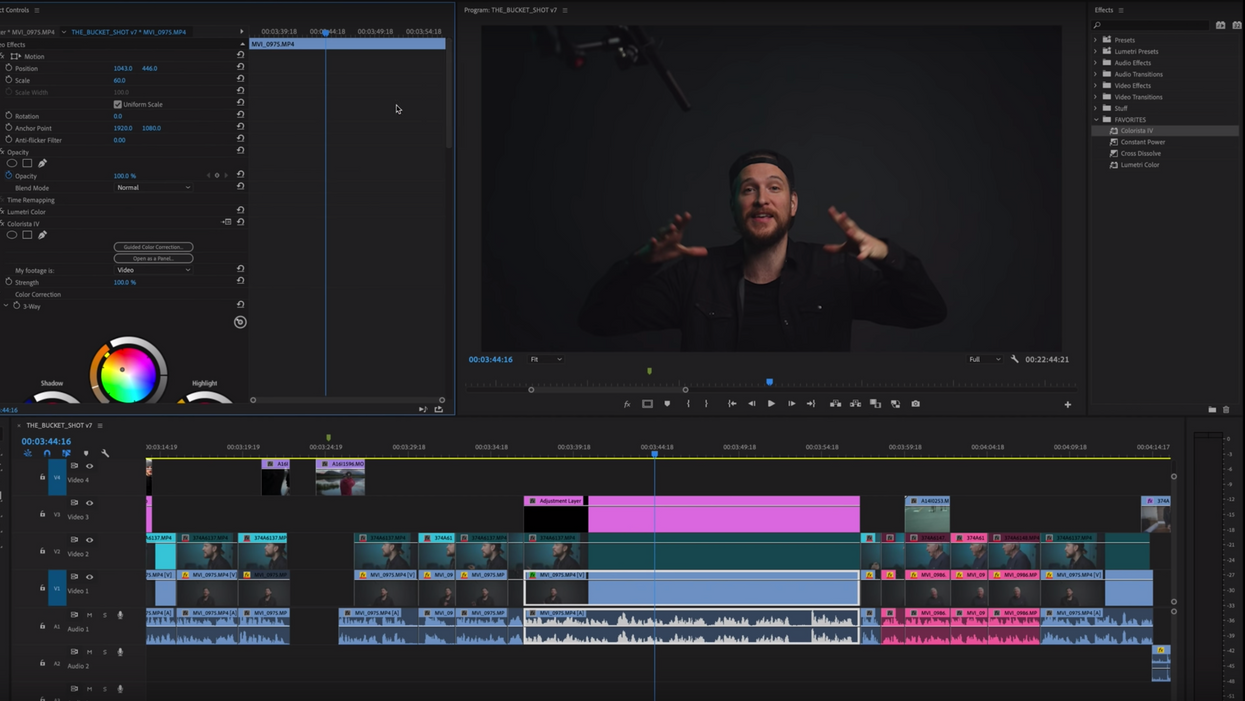
If you're a human being, then you're most likely a creature of habit, so why not make your workflow conducive to your inclination to use the tools you love the most? One super simple way to do this is to create a custom folder in your Effects tab, call it, I don't know, "Favorites" or whatever, and then throw all of your favorite effects in there. That way, when you need transitions, audio effects, color effects, or presets, they're right there waiting for you in a convenient folder, rather than tucked away two or three folders deep.
Efficient Color Grade Presets
I'm not a fan of color grading. It takes so much time and energy and I'm a friggin' lazy woman, so anything that will save me from having to obsess over a grade for hours is alright in my book. So, if you're working on a project that has recurring locations or sets, be it a vlog, film, or commercial for a returning client, saving your grade as a preset will drastically cut down the time you'll have to spend on them. You may have to do a little tweaking, but it's a hell of a lot better than having to start from scratch.
Efficient Audio Editing
You know that line on your audio clip, that barely visible one that is super skinny and really hard to work with? Yeah, I hate that thing. Trying to adjust your levels with it can be really frustrating when you're just trying to bring your volume down a little, especially when you want the same adjustment to be applied to multiple clips. A great way to avoid all that mess is to save the adjustment as a preset. And you can do it for a bunch; you can have one for -5dB, -12dB, -30dB, or whatever you use the most.
Want to be an even more efficient editor? Check out these other helpful workflow techniques.
What are some other tricks that can help you be a more efficient editor? Share your tips in the comments below.
Source: Peter McKinnon