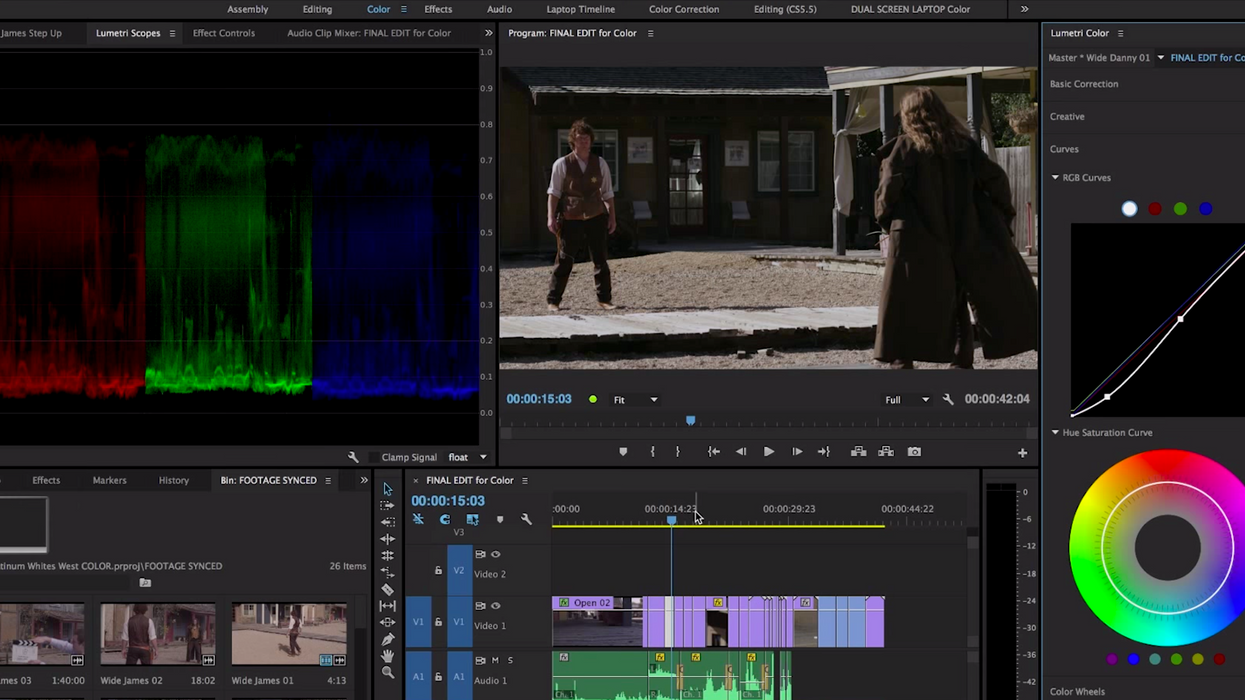
A Crash Course in Color Correction Using Premiere Pro's New Lumetri Color Panel
Without a doubt, the Lumetri Color Panel is the most significant new feature in Premiere Pro CC 2015.

In fact, the overarching theme of the 2015 release of Premiere Pro was color, and giving users more control over color directly within the NLE so that round tripping out to SpeedGrade or Resolve was less of a necessity. By most accounts, Adobe has accomplished exactly that with the new software, although there were plenty of bugs when the software was first released (most of which have been fixed).
For those of you interested in either incorporating the Lumetri Color Panel into your existing color workflows, or using the new panel to completely replace your old workflow, YouTuber Channing Lowe (on his oddly-named but extremely helpful channel called chinfat) recently shared a crash course in how color works in Premiere Pro CC 2015. Here's a brief overview of what he covers in the video:
- The new Lumetri Scopes
- The new Lumetri Panel
- How to color grade and correct a project
- How to add the finishing look
When it's all said and done, the new Lumetri Color Panel has most everything you'd need for basic color correction and grading. It's now equipped with revamped scopes (which are explained in depth in the above video), a unique and balanced toolset for making color changes to a clip, and even some basic masking and tracking features which you can apply to the Lumetri effect in order to make changes to a small portion of a clip.
Of course, it's still not Resolve, which has some of the cleanest tracking of any software I've used, and a much deeper color toolset. But for projects with a quick turnaround, the Lumetri Panel can get you top notch results quickly and easily without the need for a round trip.
If you've incorporated the Lumetri Color Panel into your color workflow, share your experiences with us down in the comments.
Source: chinfat


