How to Create the ‘2001’ Slit Scanning Effect with Digital Tools

slit scan
This hands-on guide shows you how to distort your images like Kubrick.
When we were approached to do a music video for the electronic band Violet Sands, we wanted to create a visual effect that played off the distorted and chopped up feel of their music. After researching multiple distortion techniques, we discovered slit scanning. We were immediately mesmerized by the twisting and warping nature of the effect. Particularly captivating was the way it distorted images; bodies, objects, and faces would melt in time and become abstract liquid forms.
In contrast to other distortion effects like pixel moshing, slit scanning remains very organic and that might have to do with its origins. The effect was first used in still photography, and then in film by Douglas Trumbull to create the “Star Gate” sequence in 2001: A Space Odyssey. The original process of slit scanning was incredibly time consuming and painstaking, so we had to figure out the best way to replicate it with digital tools.
 
The best digital technique to generate a slit scan-like effect is time displacement in Adobe AE. The time displacement effect uses a displacement map (or gradient map), and it bases the movement of pixels in the layer on luminance values in the map. Pixels in the layer that correspond to bright areas in the displacement map are replaced by pixels in the same position, but at a specified number of seconds forward in time.
 
Likewise, pixels in the layer that correspond to dark areas in the displacement map are replaced by pixels at a specified number of seconds backward in time. Any layer can potentially be used as a displacement map, though using a grayscale image makes it easier to see brightness levels and predict how pixels will be displaced. You might want to start with this very useful tutorial from FilmmakerIQ.

Effect parameters

Once the displacement map is set to affect a specific layer of footage, there are two parameters that can be controlled within the effect:
 
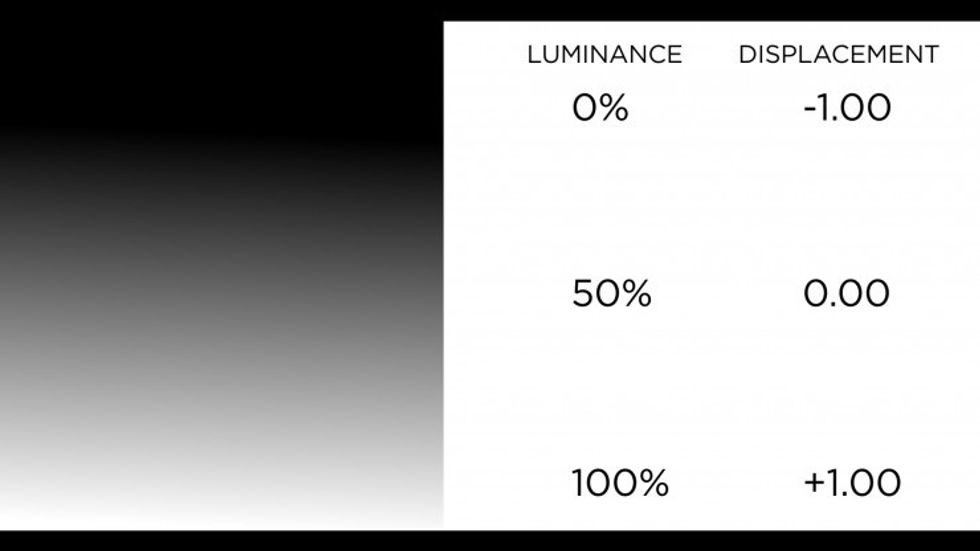
  1. Max displacement time controls how far ahead or behind you want the pixels to be shifted in time. Suppose you specify 2 seconds as the maximum time displacement. After Effects finds the luminance value of each pixel in the displacement map, then it replaces the corresponding pixels at the current time with pixels from another time, based on the maximum time of two seconds. Pushing this parameter with high value would obviously create more extreme and absurd results.

    slit scan

  2. Resolution controls how many frames per second are going to be used in the animation. Typically, this value shouldn’t be greater than the frame rate of the affected layer.

The displacement map determines the way that After Effects assembles the slits in the slit scan effect. After Effects lays the map on top of the footage and examines the displacement map luminance. All the pixels that are white (or brighter than 50% gray) are displaced forward in time. All the pixels that are black (or darker than 50% gray) are displaced backward.
slit scan

It is very important to create the gradients in a 16-bit color system. The AE project itself also needs to be set as 16 bit colors. This way,  the gradients contain information for thousands of levels of gray, rather than 256 levels of gray provided by the 8-bit colors. The gray resolution significantly affects the smoothness of the final animation.

slit scan

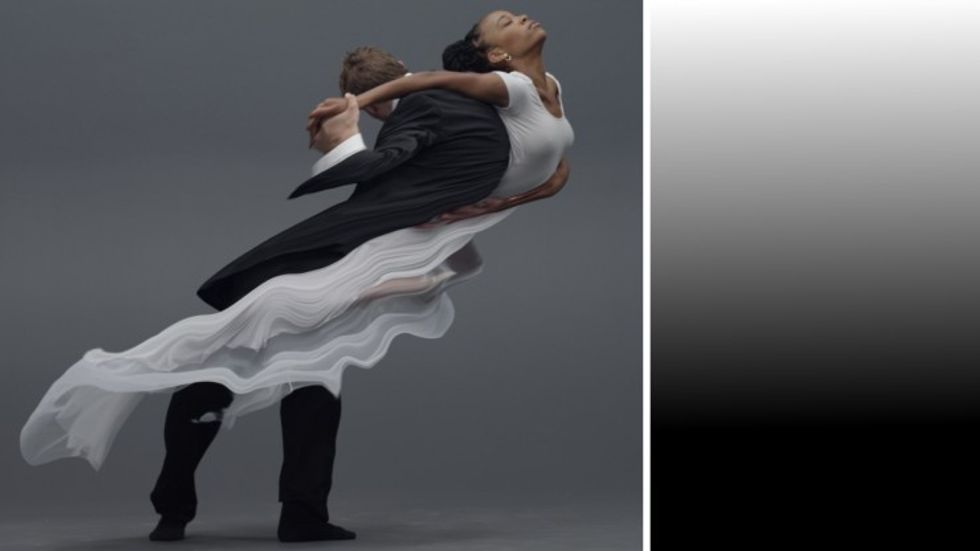
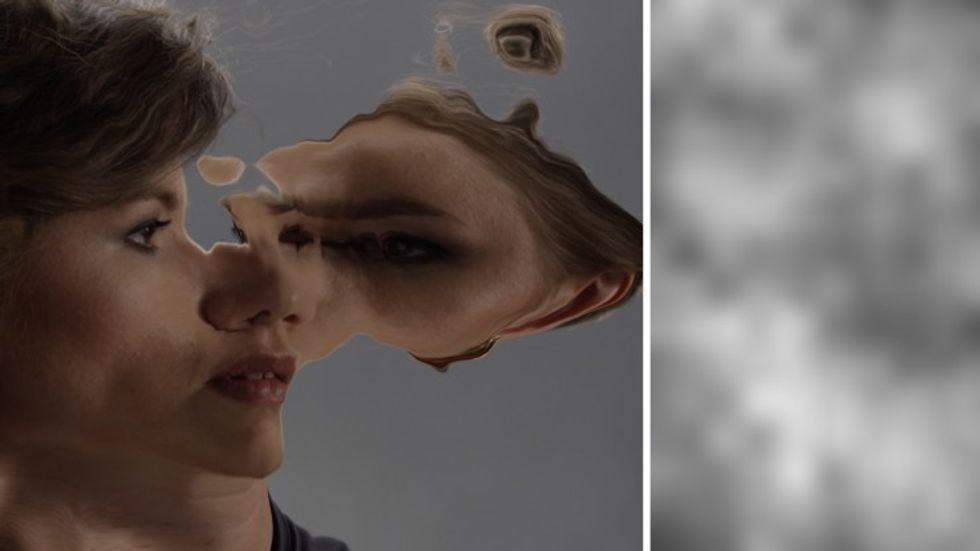
The shape and the complexity of the gradient will determinate the kind of distortion. From the more common results given by a vertical gradient…

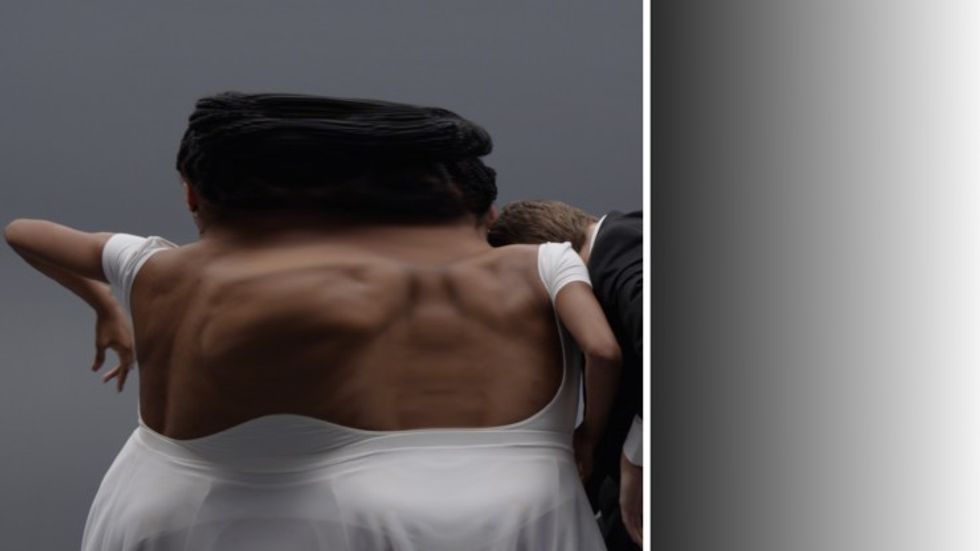
…to more unpredictable figures, generated by more complex gradient geometries.

slit scan

Slit scan effect is not a record of spacial relationship but temporal relationship, with lines recorded at different times composing the image. Thus, your footage needs to be shot at high frame rate because once you start applying the slit scan effect, you need as much temporal resolution as possible.
 

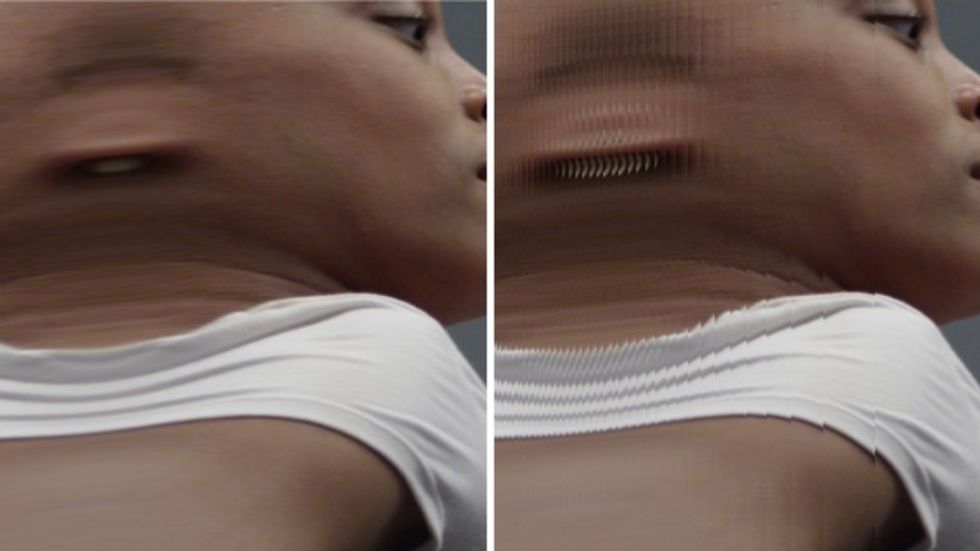
Working with footage that has been shot in 24 fps is going to cause a lot of bending in the affected composition, as there aren’t a lot of in-between frames and information for the effect to work with. If you work with footage with a higher frame rate, there’s going to be much more information for the effect to process, and therefore a much smoother result. For instance, the majority of our video was shot in 120fps.

slit scan

Motion:

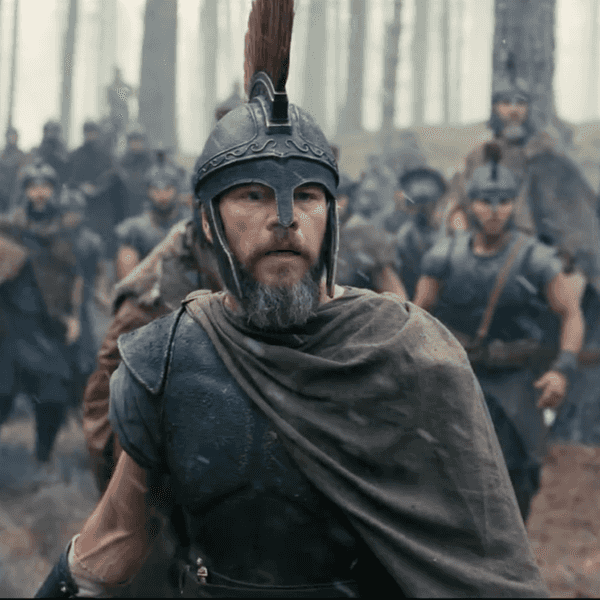
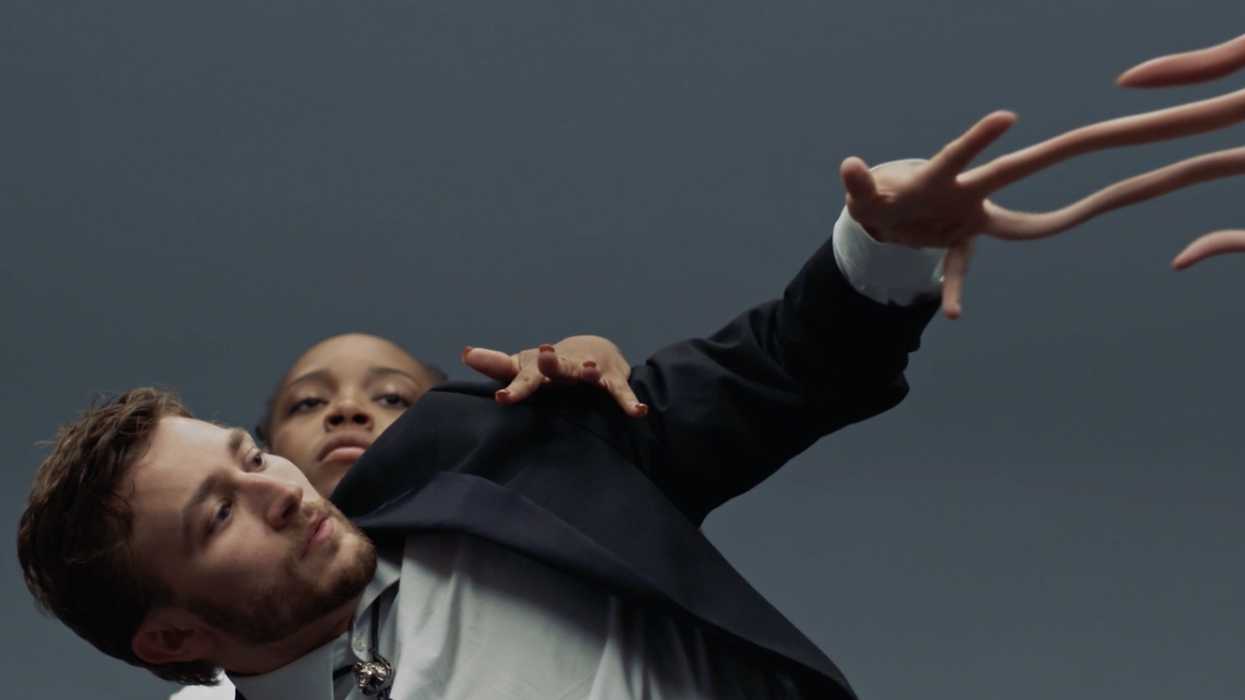
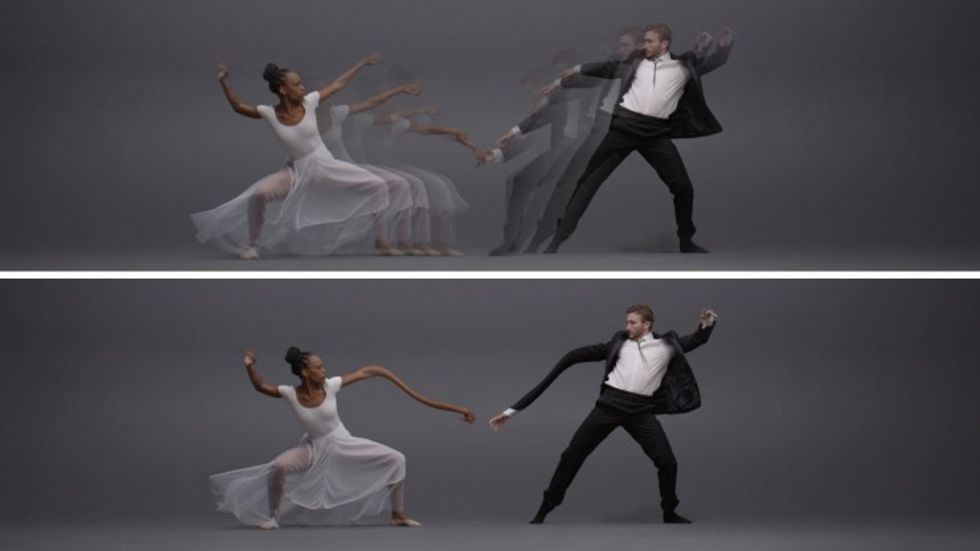
There are infinite possibilities for results, generated by the infinite kinds of movements and actions the effect is applied to. For instance, the twisting look—one of the most popular—is generated by applying the effect to a spinning object. Keep in mind that for a smooth result, it’s important to work with footage where the actions don’t happen at a fast pace. The slower the action, the more in-between material for AE to process. So in a case where you are filming a very fast action, make sure you are compensating for it with a very slow fps.

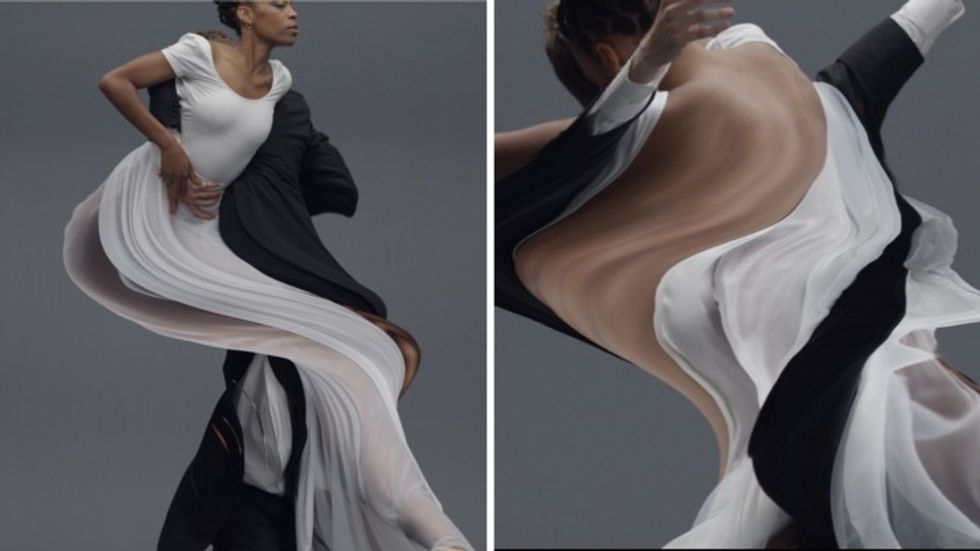
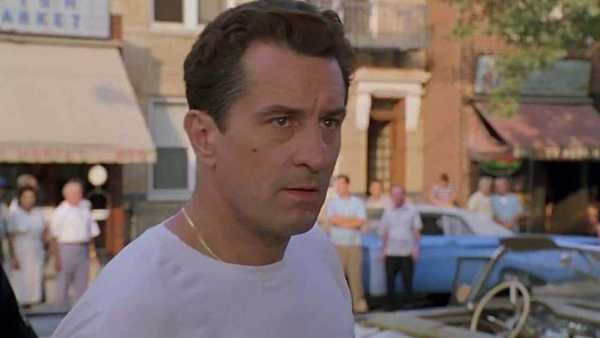
Horizontal motion is often used to create exaggerated and over-stretched figures.

slit scan

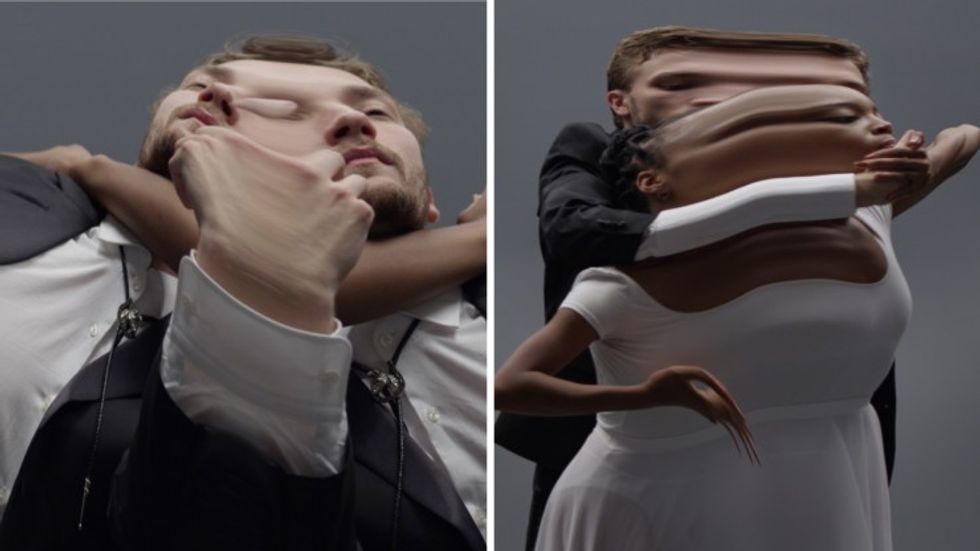
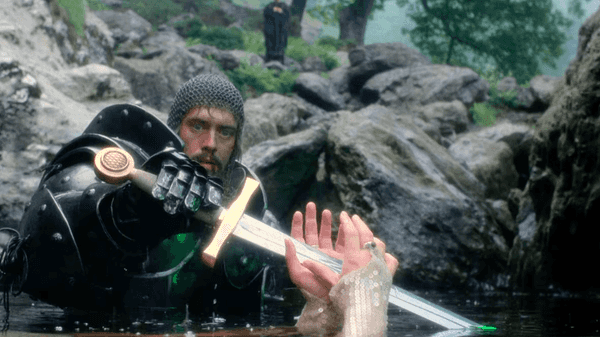
More random motions create more abstract and unpredictable results.

Background and Camera Movement:

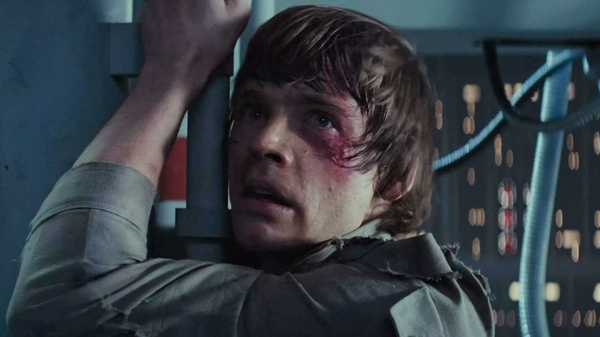
It is important to consider that everything that contains temporal information in the footage is going to be affected by the time displacement. Applying the effect to footage that contains camera movements or dynamic and complex backgrounds can generate some very random and unpredictable results. Therefore, you may want to stick with no camera movement and static (or neutral) backgrounds, which will make it easier to control the effect and predict how the image will be distorted.

Render issues:

Keep in mind that time displacement is a very heavy effect to process, especially when applied to high resolution footage. Here are some suggestions to make the process smoother and reduce render time:

  • Work on 8-bit colors and set it to 16 just before rendering. 
  • Work with proxies. Never set the maximum displacement time higher than necessary.
  • Increasing time resolution can greatly increase rendering time.
  • Use multiprocessing renders for the more time consuming sequences, when possible.
 Have you tried slit scanning in AE or otherwise? Any tips to add? Let us know in the comments.

Check-Out: Pro Video, Pro Audio, Lighting – Great Deals on Gear you made need !!

With any & every B&H purchase You will automatically be entered into the Monthly Gift Card Raffle.

Your Comment

8 Comments

Awesome video and effect, thanks for posting this!

November 3, 2016 at 1:08PM

0
Reply
avatar
Jason Baker
Music video / concert visuals / motion graphics
87

Yawn....moving on

November 3, 2016 at 2:52PM, Edited November 3, 2:52PM

0
Reply

That last shot with all the temporal parts in one frame was really quite beautiful. I have a feeling Dali would have used this effect alot had he been a new filmmaker.

November 4, 2016 at 5:20AM

6
Reply
avatar
Chris Hackett
Director, Director of Photography, Writer
1234

For some reason every time I tried this effect I always have extremely scattered results, even when i'm in 16bits AE project with a 16bits map :/

November 5, 2016 at 2:36AM, Edited November 5, 2:36AM

17
Reply
avatar
Damien VIGNAUX
Director / Photographer
81

Yeah, that happened to us as well. Even with a lot of pre-planning we still threw away about 50% of the footage we "effected" because it either came out too subtle or too crazy.

November 7, 2016 at 1:27PM, Edited November 7, 1:27PM

0
Reply
avatar
Andre Andreev
Director
81

Thanks for sharing Andre. Did you also use something like Twixtor? I found even with slow motion footage at 120fps, that still gave very pixelated results sometimes without the additional psuedo slomo.

November 9, 2016 at 8:38PM

0
Reply
R
77

No we didn't, we tried but really didn't get the best results. Honestly, the best way to do it is with a phantom camera however that can get quite expensive for lighting such a wide set

November 16, 2016 at 10:15AM

0
Reply
avatar
Andre Andreev
Director
81

I had the same issue. Here's the fix:

It really matters that you take high frame rate footage. If you are working with 24fps footage, however, you can still get this effect. First, make sure the comp you are working in is a high frame rate, like 120fps. Go to the menu Composition > Composition Settings and change the frame rate. Second, right click the clip in the timeline > Frame Blending > Pixel Motion. This will interpolate and add frames into your clip. While normally AE's native frame interpolation is not very convincing, in this case because we are distorting the image anyways I think it looks decent.

May 25, 2020 at 1:18PM

0
Reply

Very cool effect ! I tried this with 100fps footage and I would get some crazy interlacing on most of the shots. I found out that using "CC Force Motion Blur" set to a 360 shutter angle and a high number of motion blur samples removed alot of those ugly lines. It extremely increased render times but it was worth it. I will try out different solutions in the near future but this might help some people.

May 27, 2017 at 5:01AM

0
Reply