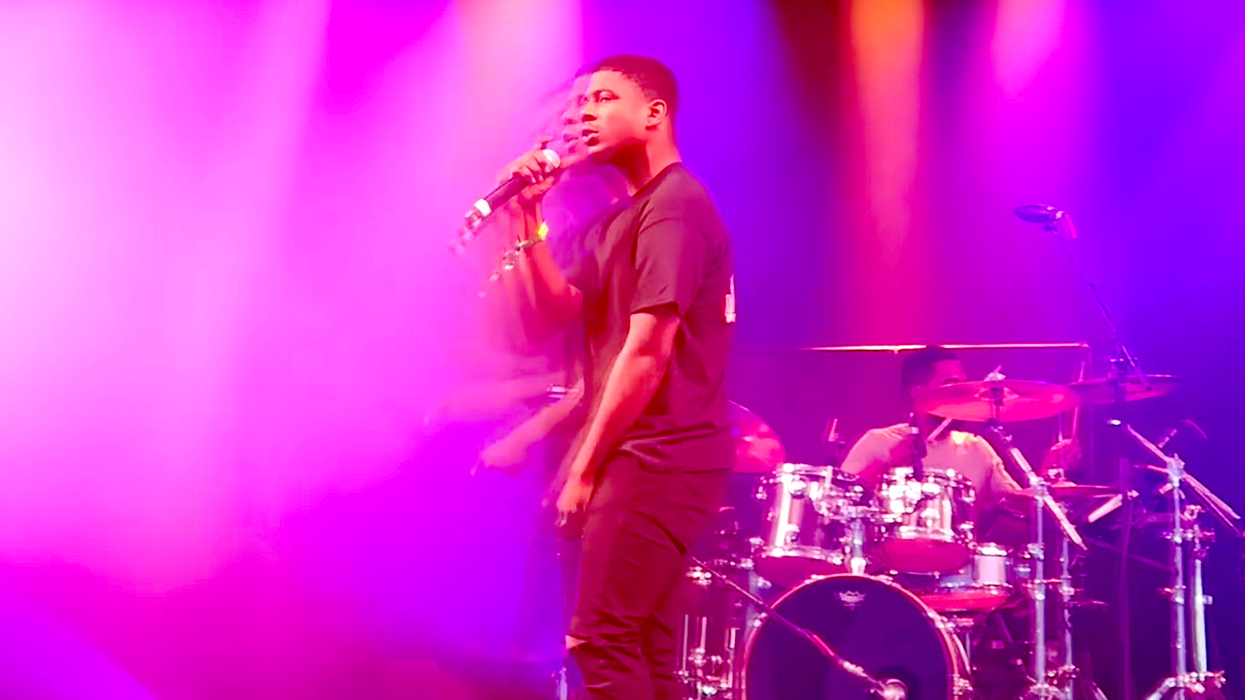
How to Create an Isolated Echo Motion Trail Effect in After Effects
This awesome effect is pretty simple to pull off and has tons of great applications.

If you've spent any time in Adobe After Effects, chances are you've played around with the Echo effect, which basically just stacks frames from different times in the layer to create "streaking" or "ghosting." This produces some pretty cool looking images, but if you want it to affect something specific, you'll need to know how to isolate and apply it to a single part of your frame or a specific object. In this tutorial, Justin Odisho shows you a simple way to do this, as well as how to adjust the Echo effect settings to get exactly what you want.
Personally, I really like Odisho's approach to isolation because you can use the Roto Brush Tool to simply "paint" the areas where you want to have the effect. From there, it's really just a matter of making sure that your selection maintains throughout the entire clip. If you're working with footage that doesn't have a whole lot of contrast that pulls your subject away from the background, you'll probably have to go through your whole clip and adjust your selection as needed. However, if it does have plenty of contrast, you may not have to make many adjustments.
Though you probably won't be using this motion trail effect a whole lot, it still has a lot of applications. I could see it being used in music videos, dream sequences, drunken scenes, and even flashbacks, but surely you'll find plenty of creative ways to put this effect to work in your own projects.
Source: Justin Odisho


