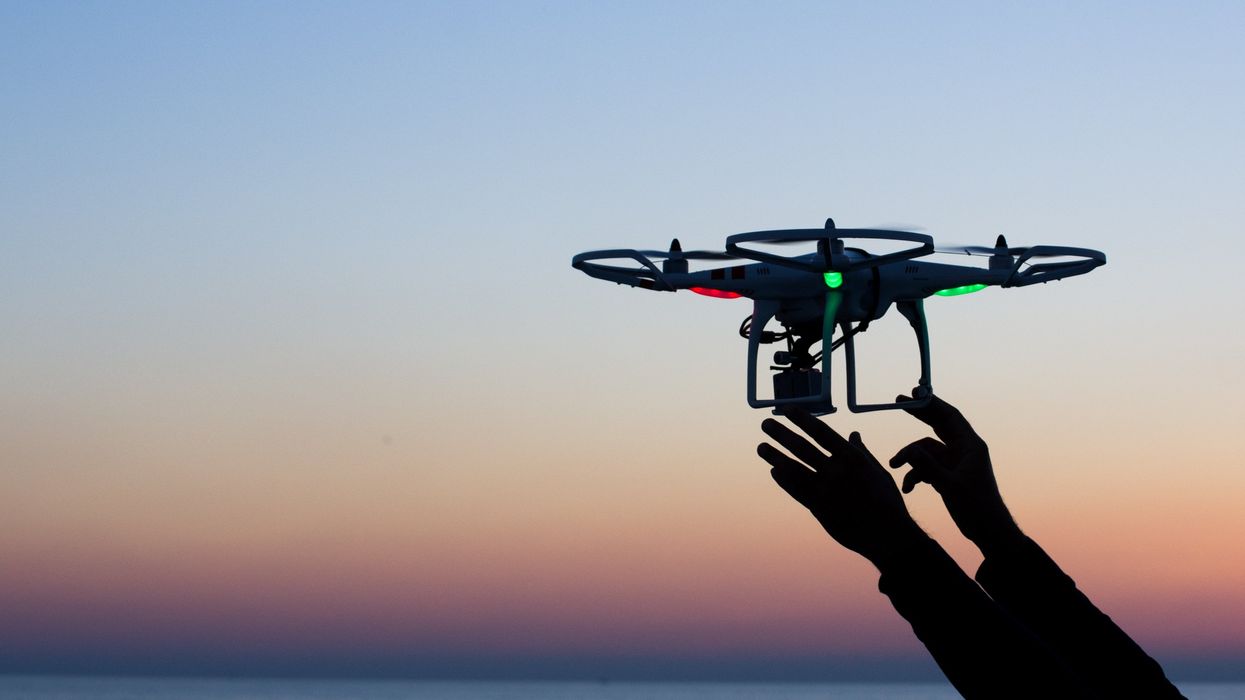
8 Dynamic Things You Can Do to Improve Your Drone Footage in Post
You can make your drone footage so much more eye-catching by using these simple editing techniques.

Okay, you've captured some amazingly beautiful shots with your drone and you're ready to head into post. Now what? Well, you could just plop them into your timeline and call it good, but if you want to give your footage some more style and dimension, you might want to consider employing a few quick and easy editing techniques. In this video, Tony Northrup shares eight tips for editing drone footage that will make your shots look more dynamic, interesting, and professional. Check it out below:
If you use drones in your work, chances are you've already seen plenty of tutorials that show you common techniques for editing drone footage, like adding a sweet color grade or speeding up and slowing down your clips. However, there are a few other (perhaps less exciting) things you need to think about when dealing with aerial footage, and Northrup talks about a few of them in the video.
- Level your footage: Having a level horizon line is important if you want your footage to look professional.
- Zoom in: If you're shooting on a 4K (or higher) camera, you can crop your footage to get tighter, more dynamic shots.
- Tracking: Adding some keyframes to track your subject keeps it in the same part of the frame.
- Slow-mo: If you shot your footage at a higher frame rate than 24 or 30 fps, you can slow down your footage for some silky smooth slow-mo.
- Trim: Pretty obvious tip—cut the boring/needless bits out of your clips.
- Fast forward: You see this technique in drone videos all the time, but it still looks pretty cool.
- Sound: Duh, get some awesome jams to go with your footage!
- Color grade: Add a color grade to your drone footage to make it look even better. (Tip: Sometimes less is more, okay?)
What are some other things you do to your drone footage in post that makes it look more dynamic and professional? Let us know down in the comments.
Source: Tony and Chelsea Northrup


