Cuts 101: Here Are 9 of the Most Essential Transitions in Editing
Want to take your editing game to the next level? Then you'll definitely need to know about these important transitions.
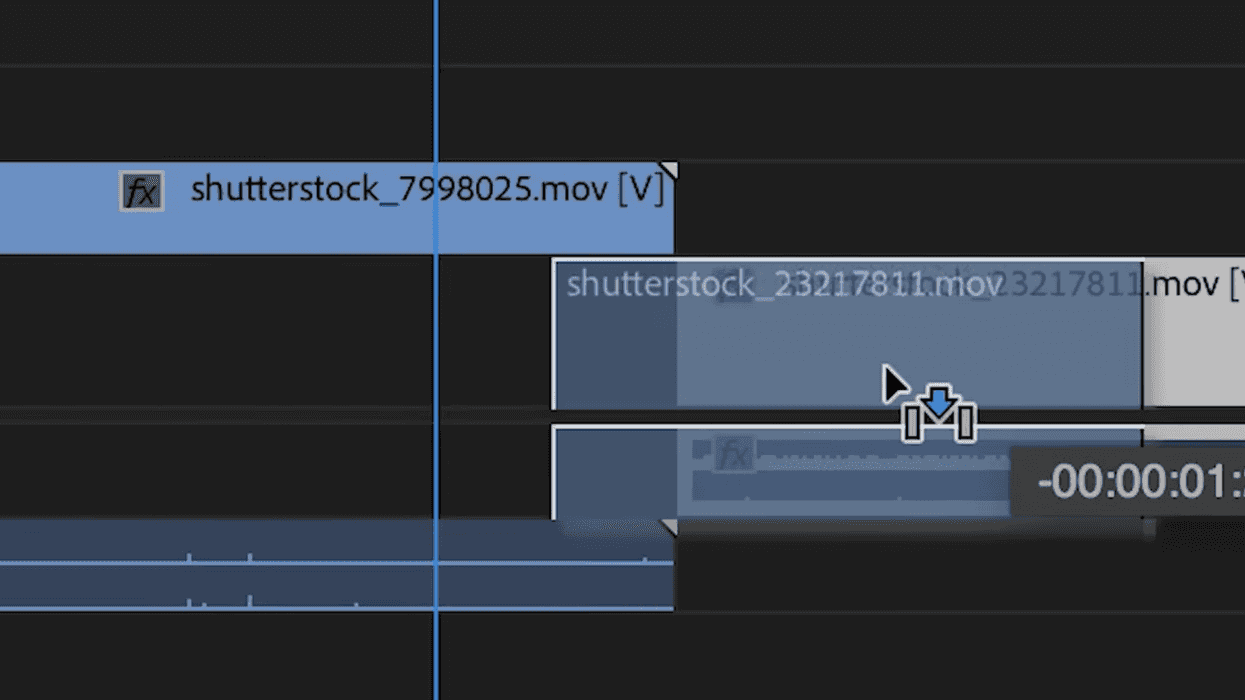
One of the first edits you'll ever make is what? A simple cut, right? It's incredibly straightforward; just find a juicy spot in your clip, cut that thing in two like it's a friggin' pastrami on rye, and then slide another clip right next to it. Boom! You're done. But if you want to be an editor that can add flair and functionality to your edits, you'll want to know about all of the cool tricks the pros use in their work. In this video from Shutterstock, you'll learn about nine transitions that are essential in every editor's toolkit. Check it out below:
There are many other techniques that come in handy when editing, but Shutterstock's list is a great primer that will give you a sturdy foundational knowledge of how to move through your edit with transitions. Here are the cuts mentioned in the video:
- Standard: This is your basic cut. It's literally putting two clips side by side. You'll most likely use this more than any other kind of cut.
- J-Cut: This is a big one, mostly because it offers a smooth transition from one shot to the next by having the audio of Clip B play at the tail end of Clip A. In other words, as you watch the first clip play, you begin to hear the audio from the next clip before you see its visuals.
- L-Cut: It's a J-cut in reverse. Instead of transitioning into Shot B with Shot B's audio, you're transitioning with Shot A's audio. So, as you watch the first clip play, you see the next clip as the audio from the first clip overlaps it. This is used all the time with dialogue scenes.
- Cross-Cutting: Also known as parallel editing, this technique can get a little hairy if you're not careful, mainly because what you're doing is editing two different stories so they play side-by-side. You see this all the time in action movies, but my favorite example of this comes from Silence of the Lambs. Watch how director Jonathan Demme and editor Craig McKay use this technique to mislead the audience.
- Jump Cut: These transitions are interesting because they fracture time in a very noticeable way. To pull it off, just take one of your longer clips, cut bits and pieces out of it, and put the fragments you want to include in your timeline back together. It'll look like the clip is "jumping" around through time.
- Cutting on Action: To put it simply, Cutting on Action just means cutting in the middle of your subject's action, whether it's a punch, a head turn, or even someone reaching for a doorknob in one shot and then opening the door in the next. Mastering this cut is crucial because it helps hide edits that occur during an action.
- Match Cut: These stylish cuts are a great way to highlight your editorial creativity. On a technical level, it's a standard cut (from one shot to another). However, what makes it special is how it matches the similar actions of both shots. A great example of this is the shower scene in Psycho, where we see the shot of the water circling down the drain and then crossfades into a close-up of Marion Crane's eye, which is roughly the same size and in the same position within the frame as the drain.
- Cutaways: These kinds of cuts are helpful if you want to add shots that give more information and context to a scene, like shots of the location to establish the setting or shots of props and other objects that a character is referring to. Because many editors use them to incorporate supplementary footage, it might be helpful to think of cutaways as "b-roll cuts."
- Montage: You know what montages are, right? They're all over the place. A boxer wants to train for the big fight? Work out montage! A student needs to cram for finals? Study montage! A recent divorcée goes shopping before a big date? Fitting room montage! They are sequences of different shots that condense information, at least in the examples I just gave, but they also do the same for time and space (but that's more of the technical definition of montage).
What are some other important cuts new editors should know about? Let us know down in the comments.
Source: Shutterstock Tutorials