Music videos are a filmmaker's best friend— or at least they should be. They typically require less time and money to make and, most importantly, give us a chance to experiment with ideas and explore our creativity. If you've got an interesting vision for your next music video project but aren't quite sure how to give it the look you want cinematically, this video from Cinecom might be helpful to you. In it, Jordy Vandeput goes over a handful of creative camera movements and shot transitions that are simple to pull of and can be done with nothing more than an inexpensive tripod and slider. (No need for any spendy robots.)
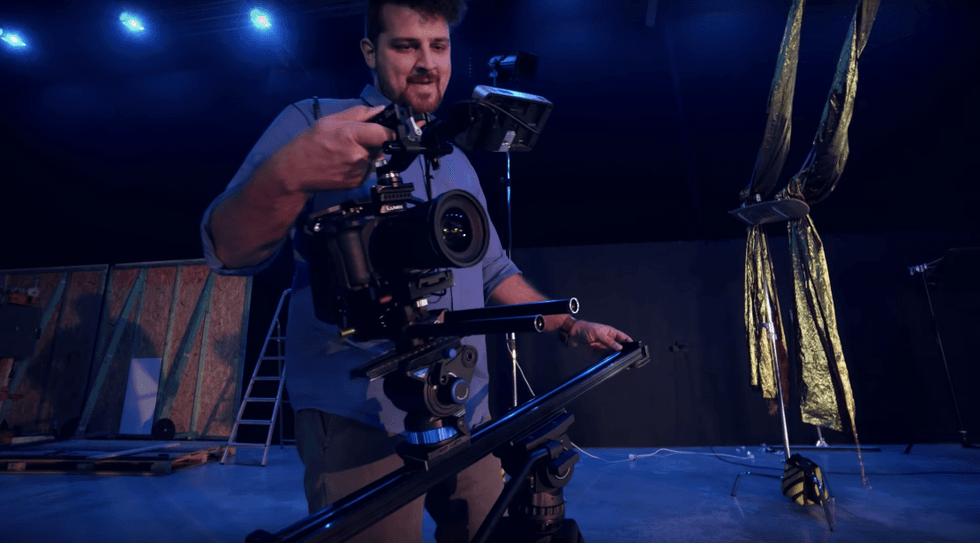
It's natural to feel overwhelmed and intimidated when looking at behind-the-scenes images of modern film, T.V., and music video sets, because they usually have tons of gear—studio lights, ginormous camera rigs, huge cranes—that you probably don't have stored in your garage right now. But you might be delighted to learn that you can actually get a ton of beautiful, pro-quality, very cinematic camera moves using a few of pieces of inexpensive film equipment, namely a tripod, a slider, and a tripod head.
This combo will not only allow you to perform buttery smooth camera movements but they'll allow you to do so in a wide variety of different configurations. In other words, if you know a few tricks (like the ones in the video) you can effectively make it appear as though you shot with more than a simple tripod/slider combo, like a jib, a dolly, or if you're really clever, a robotic arm.
Here are the camera moves and transitions mentioned in the video:
Camera Moves
- Dolly shot: Instead of sliding your camera across the x-axis, turn it 90-degrees and slide it along the y-axis for beautiful dolly shots. (I hope those axes are correct. I'm a little rusty on my Cartesian coordinates, gang.)
- Arc shot: If you loosen the head of your tripod, you can tilt your slider from left to right as you move your camera across it, producing an "arching" shot.
- Push-n-tilt: This is a little bit of a beefed up dolly shot. As you dolly in or out, tilt your slider up or down—kind of like a rocking chair.
- "Adjustment" moves: Lots of music videos do this weird thing where they frame up a shot but do a quick "adjustment," moving their camera to the right or left very quickly. These shots are often done with either a robotic arm or a normal camera rig with the movement sped up in post.
- Dance bumps: If you want to punctuate a certain dance move, beat, or action on screen, you can just "bump" your camera a bit to give it a little shake. Super simple and super effective.
Transitions and Editing Tips
- Continuous movement: Pan your camera in one direction in the first clip and continue that movement in the second. This works even better if your subject is also moving in the same direction in both clips.
- "Adjustment" framing: Pair your "adjustment" camera movements with some "adjustment transitions. Simply frame the beginning of your second shot the same way you framed the end of your first shot.
- Jump cuts: I know, it's easy to want to cut on the beat every time when editing a music video, but don't. It gets boring and repetitive after a while. Try throwing in a few jump cuts to spice things up.
- Point of interest: Your audience is always searching your frame for the "point of interest," or basically the most important thing in your shot. Try keeping the POI in the same general area as you edit. So, if the end of your first shot has your subject on the left, your next shot could have them on the left as well. That's why it's important to incorporate plenty of camera and subject movement, so they're not stuck on one side of the frame the entire time.
What are some other creative and clever camera moves and transitions you can use in music videos? Let us know down in the comments.
Source: Cinecom