This guest post was written by Tito Ferradans.
It’s time we look at using anamorphics in a different way – which actually links back to anamorphics’ original purposes!
The plan is to “transform” (lots of quotation marks there) a full-frame sensor into something BIGGER (did someone say medium format?). For that, we’re gonna rely on creative rigging and full frame anamorphics.
I must warn you, this process is not bulletproof and might not fit the high-pressure environment of a traditional film set.
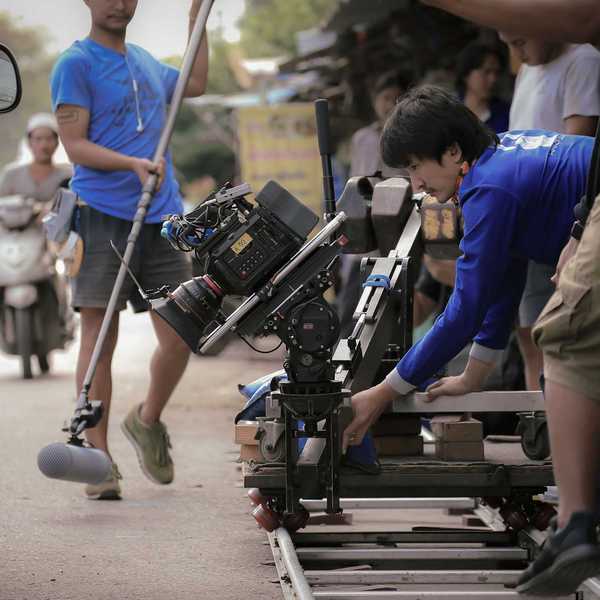
The idea for this experiment came from discussing using anamorphics sideways with Thomas at Epic Light Media for their video on the subject. ELM used a Blackmagic URSA Mini, an Atlas lens, and a Letus AnamorphX Pro. They put their camera sideways and rolled with it!
I am adding some more math to it and simplifying the stack of glass. To get started on the goal of simulating a larger sensor, let’s rotate the camera sideways and see what happens.
A Nod to Anamorphic's Intentions
Harking back to the origins of anamorphic, I want to expand my frame, so instead of thinking of anamorphic as a way to change my focal length, I will think of it as a way to virtually change my sensor area.
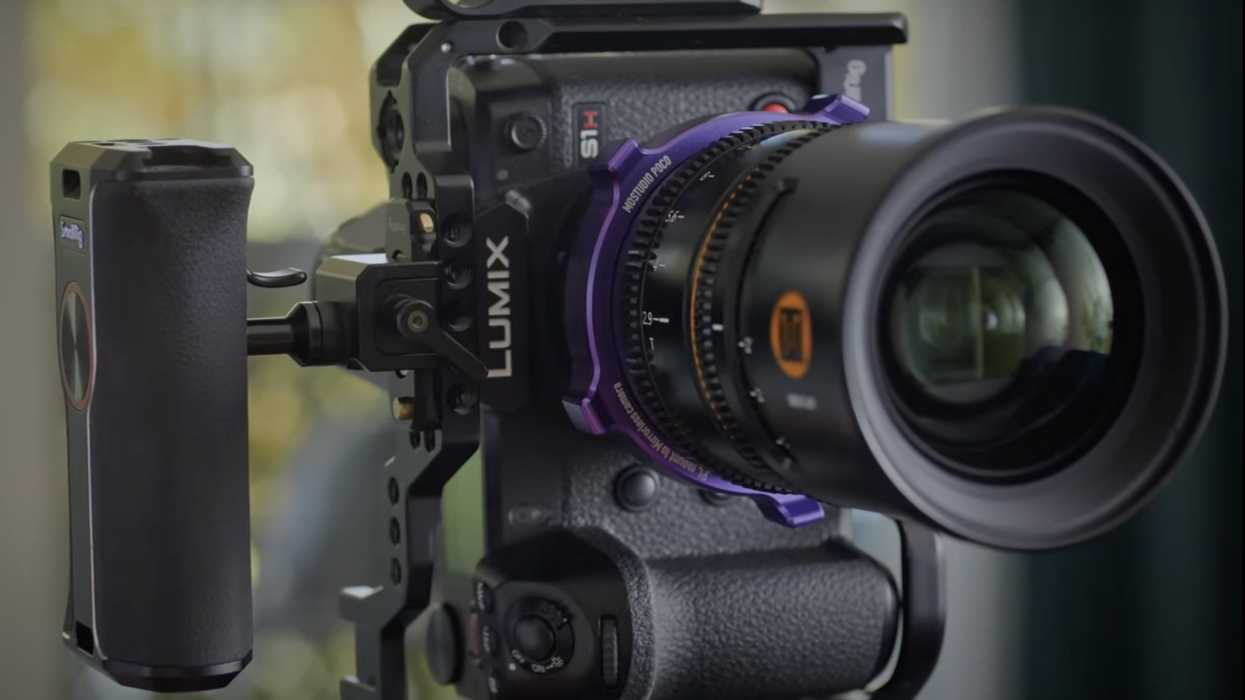
The core idea relies on anamorphics that cover full-frame and can easily be mounted sideways. PL mounts are friendly to 90-degree adjustments, so that is the path I chose. The only full-frame anamorphics with PL mounts I had at the moment were Vazen’s 85 and 135mm as well as Great Joy’s 35mm and 50mm.
 A simple camera setupCredit: Tito Ferradans
The S1H’s full-frame sensor, working on open gate mode, gives me a recording area of 36mm x 24mm (a little less if we get nitpicky). When we mount an anamorphic lens the traditional way, we multiply the long side of the sensor by the squeeze factor. For this example, with the Vazen and Great Joy’s: 1.8x. The resulting image is what we would get using a sensor that is 36*1.8 = 64.8 by 24mm.
From here, we can rotate the lens to squeeze things vertically and redirect that squeeze or rotate the camera and reorient the sensor while keeping the squeeze horizontal. I chose the second option, and you’ll see why.
Making the Rig Weird
When I rotate the camera, the squeeze is applied to the short side of the sensor, resulting in 24mm, times the squeeze. That gives me 24mm x 1.8mm, which equals 43.2mm. By rotating my camera and having the squeeze applied to the short side of the sensor, we’re “emulating” a 43.2mm by 32mm sensor. This is just a millimeter smaller in each axis than the Fuji GFX100’s massive sensor - 43.9mm by 32.9mm - and squeezes us into medium format territory.
 An interesting sensor size that's about the size of the Fujifilm GFX.Credit: Tito Ferradans
It is also a very different aspect ratio, at 1.35:1, pretty close to 4:3, which allows for very different framing and different ways to showcase action. When recording the tests in the video, 50mm felt super wide, and I could frame folks head to toe from just over six feet away. 35mm allowed me to get uncomfortably close to people.
In fact, that was the limiting factor in my experiment: How close I could comfortably point the camera at people since, at minimum focus, I was pretty much in their faces and started getting weird looks!
Anamorphic Medium Format Camera Rig
Let’s analyze the look! The first to notice is bokeh is vertical, like regular anamorphic bokeh. This comes from the fact that I am recording with the squeeze applied to the horizontal axis of the image and is a consequence of rotating the sensor instead of the lenses.
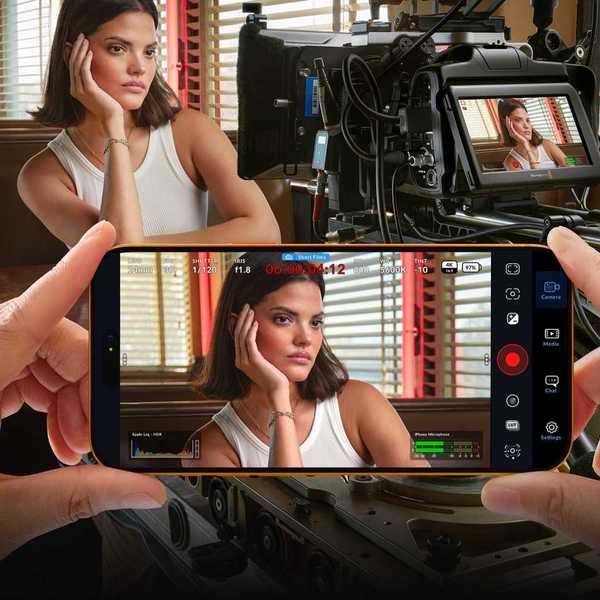
 An image sample from the setupCredit: Tito Ferradans
Because of the different orientations, we get artifacts that would only appear on the sides of the screen to show up on the top and bottom of the frame in a more pronounced manner. All the lenses I used here were pretty sharp and even, but if you had a strong focus falloff on your setup, that would manifest on the top and bottom of the frame, which could force your hand with framing to avoid it or to embrace it!
 Another image sample from the same shootCredit: Tito Ferradans
To keep the camera rig manageable while recording, I added a top handle which became a side handle in the new camera position. The image couldn’t be desqueezed in-camera, so I had to imagine how it would look and just keep an eye on what my framing felt like based on what was contained in it.
I expected to have to rotate all my clips 90 degrees in the edit since I am literally using the camera sideways. Fortunately, Panasonic’s latest cameras save the file orientation based on the camera orientation, so all my files came in with the correct side up! Even just playing them on regular media has the right side up. This was a big time-saver.
An Experiment With Interesting Results
I feel I could have done better with my framing to make the look more pronounced, such as getting closer to subjects and making better use of the aspect ratio, yet this is a different take on using anamorphics and my first time trying it out. It could be greatly beneficial to projects that have a more square aspect ratio but still wants to bring some optical weirdness to the table.
What do you think about this setup and experiment? Would this be something you'd be interested in using for a project?
Let us know in the comments!
This guest post was written by Tito Ferradans.
Source: Tito Ferradans
- This Compact $679 Anamorphic Lens Packs a Cinematic Punch | No Film School ›
- CINESPEED65: KIPON’s Bold Entry into the Medium Format Cine Lens Arena | No Film School ›
- Blazar Lens is Bringing Its Popular Remus Anamorphic Lineup to Your Mirrorless Cameras | No Film School ›
- Think You Can Shoot Full-Frame Anamorphic Footage in Both Horizontal and Vertical Formats? | No Film School ›