Interviews have become a hot commodity in the world of TV and film. Although they are the staple that holds any good documentary together, interviews are typically used to communicate a story through a specific perspective. Interviews create a sense of authenticity to a narrative, and more depth can be created by adding cinematic elements to an interview.
Creating a cinematic interview can be a little challenging, but it is not impossible. Knowing how to work with any location to benefit the interview or providing the right lighting to the scene can make a huge impact on the cinematography of the interview.
Cinematographer Casey McBeth and Indy Mogul break down the 10 steps it takes to create a beautiful interview no matter your budget or location with a Canon 6D MKII, Syrp Genie II with a magic carpet slider, three lights, and a simple audio setup.
Scout the Location
Knowing where you’re going to be filming your interview is vital. Make sure the location you’re shooting at is visually interesting and is a conversation with the subject matter. When looking for a location, start looking for what you don’t want in the frame. Although that sounds counterproductive, knowing what you don’t want in the shot will make finding the right location easier in the long run.
Setting up near a doorway or any space that gives depth to the frame is a great location to shoot. A place where there are a lot of leading lines that will bring the audience’s eye back to the talent. It’s important to not place the talent right by the wall because that will eliminate the depth of the shot. Instead, the chair will sit a few feet from the wall, then place the camera in front of the talent of a small tripod stand.
Camera placement
The camera should be angled slightly lower than the eyes of the talent to make them feel as if they have authority over the camera. This will make the talent feel comfortable and relax during the interview process.
To create a cinematic quality, shoot the interview at 24FPS with a shutter speed at a simple 1/(FPS x 2) for optimal motion blur. Always check with the post-production coordination if you're working on a specific project to see what they would prefer the frame rate to be for the interview.
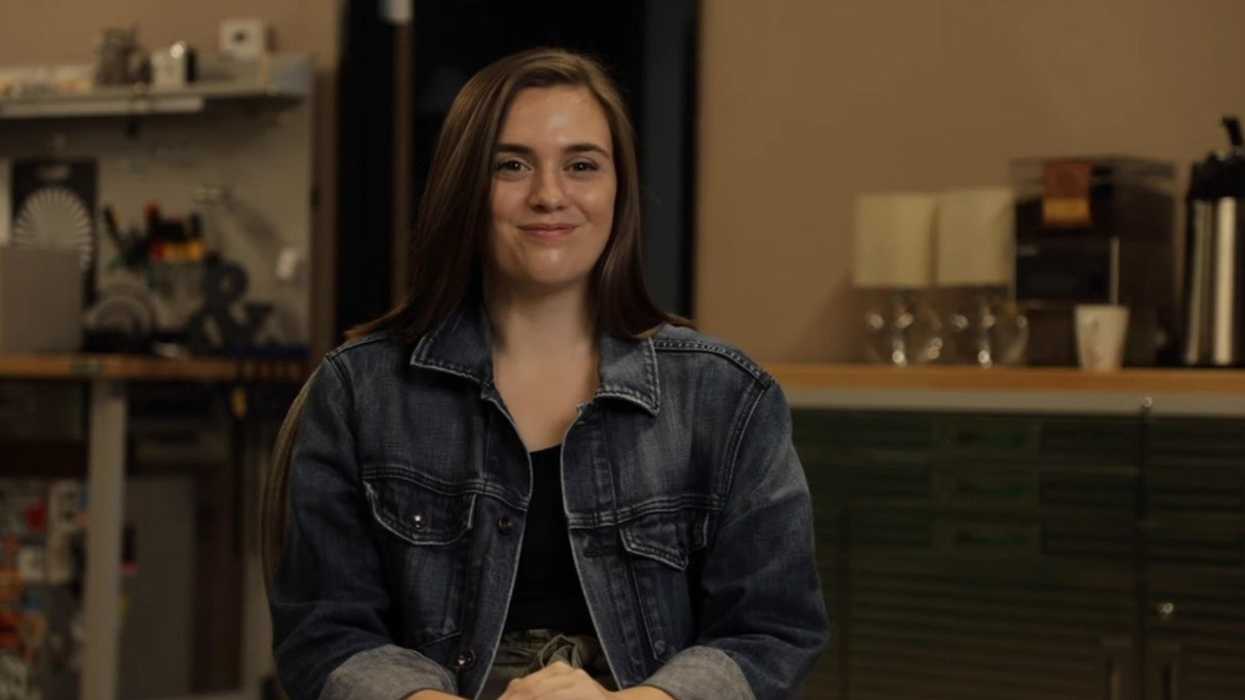
The traditional way to frame the talent is to have them positioned on the left or right third of the frame. If you were to cut the frame vertically into thirds, there should be more lean room on one side. This makes the person in the frame look more glamorous. There should be three to four fingers above the head to create space above the head. If the talent has a bit of their head cut off, then the frame will look more intense and heavy. If the camera is showing too much of the person’s body such as their lap, then they could look short or lost in the frame. It’s also a good tip to not have any plants or beams poking out of the talent’s head. Pay attention to where the subject is in comparison to the background.
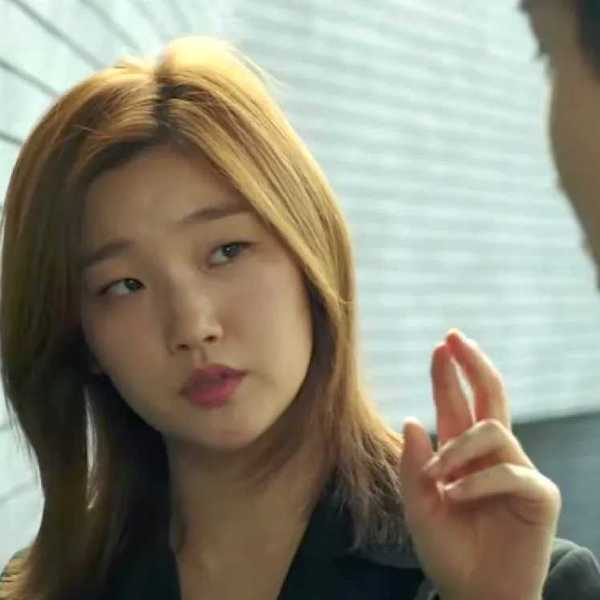
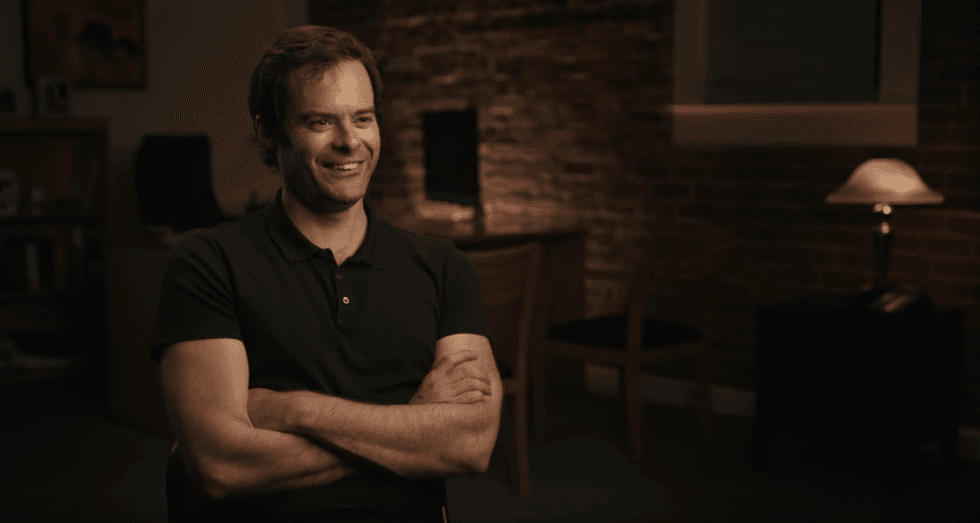 Bill Hader in 'Too Funny to Fail'Credit: Hulu
Setting Up a Key Light
The key light is the light source that will draw the audience’s eye to the talent. Using a traditional light with a softbox angled at a 45-degree angle will diffuse the harshness of the light and give the talent a shape and highlight that is flattering.
If the key light is spilling onto the wall and creating harsh double-shadows, use a fabric grid to control the direction of the light.
Add a Backlight
Overhead lighting in an indoor shoot will flood your lighting setup, but that doesn’t mean you have to turn off the location lights. Use the location lighting as an ambient fill, and motivate that fill with a backlight.
A backlight helps give the person in the frame a little more shape. Instead of parts of their body falling into shadows, they are well defined by the light from the darkness of the background.
Add a Background Light
To push the depth even further, add a light in the background to separate the talent even more from the background. Bounce the light to cover as much area as possible in the background, and add some color contrast to increase the focus on the talent and separate them further. Adding a gel filter to the background lighting will help solidify that separation.
 Key Lighting, Back Light, and Background LightCredit: Westcottu University
Light with Practicals
Practical lights can be added for visual interest and motivation for the lighting in the frame. These lights that are in the frame can make the shot look more interesting and add the needed color to the frame.
Be mindful of the temperature and quality of the practical light. A great and affordable investment to control the practical lights is a hand dimmer.
Set Decoration
To bring a set alive, up the quality of the production and remove distracting elements. Adding texture and color to the shot is key, but make sure the added elements are not distracting or drawing the audience’s eye away from the talent. The decorations shouldn’t be clustered together. Spread them out evenly in the background to make it pleasing to the eye and work with the conversation happening on camera.
Bring in a Second Camera
It is very unlikely that someone is going to give a perfect answer right away, and there are only so many times you can cut to a B-roll. Having a second camera gives you the ability to cut and simplify the editing process, and make the talent look comfortable on camera.
Using a second camera on a motorized slider gives you constantly changing, and visually interesting angles. A simple motorized slider like a Syrp Genie II is perfect for a one-man crew. The motorized slider can be controlled by an app and will follow the track you create until you tell it to stop.
It’s key that the camera you are using as the second camera is the same as your main camera because they will have a similar color space and make editing so much easier.
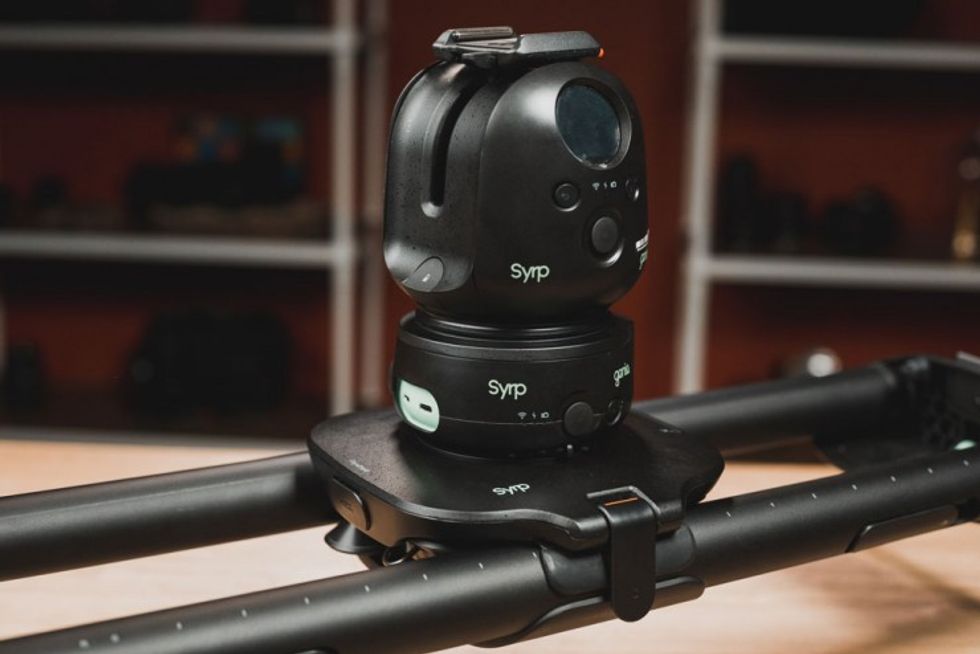 Syrp Genie II on a Magic CarpetCredit: Borrow Lenses
Capture Great Audio
Check the framing of the shot before setting up the mics to see where to place the mics so they won’t dip into the shot. A great mic to use for an indoor interview is a hyper-cardioid/cardioid mic. A shotgun mic will capture the best audio outside if you are filming outdoors.
Place the mic about a hand space away from the talent’s forehead, and point it towards their chest. Many people make the mistake of pointing the mic at the talent’s mouth, but if the talent slouches at any point, then the mic is pointed at the forehead and not capturing any quality sound. After the mic is placed, check the frame again to see if any shadows are being cast, and move the mics to eliminate those shadows if needed.
Since most mics don’t connect to a consumer camera like the Canon 6D MKII, plug the mic into a recorder like the Zoom H5. Check to see if there will be an echo in the room by clapping, then place sound blankets on the wall or floor to get that perfect sound quality. Spend the extra time needed to perfect the audio quality in pre-production to save yourself the headache it would take to fix it in post.
Break the Ice Before Recording
It’s important to make sure that the talent and the person conducting the interview are comfortable with the unique conversation style of an interview. In everyday conversations, we tend to react to what someone is saying by giving our insight into that. Sometimes, that reaction cuts a person off too early to make clean sound bites a little tougher to find.
Give a lot of non-verbal cues because it is still a conversation. Be quiet and let the talent say everything they have to say. Also, remind the talent to repeat the question in their answer. The process of editing and how information is being given to the audience will be cleaner and easier to understand.
With all of these tips, you should be able to create a beautiful interview that is cinematic and engaging to watch. Like all things, creating a cinematic interview will take practice before you are completely satisfied with the results. If something doesn’t work the way you want it to, don’t be afraid to alter a tip to fit your style. In the end, interviews should embody the theme and tone of your project and should highlight the talent as the star of the show.
Do you have some tips to create a cinematic interview? Let us know what those tips are in the comments below!
Source: Indy Mogul