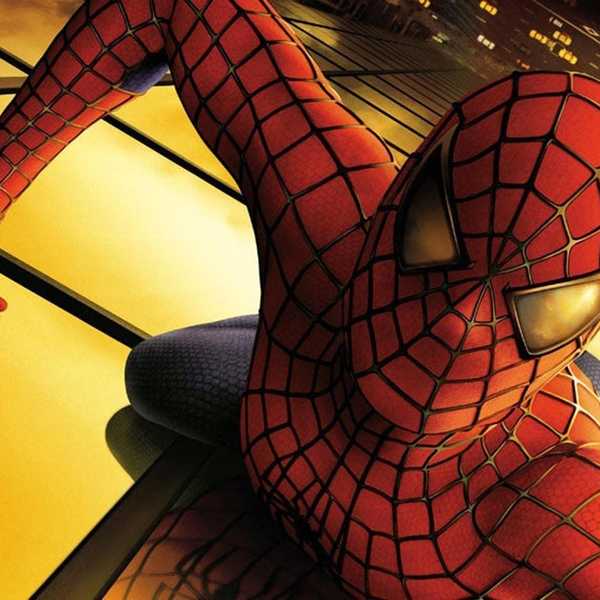
Learn How to Create VFX from Two of the Greatest Shows on TV
New tutorials recreate the coolest current moments of fantasy pop culture.
Well-crafted VFX can take your production value to a whole new level, but if you're working on a zero budget, it'd be wise to learn how to do those VFX yourself.
Red Giant came out with a couple of great tutorials that break down the process of making some of TVs best visual effects, including a Red Witch fireball from Game of Thrones and the Mind Flayer from Stranger Things. So, if you're ready to get down with some pyrotechnic flair and Godzilla-scale fury, check out the videos below.
Keep in mind though, you'll need some Red Giant tools to follow along.
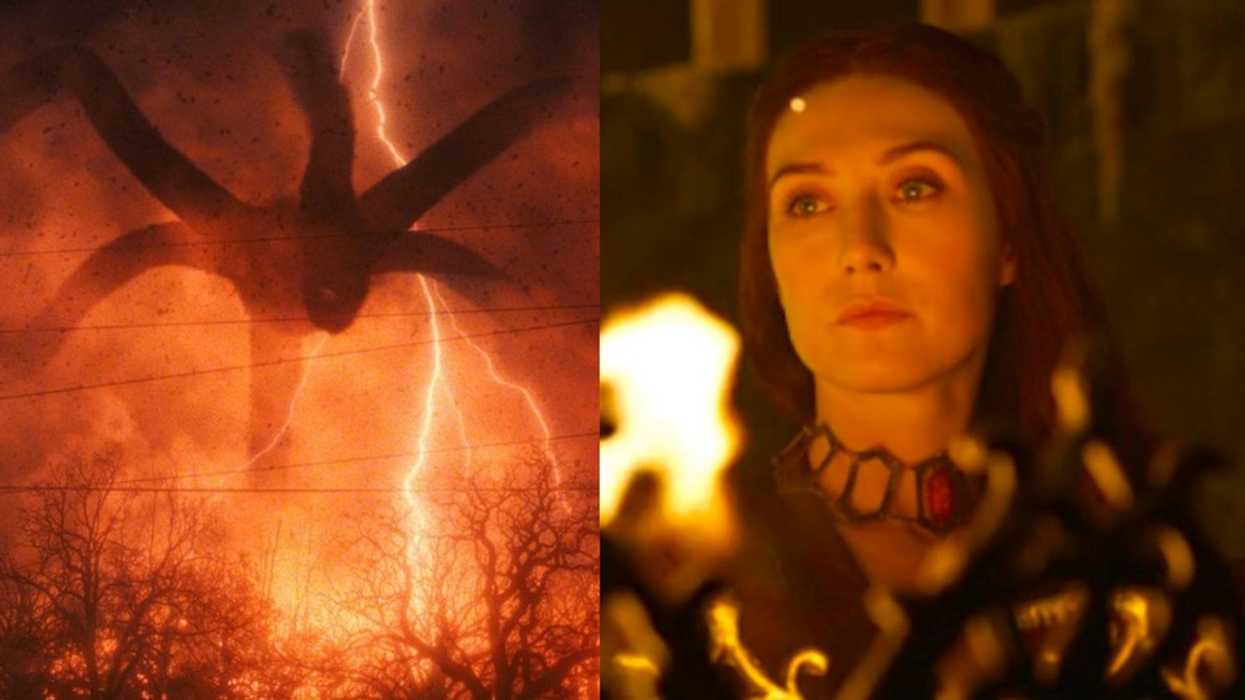
Stranger Things: Making the Mind Flayer
The Stranger Things tutorial, hosted by the always-hilarious Seth Worley, will walk you through the process of creating your own Mind Flayer. Be warned, though...this tut flies by. The steps aren’t exactly complicated but prepare yourself to backtrack a YouTube playhead. A bunch.
The monster is created in the first steps. Its legs are drawn with the pen tool over a reference screengrab from the show. Red Giant’s Trapcode Tao is applied and tweaked. After some new-layer blending and a massive copy-and-paste of a wiggle expression, there’s your monster, lumbering on the horizon. Does it look real? Not especially. But the remainder of the tutorial blends, composites, and textures the beast until you're shaking in your boots.
Worley mills the layers through 16 hard effects with numerous modified parameters. Half of these are Red Giant effects, but the other half are native to After Effects, so learning isn’t contingent on buying Red Giant. Two fog effects from ActionVFX will run you about $20, and there’s a free download you need to grab from Video CoPilot, but both sites have a lot to offer and should be bookmarked on your browser anyway.
For a sophisticated effect, it’s not hard-going; the magic is created in the effects panel and in the ordering of the layers. There’s a lot to learn about After Effects’ Advanced Lightning and blending in general. Honestly, the challenge is following along and backtracking that playhead on the YouTube video. The result is some true wizardry.
Game of Thrones: Red Witch Fireball
The Game of Thrones tutorial is a different animal at a full half-hour in length. Hosted by Dan Hashimoto (Hashi to his friends), it's part of the Cheap Tricks series and the first of four Game of Thrones tutorials he has planned. The tutorial proceeds at a pace closer to real-time Andrew Kramer content. There is rotoscoping, and layer blending—it’s not for beginners in this respect, but it does two things very well: it explains and contextualizes its steps so you learn hard info about the VFX process.
Hashi starts by creating the woods out of a free forest plate he found online. By cloning and extracting the trees and tree branches, he creates foreground, mid, and background layers that he then arranges in 3D space, adding a fog layer from ActionVFX and a camera push to create depth. (He also duplicates the foreground layer, lowers its anchor point and adds a horizontal tilt to it to create "ground" and z-depth—a nice trick). Our Red Witch friend and her movements get keyed with Primatte Keyer and the Core Matte function from the latest version. Then he gets to work on the fireball.
He starts with a simple instance of Trapcode Particular, which he modifies to produce something that looks like a lick of sparks—not yet a fireball. He ties this to a null that he flings offscreen using the Motion Sketch effect. He messes with the keyframes of the particle system's flight and then pre-renders the layer as the first step to bringing in the fire.
Adding blur and cranking its color curves, he makes the particle layer an unfocused, undulating blob. Hashi then grabs another ActionVFX element, a fire layer, which he links to this blob, which he designates as an alpha matte, or more specifically, the sphere that now "holds" our practical fire layer. By roughening the fire's edges, and adding a noise expression and a time expression, in a few steps we have a ball of flames. What's cool, and insightful, is the way that Hashi creates it with expressions and effects rather than with masks and keyframes. "Way better than feathering," as he says, and he's right.
With these three layers as the basic set up, the rest of the tutorial consists of kneading the light between the layers with the Supercomp Tool. The tutorial shows how Supercomp makes these adjustments easier to access, see, tweak, and integrate, which is not an insubstantial feat. These adjustments wouldn't be impossible without Supercomp, but they would be deep drills, requiring a lot of experience with how light physics behave in a stack of elements and adjustment layers. So Supercomp: duly impressed.
Wrapping Up
But here's the caveat, for me, with both tutorials: however generous the hosts are with tips and techniques, and whichever super tool the tutorials promo, all of the on-the-fly polishing between the steps—the edge-blending, color correction, a quick touch-up roto of the witch's hands—all of that is the work, and art, of professionals. That, too, is something to see, but adjust your expectations, and have patience with your own skill-level. We're logging hours toward mastery here. Regardless of the result, can we agree that that's its own reward?
Source: Red Giant