How We Made an Epic Fantasy Trailer with Just Stock Footage
Can you use stock footage and actually make something cinematic?
This post was written by Lion El Aton.
We’re always looking to push the limits of what’s possible, so we took on the insane challenge of trying to make a trailer that looks like a real movie using stock footage for every shot.
Here’s how we did it.
The Idea
With the challenge in mind, we headed over to Artgrid to browse their collection of stock footage to get inspiration. After coming across some really majestic-looking shots with a fantasy vibe, we decided to build a world around that.
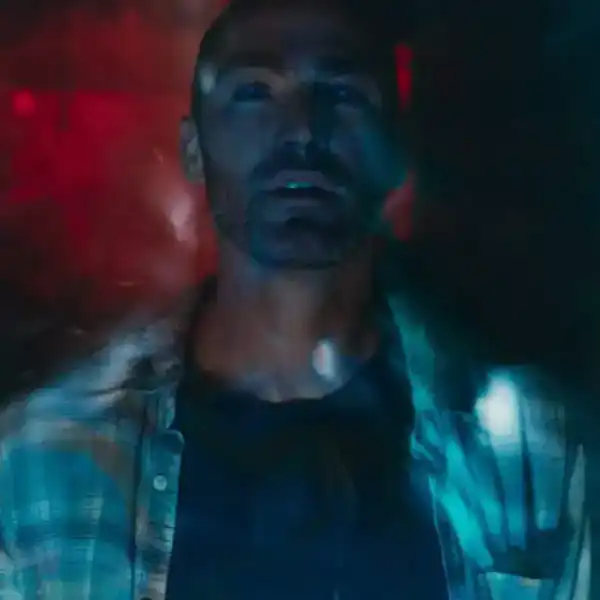
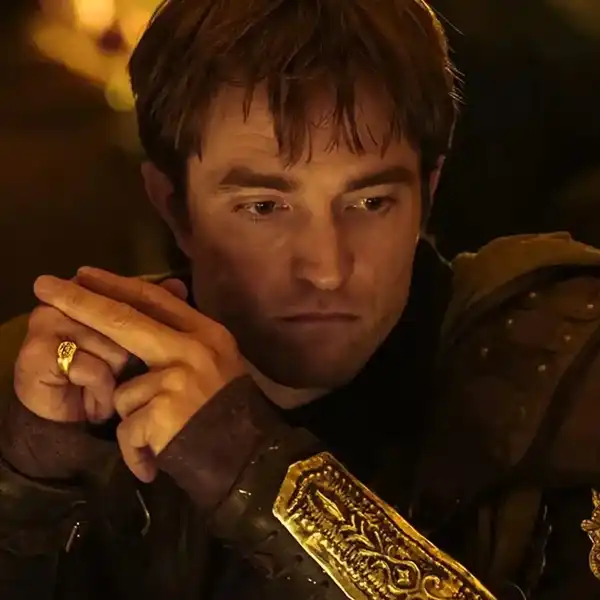
Giant creatures and colossi, and nomadic warriors who roam the land to fight them. Enter The Old Gods.
Tip: When you’re heavily restricted, build around what you have available to you, whether it be props that give you great production value, access to certain locations or talent, or in our case, stock footage.
Soundtrack
There are two main ways to approach sound and music when making a trailer. The first is by building the trailer around a single track or piece of music. You often see this in trailers for modern films where they use a traditional song with lyrics, and sometimes remix it to alter the tone. They typically do this by slowing it down or adding more dramatic and cinematic effects like reverb or heavy drum hits to give it a different feel.
Tip: If you’re making your trailer, divide it into themes or sections. We gave this trailer two sections with different musical themes, interrupted with small breaks and some dialogue.
The second way to make a trailer is by creating a sound design-based theme. Instead of making an entire music track, we created rhythmic and patterned sections of sound design using individual sound design elements.
We used our cinematic sound effects library SINGULARITY, but any sound design elements will work. Make sure you leave space around your music and sound design for dialogue if you have any.
Tip: When it comes to the auditory layout of a trailer, rhythm is your secret weapon. Create a rhythm with your sound design, and you’re already halfway there. Most of the best trailers have this, even if they don’t have a traditional music track in them.
VFX
VFX were really the bread and butter of this whole project. Most filmmakers know by now that you want to use CGI to augment practical shots. Full CGI shots can work, but they’re often very difficult to pull off and make look good. Luckily, since all of our base shots were going to be stock footage, we had plenty of practical stuff to work with.
Tip: An easy VFX compositing hack is to simply layer additional elements on top of the main thing you’re compositing. This can be clouds, dust, fog, lens flares, light leaks… anything that helps ground the element you’re compositing into the scene.
We use Adobe After Effects for the bulk of our VFX work. We also love to use Video Copilot’s amazing Element 3D and Optical Flares plugins inside After Effects. As for the elements we used, CGTrader is our favorite for finding 3D models. If you want to use 3D models in Element 3D, we recommend you filter your searches to look for .obj models.
For the animated dragons, since we didn’t have time to rig and animate a dragon ourselves, we just bought animated dragon stock footage by searching “dragon stock footage” online. We then composited these into some of the shots by matching their color, motion blur, etc.
Tip: If you’re compositing something against a clear sky, an easy way to get a good blend into the environment is by simply lowering the opacity on your element to make it look like it’s actually in the distance. The lower the opacity, the farther away it will appear.
In addition to VFX assets from our SOL space VFX packs, we also used amazing VFX elements from ActionVFX, as well as some from Video Copilot’s Action Essentials 2 pack.
Tip: Composite in real elements in addition to everything else, like birds for scale, and fog for atmosphere. This will help sell the effect. And don’t forget to add motion blur!
Sound Design
Since we already created the base track out of individual sound design elements, all we had left to do was add the foley and diegetic sounds, as well as the dialogue/narration. We used our IMMERSION Foley and Diegetic Sound Library for things like the wind, environment and ambient sounds. These added even more realism to the piece.
Tip: Diegetic sounds are sounds with an onscreen source. This includes anything that would be coming from the scene like environmental sounds (wind, rain, traffic, etc.) or sounds from character actions (footsteps, doors opening, gunshots, etc.).
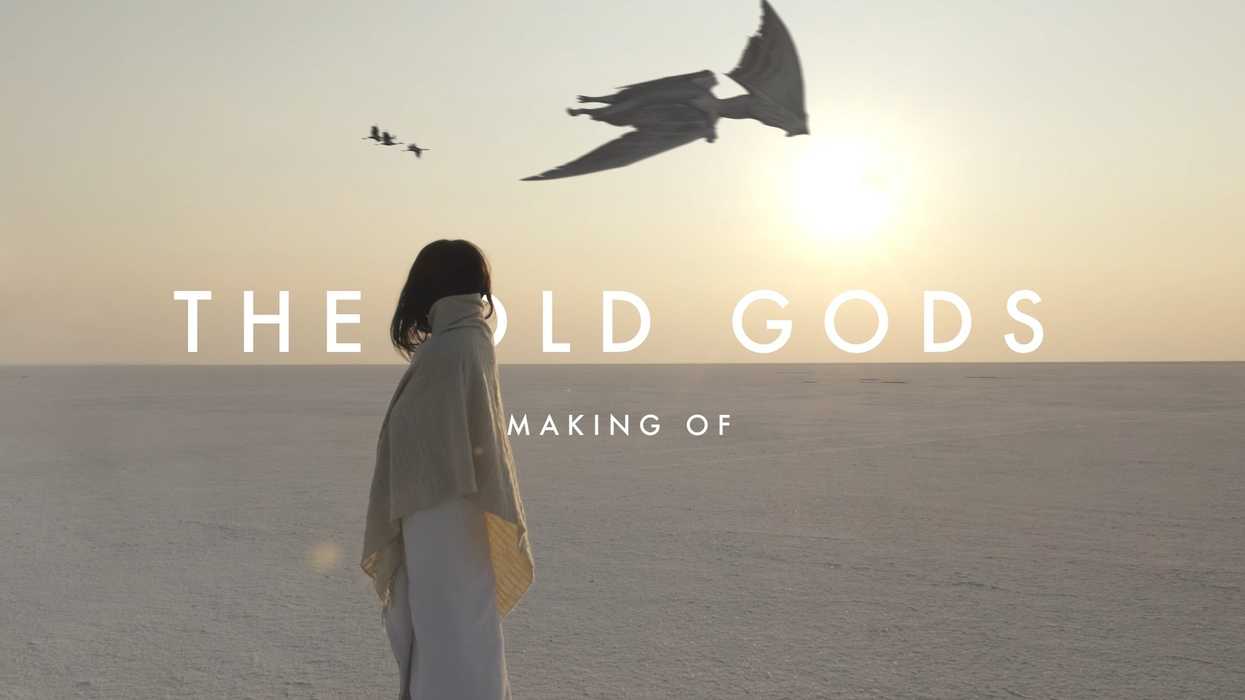
We found these beautiful shots in Artgrid of a woman who looked like a priestess or goddess speaking, so we decided to make her the de facto voice of the narration/dialogue. We went onto Splice, which is a royalty-free sample and music software website and searched for vocals that would match the tone and feel of our piece. We dropped those in to coincide with the shots of the woman talking, and we were ready to move on to the final step.
Tip: Leaving empty space in your sound design is just as important as having sound. The contrast is what creates the most interest. The silence before the bang…
Finishing Touches
In the last stages of a project, we always start by making sure we’ve tightened up and perfected our edit. Then we add what we call “sauce.” This is basically anything that livens up or adds texture to the piece.
This can make a huge difference, especially with VFX shots, but don’t get too carried away. Be like a chef—add the right amount of sauce for the dish. Too much can ruin the whole thing.
Tip: If you’re not sure what kind of “sauce” to add, consider lens flares, film grain, light leaks, lens dust/debris, vignettes, color overlays, particles, distortion, film textures… anything that adds visual interest, matches the vibe and aesthetic of your scene/project, and isn’t too much.
After we have all the visual elements in, we do color grading. We typically color correct each shot, and then create an adjustment layer above all our shots in a scene and apply a sort of finishing color grade to the whole sequence. Then we usually individually color grade each shot from there.
In this instance, though, since all of these were supposed to be disparate shots from across an entire film, we just color graded each shot individually.
Tip: Color correct, and then color grade. Color correcting is about getting the right colors for each of your shots. Color grading is about adding “sauce,” and giving your film its own look, style, and aesthetic.
For creating the end titles for The Old Gods, we used Element 3D inside Adobe After Effects. We just extruded our text in Element 3D and applied a texture to give it some weight and detail. Then we added some simple animation to the text, and faded it in from the darkness by keyframing the opacity of the text, and the brightness of our 3D lights.
Tip: Not all fonts are created equal. If you want really cinematic looking text, play around with making your text smaller (or really huge in some cases), increasing the kerning (distance between each character), and using all caps (all caps usually looks better as a general rule).
Final Trailer
And that’s it. We attempted to create an epic fantasy trailer using stock footage for every shot, and here’s the finished product.
You’ll have to be the judge of whether we pulled it off or not, or at least made something cool for almost no money. Let us know.
Written by Lion El Aton, founder of FILM CRUX.
FILM CRUX is a renowned filmmaking blog designed specifically with filmmakers in mind. We create and share everything you need to take your filmmaking to the next level, from tutorials and resources, to inspiration and articles covering everything from editing, cinematography, screenwriting, film theory, VFX, animation and more.