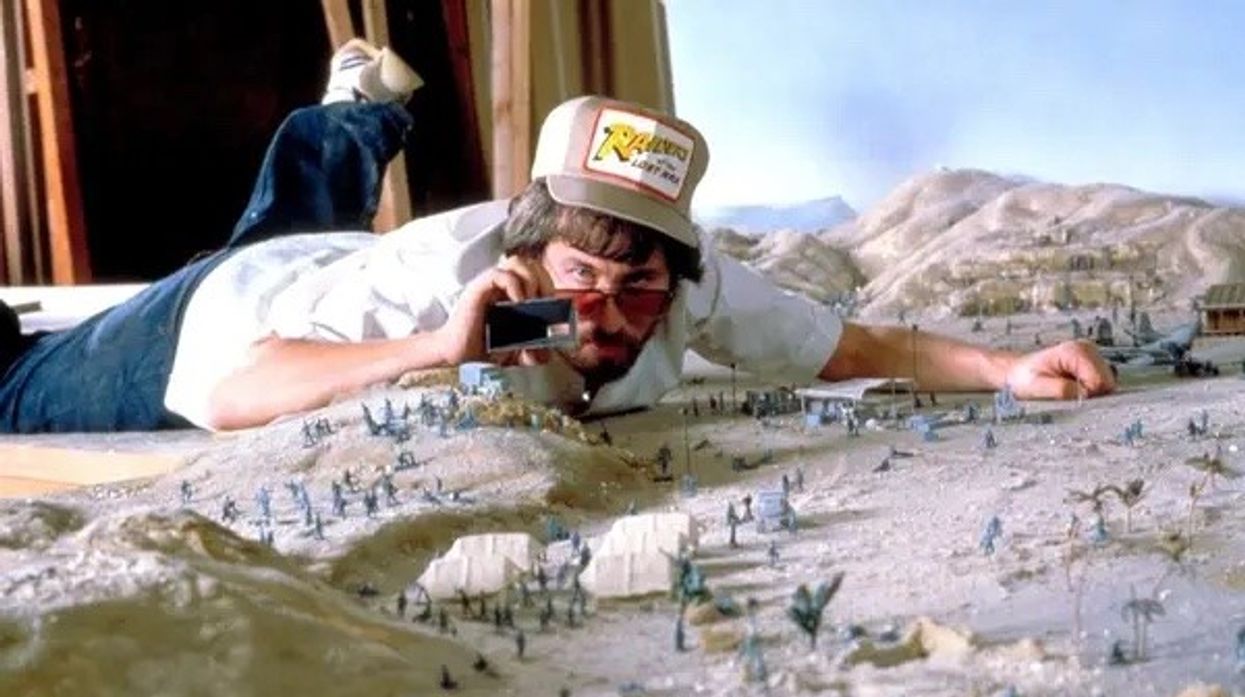
3 Key Aspects to Keep in Mind When Filming Miniatures
Here is what you need to know when shooting with miniatures.

Miniatures are often overlooked when we talk about cinematography and filmmaking, yet they have been a staple in filmmaking since Georges Méliès’s A Trip to the Moon in 1902. They have been used to the stunning landscapes of Middle-earth in The Lord of the Ringstrilogy, background imagery in Interstellar, and cinema’s most memorable effects like the tornado in The Wizard of Oz.
No matter your level of filmmaking, miniatures are a great resource to use when you want to shoot a location that doesn’t exist or when you need a budget-friendly solution that cannot be solved with computer-generated effects.
While building a miniature is one thing, shooting the downsized set or effect is another challenge. Joshua Little states that there are three things you have to consider when shooting a miniature—depth of field, focal length, and camera angle. Understanding these three things is essential to make a miniature set look life-sized.
Let’s break down these three aspects of miniature cinematography.

Depth of Field
To make a miniature look life-sized, the model and the focal plane need to be much closer to the camera. This will ensure that the model is in focus, allowing you to show off the full beauty of your miniature.
It’s important to remember that the depth of field becomes shallower the closer the focal plane is to the camera, which gives away that your set or effect is a miniature. To make your miniature look bigger, you will have to increase the depth of field.
The best way to do this is by decreasing the size of the aperture. The f-stopneeds to match the depth of field of a miniature to what it would be if it was filmed at full scale. For example, if the full-scale model requires an f-stop of 4 and the miniature is at a 1/10 scale, it’s probably best to use the narrowest aperture your lens is capable of.
The downside of using the narrowest aperture possible is that it limits the amount of light reaching the camera’s sensor, but we have two solutions to this problem.
One solution is to increase the amount of light being used on the miniature. You might have to take breaks between shots because the heat of the lights could damage your miniature as the lights did on Dante’s Peak and Star Wars: Attack of the Clones.
The second solution is decreasing the camera’s shutter speed and frame rate to increase exposure times. This allows filming with a smaller aperture without the need for excessive lighting, which is always great for projects with small budgets.
Focal Length
To make your miniature look even more life-like, you will have to keep in mind the perspective of the shot.
It can be tempting to film miniatures with a telephoto lens to make the miniature appear larger in the frame while keeping it farther from the lens, but the lens will compress the space and break the illusion you are trying to create.
Instead, place the model as close to the camera as you can, and film it with a wide lens. This will distort the miniature in a way that makes it appear larger. Keep in mind that your depth of field will decrease the closer you bring the model to the camera.
A potential issue you might run into is that your camera struggles to keep the miniature in focus. The Joshua Little recommends using a longer lens or a macro lens to keep your miniature in focus, although the macro lens could break the illusion by reducing the depth of field too much.

Know Your Camera Angles
The goal of a miniature is to create the illusion that you are in a life-sized space. To sell this illusion even further, you have to shoot from a realistic camera angle.
This might seem like a simple thing to keep in mind, but many filmmakers who haven’t worked with miniatures before tend to get their angles wrong.
If a full-sized object would be filmed from six feet off the ground, then a 1/12-scale miniature should be filmed from half a foot off the ground. Make sure you know the math when shooting with miniatures so you can find the camera angle quickly on set.
When shooting aerial shots with miniature, try to mimic the movement of a helicopter or a drone. Those are the only two realistic ways to capture aerial shots, so anything else would stand out as unnatural and break the illusion.

You can create a practical effect that looks life-sized on screen when you keep all three of these aspects of miniature cinematography in mind when shooting with miniatures. Miniatures can look realistic when you have a deeper depth of field, a wider lens, and realistic camera angles.
There are additional techniques beyond these basic aspects to further sell the illusion, but this is a great place to start.
Do you have any tips for shooting miniatures? Share them in the comments below!
Source: The Joshua Little


