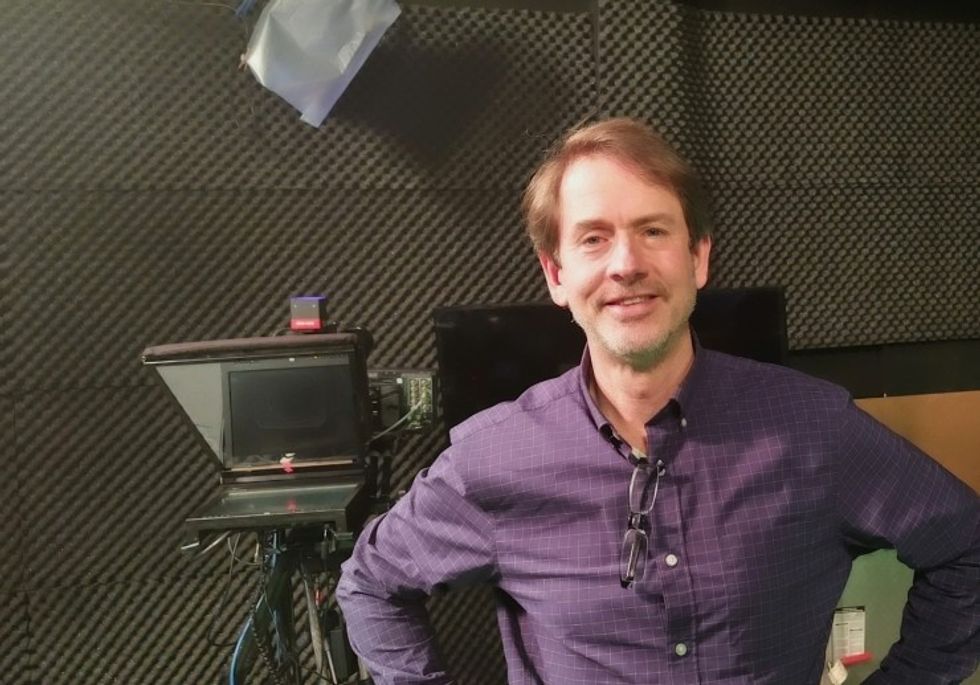
This post was written by Joe Jett.
In this detailed guide, I’ll take you behind the scenes of my New York-based Jett Sets virtual production studio—which has helped deliver television, music videos, and corporate projects for Marvel Comics, the Wall Street Journal, Netflix, and more.
Read on to learn what it takes to create, capture, and combine real and imaginary worlds in real-time, step by step.
 Credit: Joe Jett
The Real World
Let's chat about how our physical studio is set and what equipment we use. This includes our lighting, cameras, audio, and recording media, as well as our workflow with green screen and LED walls. It's important to balance all of these as they each play a key role in your studio
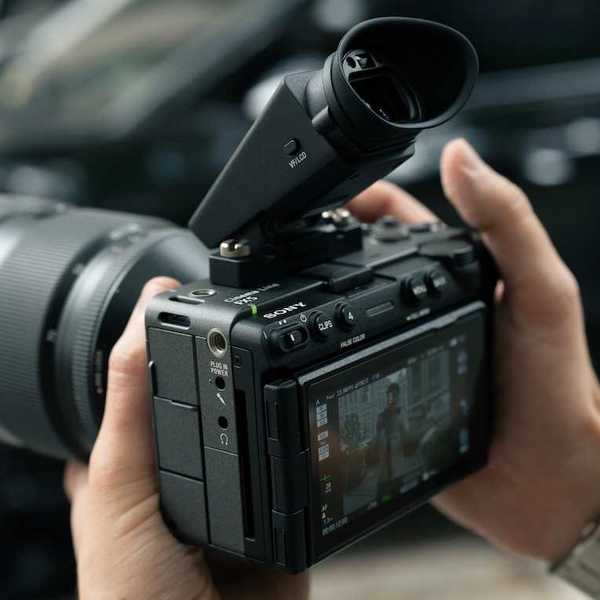
1. Cameras and Recording Media
Much like a normal film set, one of the first steps to building a virtual studio involves selecting the right cameras and recording media for your project.
Virtual studios do allow for multi-camera productions, but depending on your budget, it would probably be simpler to start with a single camera so you can avoid investing in production switchers or other control solutions.
It’s also important to think about what customers you aim to serve with your virtual studio. Netflix, for example, has a list of acceptable cameras that you’re required to use if you’re going to capture a project for them.
At first, some of these options might be more expensive, but I’ve found they are well worth the investment in the long run as they can record and output in both standard HD as well as 4K, so your results will likely still look great in five or 10 years. While there are some affordable cameras on this list, specifically from Blackmagic Design, Netflix has expanded these options to include the latest from Panasonic, Canon, and RED. Also, shooting in higher resolutions such as 4K also means you can digitally zoom in and crop scenes at a later date, which gives you a lot of flexibility if you choose to do any post-production work.
 Credit: Joe Jett
What We Use: The Jett Sets Kit List
- Stanton Jimmy Jib Pro
- Sachtler and O'Connor tripods
- Sony F55s
- Fuji 4K Cabrio lenses
- Zero Density Reality Engine, based on Unreal Engine
- Recording devices such as Atomos or Ki-pro by AJA are solid choices
2. Green Screens or LEDs
LED-based virtual production has become a bit of a buzzword in recent months, so it may seem like green screens are becoming less popular, but that’s definitely not the case. Both technologies have their use cases.
With LEDs, you can avoid green spill, have instant lighting, and help actors see final backdrops without having to imagine them on a green screen. But LEDs also come with their problems. They’re less cost-effective, you can run into artifacts, and color and level changes depending on the shots and camera angles. Tech problems can also include power supply, module failures, communication, and control failures. Hiding the seams between the screens and managing delays when moving the camera can also become problematic with LEDs.
Overall, I’d recommend having both green screens and LEDs in your virtual studio if your budget allows for it. That way, you can take advantage of both and select the best solution depending on your project. But in a pinch, a green screen is more than enough.
 Credit: Joe Jett
3. Lighting
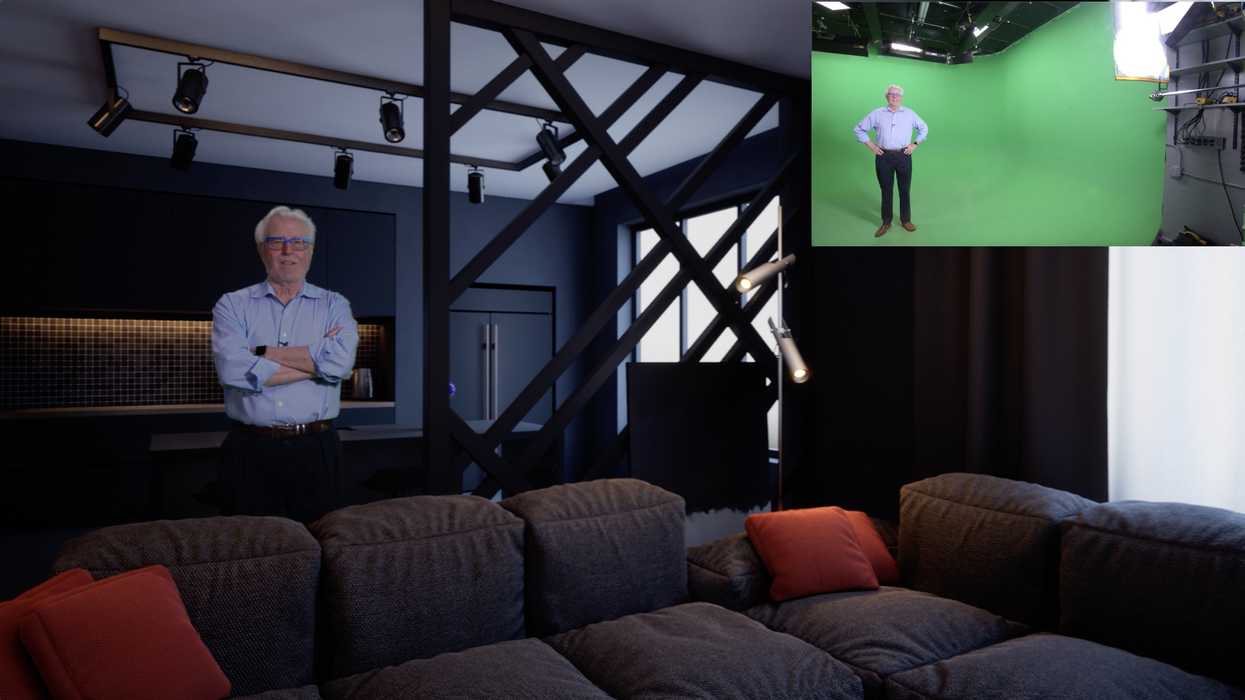
The key to good lighting is blending the talent in the foreground into the virtual background. This includes matching the color, direction, and softness of your light sources. For example, a sunlight exterior would have a hard-edged light source to match the sun, while interiors may have softer-edged lighting.
With today’s bi-color LED lighting fixtures, it is not uncommon to set the camera’s white balance to 4300 Kelvin and then warm or cool the key/fill/edge lights to get the desired look by dialing in the color temperature of the light sources. If you happen to have RBG lights, you can increase the level of control you have.
We try hard not to have flat, even lighting on the talent and often use black flags and cloth to cover the floor and sides that are out of frame to reduce green spill. Also, adding minus-green gels to backlights can be useful in reducing the amount of spill reduction required by the render engine keyer.
When time and budget allow, we have the DP work with the VR set designers prior to the shoot. The DP offers a different perspective that often enhances the work done in VR. This usually involves making more shadows and contrast to the set.
 Credit: Joe Jett
4. Audio Recording
At Jett Sets, we like to ISO-record all audio inputs in the mixer. This means we are getting a clean, isolated recording from a single camera in our multi-camera setup. We then send a stereo mix to each camera, where it is embedded into the SDI signal of the camera. We can also feed the analog inputs on our Atomos Sumo 19 recorders as a secondary backup.
What We Use: The Jett Sets Kit List
- Sennheiser G4 RF for talent
- Sennheiser 416 shotgun mics for backup (mounted over the talent)
- Timecode generated by the audio mixer is fed to all cameras to ensure easy synchronization in post-production
The Virtual World
The physical studio is only part of the equation. How you set up the virtual counterpart is equally important. This includes finding the right software and computer to handle your workflow, as well as the GPU you put inside it. With how good cameras are these days, you can get affordable options. But since the technology is still new, your software and computer will need as much support as you can give it.
1. 3D Software and Render Engines
When I first started working in the industry at CBS, we had to physically break down sets for weekday shows every Friday night, only to rebuild the exact same thing again on Sunday afternoon in order to be ready to start shooting on Monday! This typically took a crew of people half a day or a day. Both to break down and rebuild. We also had to constantly maintain and store sets, which took even more time and effort.
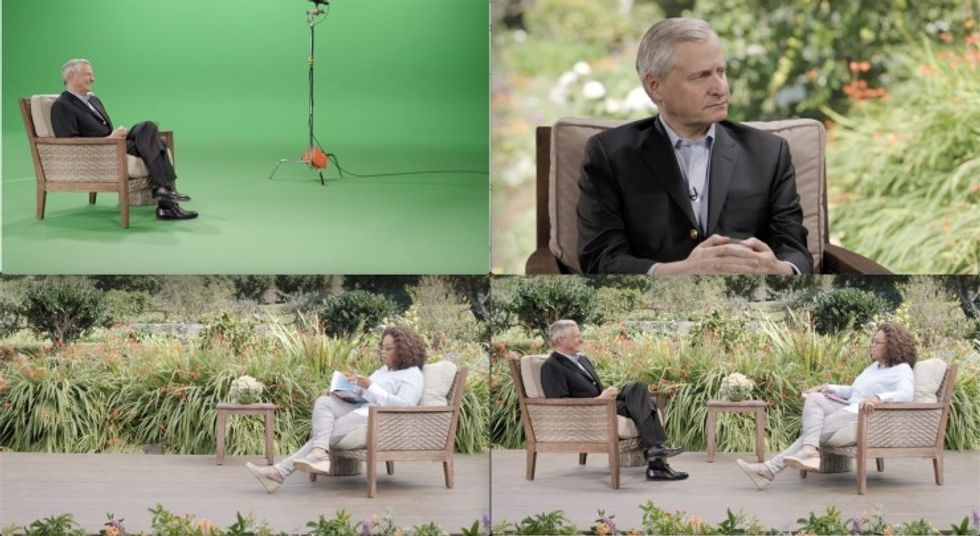
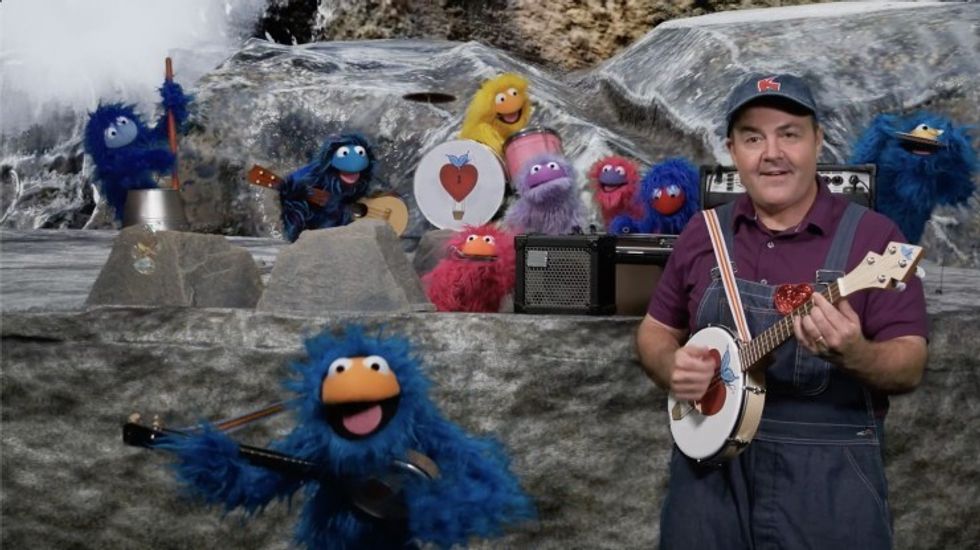
On a virtual set, all this becomes a thing of the past. Render engines will allow you to produce realistic virtual backdrops, props, and characters for your set in real-time. That means they can be modified very quickly. If you need to change the time of day or switch from a beach to a mountain scene, you can do so in real-time. All without rebuilds, storage, or maintenance required.
 Credit: Joe Jett
Regarding rendering engines, I recommend taking advantage of a gaming solution like Unreal Engine as a base. It’s incredibly powerful and capable of rendering millions of polygons. With Unreal Engine 5’s raytracing capabilities, final scenes will look more realistic than ever. If you do decide on Unreal Engine, there are several options you have to expand its usability.
I personally use Zero Density’s Reality Engine, which is a platform built on top of Unreal Engine that essentially optimizes it for production purposes.
What We Use: The Jett Sets Kit List
- A full license for Zero Density Reality Engine. (A Community version for students is free. It’s watermarked but is still a great tool for setting up a project. I highly recommend it.)
- Top-of-the-line HP workstation (Puget System also has great recommendations.)
- Autodesk Maya or 3dsMax for creating graphics that go to Unreal Engine for rendering. (While Blender could work for budget builds, you may need to find workarounds to get it working with your workflow.)
2. Graphics Cards
I’d also like to stress the importance of graphics cards at this stage. In the virtual world, computers are only as good as the graphics card inside them. You need cards capable of rendering thousands of objects in a scene, in real-time. At the present time, the requirements vary depending on the needs of the particular render engine. Some have minimum requirements of an Nvidia 3080ti card, but others may require a faster card such as an Nvidia RTX 6000.
When building out your computer, be sure to check the requirements from your software package carefully.
What We Use: The Jett Sets Kit List
RTX 6000 or 6000A NVIDIA graphics cards
Combining the Real and Virtual Together
If you're a screenwriter, welcome to Act III, where we bring both of our worlds together.
1. Real-time Keyers
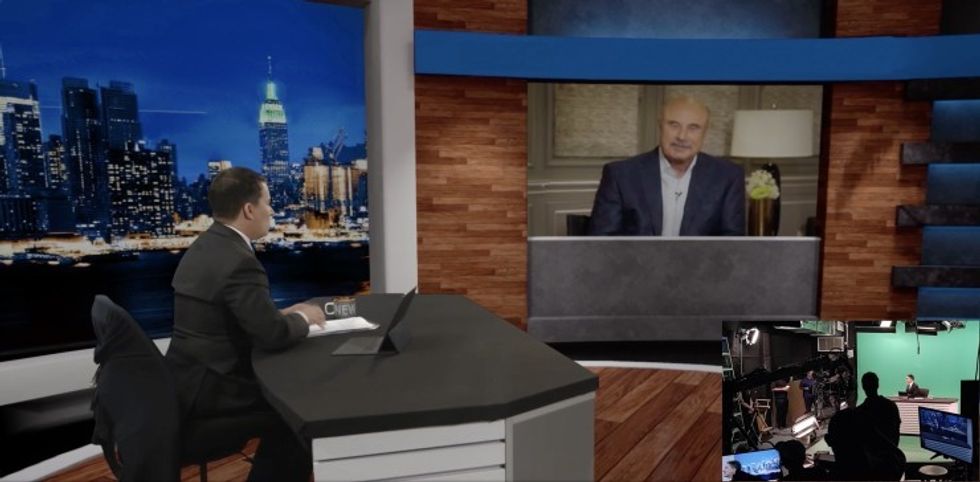
We’ve all seen a bad key. Just think of the weather person on the nightly news with a big white or black line around them, almost like they're a cutout. That's an example of a bad key.
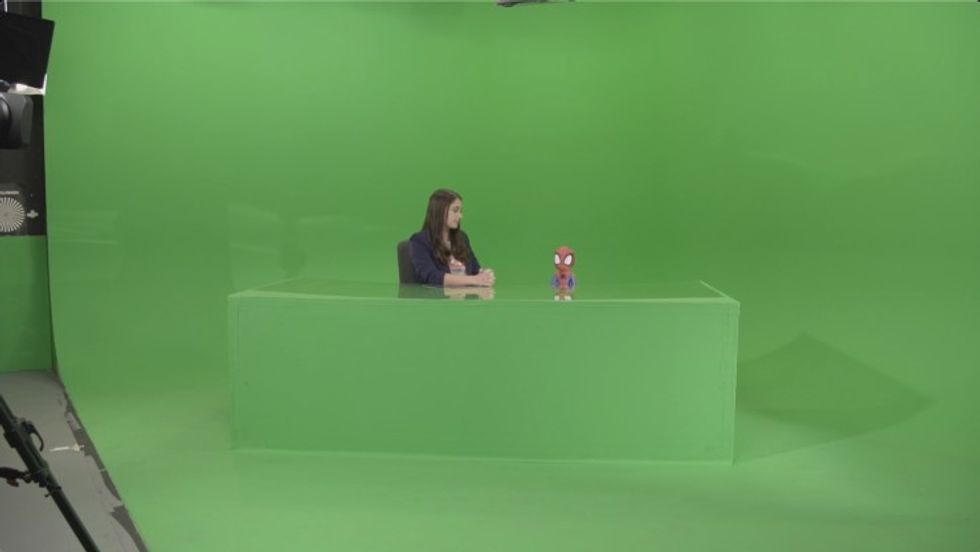
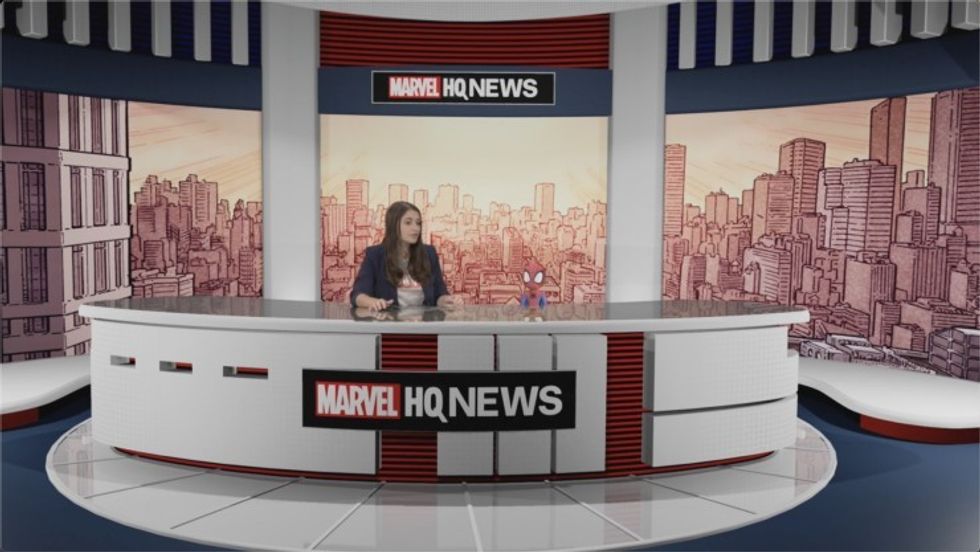
For a good key, you will need a professional keyer. A keyer is a compositing solution that can identify the green in your green screen, subtract it, then replace it with a backplate. This helps merge the real and virtual elements in your scene together. There are hardware keyers like Ultimatte, as well as software-based keyers. The software keyers typically utilize about eight different types of keying methods, including a color difference keyer, Luma key, and more.
We use the Zero Density Reality Keyer, which can key for all tones of green in the cyclorama as it does difference keying.
 Credit: Joe Jett
What We Use: The Jett Sets Kit List
2. Camera Tracking
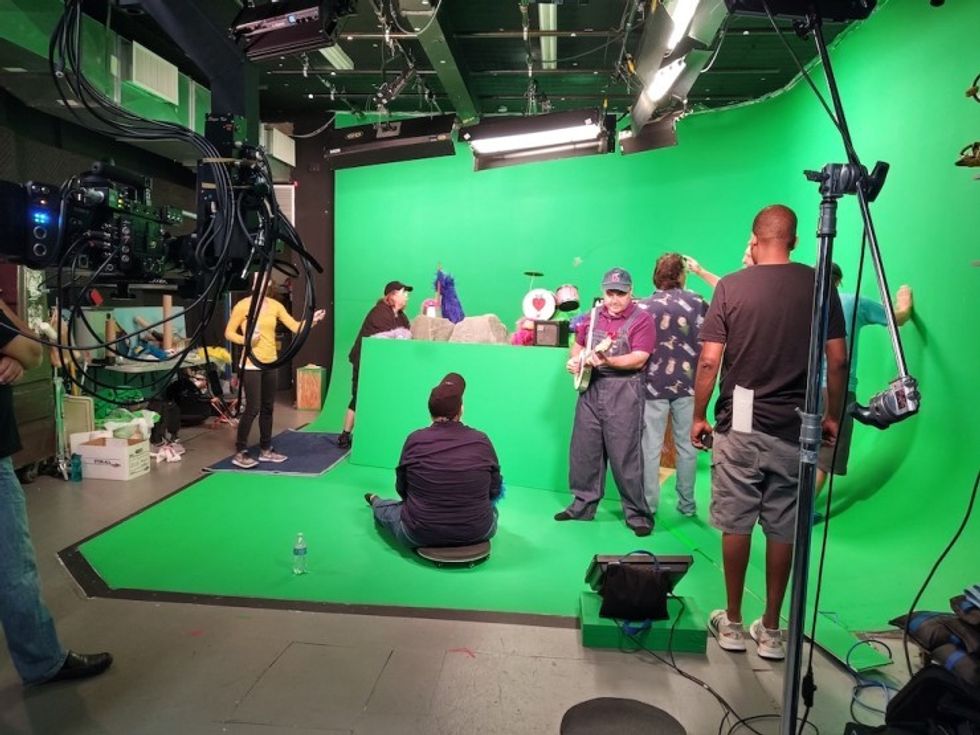
Blending a virtual background with a real-world foreground without camera tracking would be impossible. This is because your game engine needs to know exactly where your real camera is in the physical world so that it can adjust the background to match. For example, if you have a real camera that's zooming in, then obviously, your virtual background comes closer too, right? To do this, you need a camera tracking solution, Aa device that tells the computer where the camera is in time and space. These solutions can be very sophisticated.
 Credit: Joe Jett
Ours uses reflective markers that we put on our studio's ceiling to calculate the camera's position in 3D space. It takes in eight different types of data, including pan, tilt, roll, zoom, and focus data. It also requires something called a lens calibration, so it knows all of the characteristics of the lens you’re using. I refer to this as a lens profile since it’s specific to each lens.
All this data is fed into Zero Density’s Reality Engine and Reality Keyer, which then composites everything in real-time. Some use motion capture suits, which work in a similar way by recording an actor’s movement and streaming the data into the computer in real-time.
What We Use: The Jett Sets Kit List
Overall Budget
This can vary greatly depending on the production details and scope, the camera tracking solution, cameras, and lenses. A virtual production studio can be as inexpensive as $75,000 but can run into the hundreds of thousands of dollars based on camera, lenses, and camera tracking solutions. For example, a good camera lens could cost $15,000 to $30,000, but it may not be necessary or possible for many productions, and budget restraints may restrict this.
However, as the technology changes and new players come into the market, this will become more affordable. The Fujinon MK-Series could be a great alternative as an example. Once again, it depends on the needs of your production.
This post was written by Joe Jett, Founder of Jett Sets LLC.