Written by Santino Vitale
You want to make a movie, but you don’t have money. You want to shoot in visually interesting locations that add scope and production value, but you don’t have access to said locations. You want to make a short that grabs people’s attention, but you’ve only got a kit lens and garage sale tripod.
If any of that sounds like problems you’ve run into, you’re not alone.
No money and no recourses is the plaintive cry of indie filmmakers everywhere. But with a solid understanding of visual effects, it doesn’t have to be.
It’s no secret that technology has now progressed to the point where you don’t necessarily need an entire studio team to build worlds in the computer. Software like Blender and Unreal Engine are blazing a trail for free, Hollywood quality software that can run on your home PC—or even a laptop—so the only limitation is your own imagination. All you really need are a few actors and a green screen (and a good script) and you can make just about anything.
Since this isn’t the first article ever written about ‘virtual’ production, I won’t spend a lot of time on the basics, but I do think it’s worth mentioning a key step in creating good visual effects that often gets overlooked.
Plan for Success
One big mistake that I see getting made time and time again—in both indie work and even on professional film sets—is believing the notion that VFX happens after you shoot. And while that’s technically correct, since it is an element of postproduction, the flaw with that mindset is that it becomes an excuse for poor planning. No phrase in the english language makes my blood boil faster than “fix it in post.”
What you really should be doing is planning ahead and fixing it now, so that you can better ensure your success later on. Visual effects, like everything else in filmmaking, is all about the prep, so if you wanna ace the test, you better do your homework.
How do you put this mindset to action? Well, I’ll assume if you’re reading this that you have at least a general grasp of how compositing works, so I won’t bore you with the obvious (like matching your lighting, white balance, focal length, etc).
However, there is a way to take your prep even one step further:
Instead of simply planning for a shot, plan the shot itself.
Actually take the time to plan out the exact camera angle, motion, and lighting to maximize the visual impact of the shot, while simultaneously minimizing its cost and difficulty.
When you plan in this way, it means you can cut corners like crazy and still end up with an epic result.
My own personal rules are as follows:
- Only build what you’re going to see from the angles you’ve planned, anything more is a waste.
- Use bold compositions to hide imperfections.
- If more than 60% of the overall image is going to be digital, lock down the physical camera and move the virtual camera instead. It saves you from having to motion track.
- Utilize strong directional light sources to help integrate your effects. Nothing looks uglier or faker than even lighting.
With all that out of the way, let’s examine how this mindset fed into the creation of my most visually ambitious project to date.
How I Made a Spec Ad That Looks Like A million Bucks
Building VFX for "The Beast"
Santino Vitale
For my film “The Beast,” I wanted to create an engaging and visually impressive spec ad that would hopefully dazzle anyone who saw it—and maybe they’d be dazzled enough to offer me a job directing a commercial (or a feature, I wasn’t picky).
In order to make something that looked like a million bucks, I knew it would probably cost a million bucks if I attempted to film it in a real location.
Locations are expensive and exteriors have uncontrollable weather and wild sound. Plus, night exteriors require a lot of large, pricey lights and long set ups.
I knew early on that there was absolutely no way I could accomplish this. Not practically, anyway.
So I used what I had: A green screen and the free open source software Blender.
I decided that if I created everything in the computer, I could build the exact world that I wanted without limitations, all while keeping it perfectly art directed.
Building the Team and the Kit

Storyboards for "The Beast"
Santino Vitale
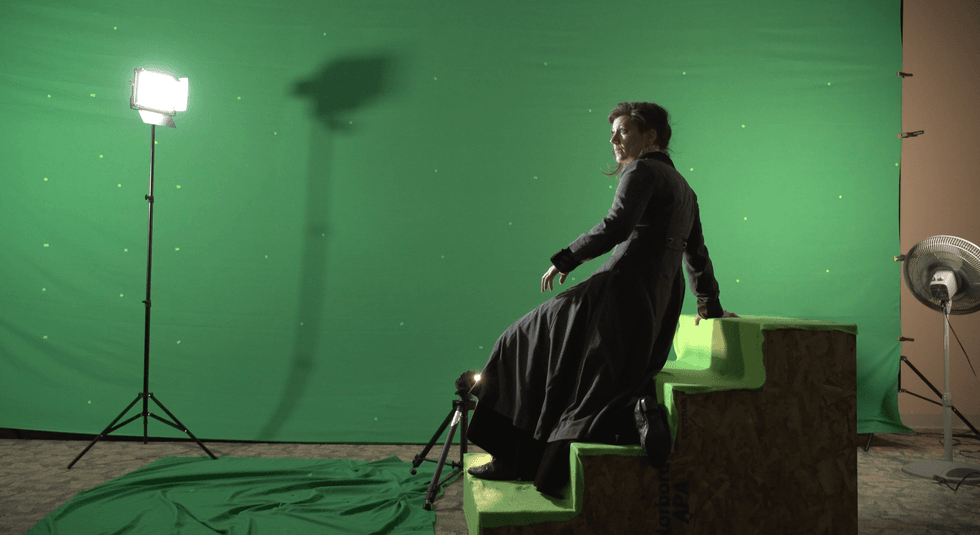
I contacted some friends and rented out a conference hall in the basement of a local library and got to work.
We hung a 20x10 foot green screen on the wall and laid two nine footers on the floor.
We shot for one day with a Sony A7sii and a lighting kit consisting of four Neewer LED light panels and two Aputure MC lights.
I had few props and virtually zero set, save for a small plywood staircase covered in green felt to give our actress something to interact with.
As always, I planned each shot with extensive use storyboards. This way, I could figure out what the most striking composition was, while being the simplest to accomplish.
I also wanted the film to be presented in black and white. Firstly, for atmosphere and stylistic reasons. But secondly, I had learned from past experience that black and white was both easier to light and easier to composite since the removal of color also removed the possibility for errors in color matching. So, win-win.
Mark for Perfection
Tracking for VFX in "The Beast"
Santino Vitale
During the shoot, I abided by all the same rules that I laid out before. For any shot where the camera motion was limited to a dolly or crane, I put the physical camera on sticks and added the plate of our actress on a ‘card’ in the 3D scene—then I animated the virtual camera to move forward or back.
For other shots where the camera motion needed to orbit or where there would be noticeable parallax on our talent, then and only then would I move the physical camera and have to resort to tracking.
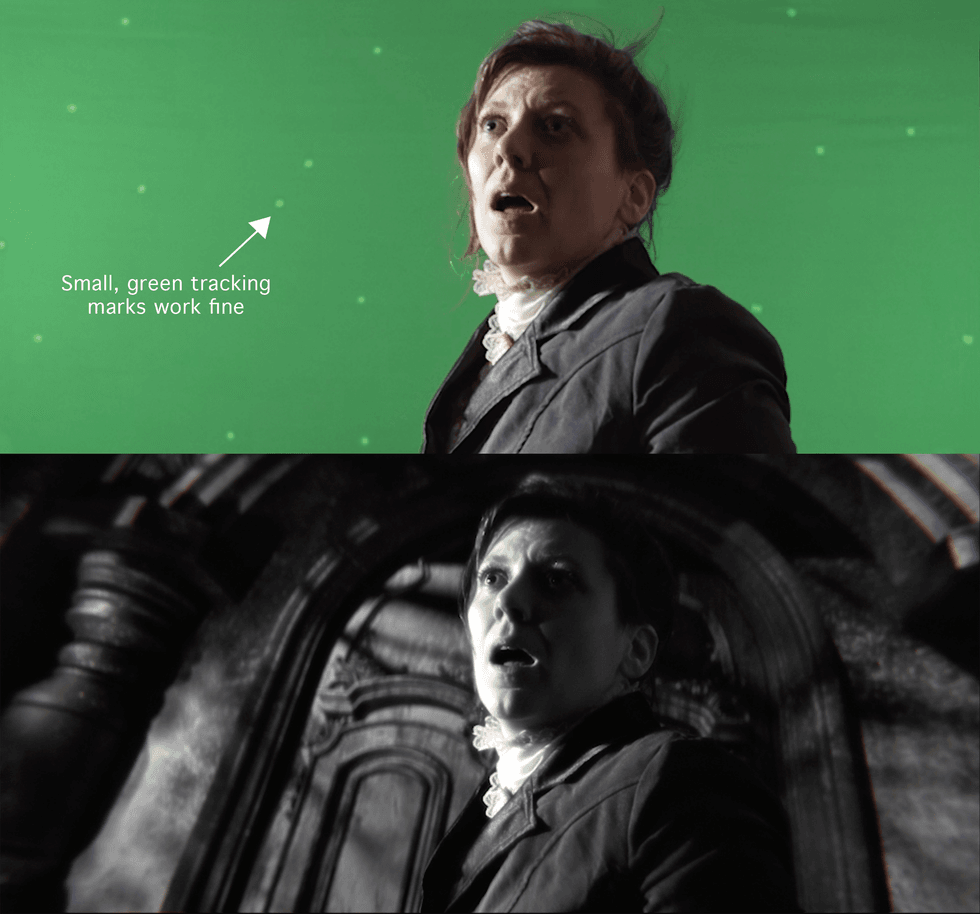
Note, I’ve often seen BTS of green screen shoots where they’ve used orange or pink tracking markers. But despite their seeming ubiquity, neon colors like those are actually overkill and just make VFX artists want to break down in tears—because, those colors will have to be manually removed after keying the green screen and that’s a huge waste of time (not to mention, if those neon markers pass behind the talent’s hair, then it gets really tricky to deal with).
All you really need are little X’s of tape that are a slightly brighter/darker green. They’ll be perfectly trackable and will key out completely without any further need for laborious cleanup.
As you can see below, I used green spike tape and it worked great. So please avoid the unnecessary pink/orange junk unless you want to set yourself up for a nightmare.
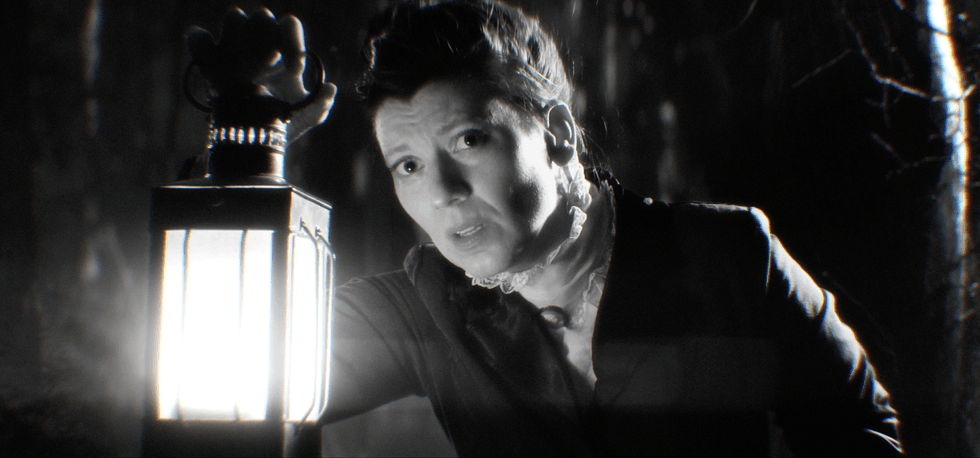
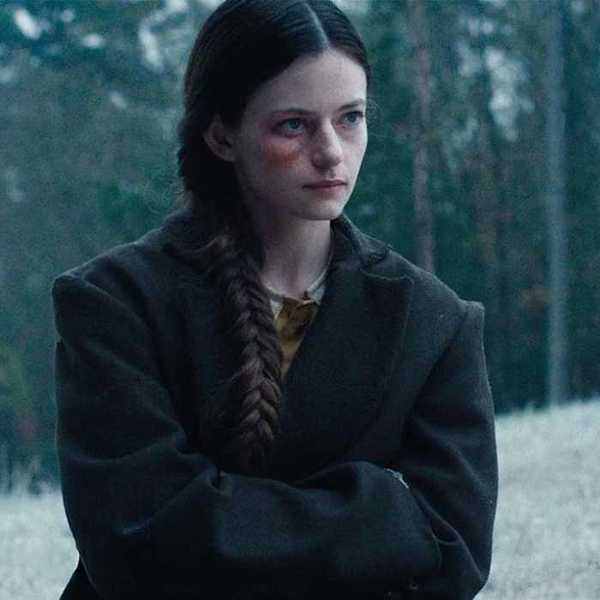
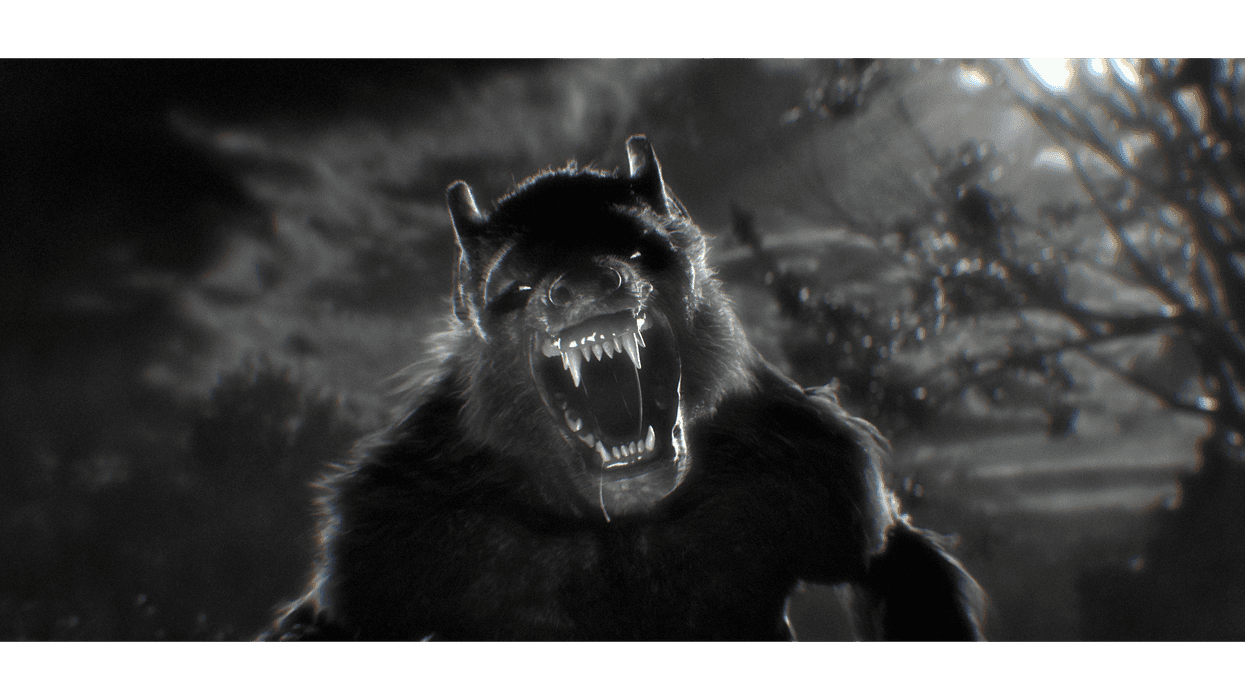
"The Beast"
Santino Vitale
I did all the compositing in After Effects, while the 3D world building was accomplished in Blender.
For the forest shots, I made use of the MegaScans nature library, downloading trees and bushes and sprouting them all across the ground, while hand-placing others for the best composition.
And while I could have sculpted the werewolf model myself, I decided that I was already doing so much that I’d rather pay someone else to handle it. So I spent a little money on a digital sculptor from Fiverr who made a basic version of my design. I then brought the model into Blender and rigged it, added the fur simulation, and animated it.
All told, the budget came in just over $3,000, with half the cost going toward render farms, talent, and original music—$275, $325, and $930 respectively.
Food was cheapest, followed by wardrobe which was about $135 for a period victorian coat (though wardrobe could have cost much more had our actress not brought her own skirt, blouse, and shoes).
So did the risk pay off? Does $3,000 look like a million? See for yourself:
Final Thoughts
This project was, admittedly, a massive undertaking. And one that as the director, cinematographer, editor, VFX artist, etc, I am still a little tired from. But the lessons learned were invaluable and I believe that if I had to do it again, I could probably find a way to streamline even more of the process.
Here are a few nuggets of wisdom, should you be so inclined to try something like this yourself.
- Understand that acting is reacting. So when you bring your actor into the green void, just be prepared for them to be more than a little disoriented. A big drawback for my shoot was that it was only one day and it takes at least that long for most actors to get used to acting against nothing. So plan your shoot to either cover multiple days, or bring your actor onto the green screen prior to the shoot to do a bit of rehearsing. It will help immensely.
- It’s easy to get turned around on green screen, so make sure you have storyboards that clearly indicate screen direction (preferably with a lighting diagram). The last thing you want is to get in the editing bay and realize that you had the key light on the wrong side or had your actor looking the wrong way. So be prepared and give your actors crystal clear direction so they can orient themselves properly.
- Hair on a green screen is the stuff of nightmares. I had my actress put her hair up in a bun to minimize flyaways, but also because it worked for the character. And it definitely helped with keying the hair later on.
- As a warning, lighting for virtual production becomes the most fluid thing you’ll ever experience because you can put the light anywhere, even if it breaks the frame you can just erase it. However, you still have to watch out for lens flares. Even the most minor flare will stick out like a sore thumb once you’ve keyed the green away because the flare will only exist over the talent—making them look like a cutout and blowing the whole illusion. So be cautious of light placement.
These are just a few, in a myriad of examples that I found helpful. And the best way to learn is by doing, so go out and create! Don’t wait for permission to make your dream project. Just understand that what you save in money during production, will ultimately be paid in time during post. Nothing worth doing ever happens overnight, but if you have a vision, don’t be afraid to put in the work to bring it to life.
Do you have a No Film School friendly Guest Post Idea? Pitch to editor@nofilmschool.com.