Getting Started with Color Correction: Using Waveforms and Scopes with Colorist Steve Hullfish

The colorist's job has gotten a whole lot easier since chemical baths stepped out of the picture in many cases. Non-destructive color timing is the future in which we now live -- that said, the principles at work in creating properly balanced imagery is as important as ever. Each camera we may be shooting on has its own unique implications in chromatic reproduction, and the ability to delicately correct a given color mixture (regardless of its source) is key. Ironically, or not, tools such as waveform monitors and vectorscopes -- staples of the bygone analog video world -- are as relevant today as ever in filmmaking, if not more so. A recent presentation by noted color correction author Steve Hullfish demonstrates precisely this point, as well as the basics in using your scopes to full advantage.
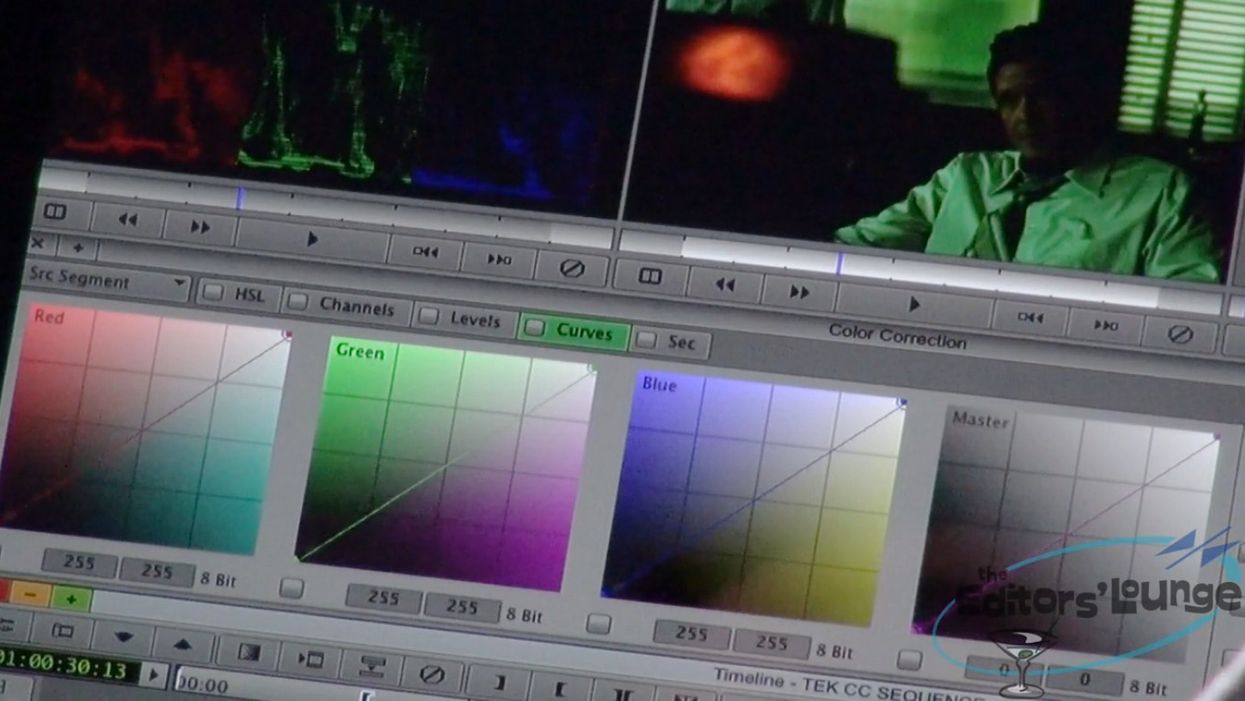
The video, originally posted by The Editors' Lounge, is a great launch pad for those just getting into color correction. It's also helpful to anyone who appreciates straightforward and solid refreshment regarding grading's integral tools and techniques. As a bit of a key to those who may at first be confused by the multiple screens shown, the primary monitor (upper left of video thumbnail) mirrors Steve's Avid interface, while the secondary screen displays a feed directly from a waveform monitor/vectorscope by Tektronix, itself providing a readout straight from the given 'in view' Avid clip.
There's a few important basics to keep in mind if you're not someone used to staring at a waveform monitor, or a waveform monitor-type RGB parade. As Steve well explains, this type of scope uses its dimensions in a way that may be non-intuitive -- left to right matches your frame visually, whereas the y axis plots each luminance value hit at that horizontal point in the frame.
Furthermore, keep in mind that the 'intensity' diplayed for each of these luminance points acts like a third dimension of the graph, showing you how much a certain luminance value is hit, in total, along the vertical line determined by your horizontal position. If that sounds confusing, think of a globe and what longitude and latitude mean -- latitude measures laterally even though the lines themselves are vertical, and vice-versa. This contrasts, for example, with the histogram (NTBC with Instagram) -- which aims to chart similar information, but in a different way. A histogram is actually two-dimensional, and charts dark-to-bright luminance values left to right (respectively), with the y axis indicating the overall frequency at which a given luminance value occurs within the entire frame. These differences are illustrated by the image at left (courtesy Toolfarm), in this case in After Effects.
Filmmakers on a budget, and the kind that also do their own grading, may be a bit dismayed by Steve's emphasis on using a real scope instead of the virtual versions already within or available for your NLE. Many of us who are not colorists alone won't be able to justify such a purchase -- but as non-fulltimers, we'll probably be fine using the scope emulators in our software anyway. It's mainly a matter of speed and efficiency, but spendthrifts can still grade aplenty if they're okay with un-clicking to let the scopes render the changes you make. Again, the same principles apply, and that's how you'll be able to match, in color balance at least, footage from just about any given source.
How many of you out there use real scopes to grade, either by ownership or access to facilities that include them -- and do you find this to be a smoother and simpler grading experience? In software, do you prefer using curves, color wheels, or sliders to input your color corrections? What scopes do you find yourself relying on the most within your grading software?
Links:
[via FilmmakerIQ]


