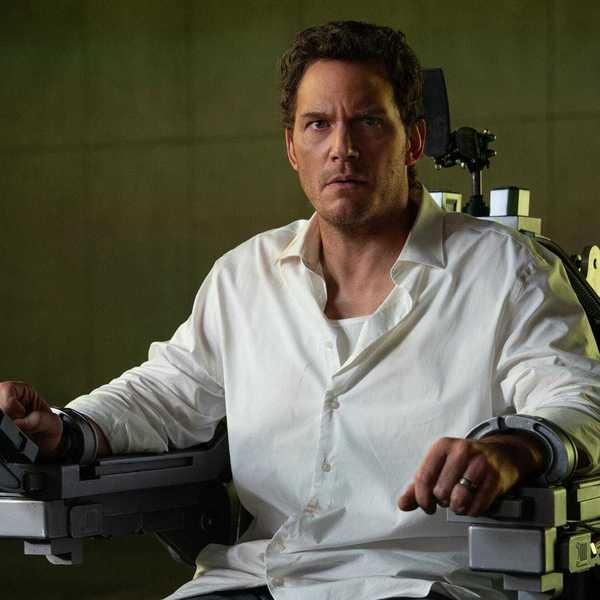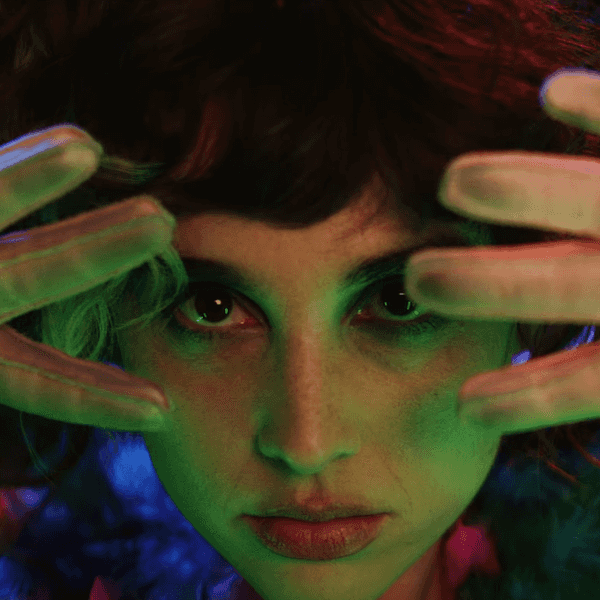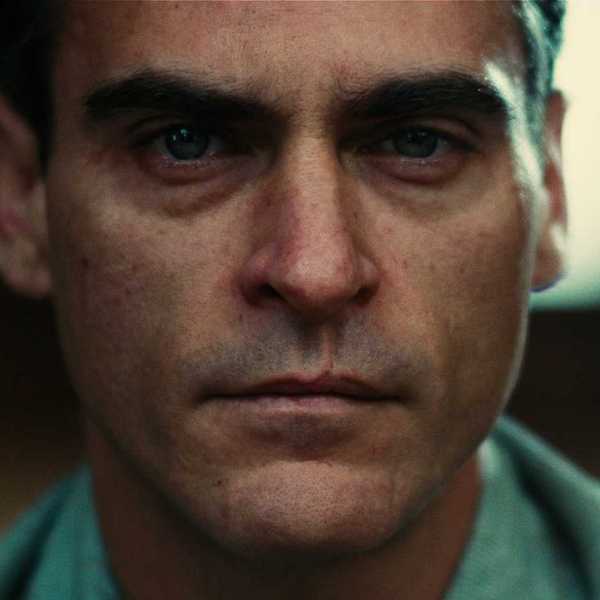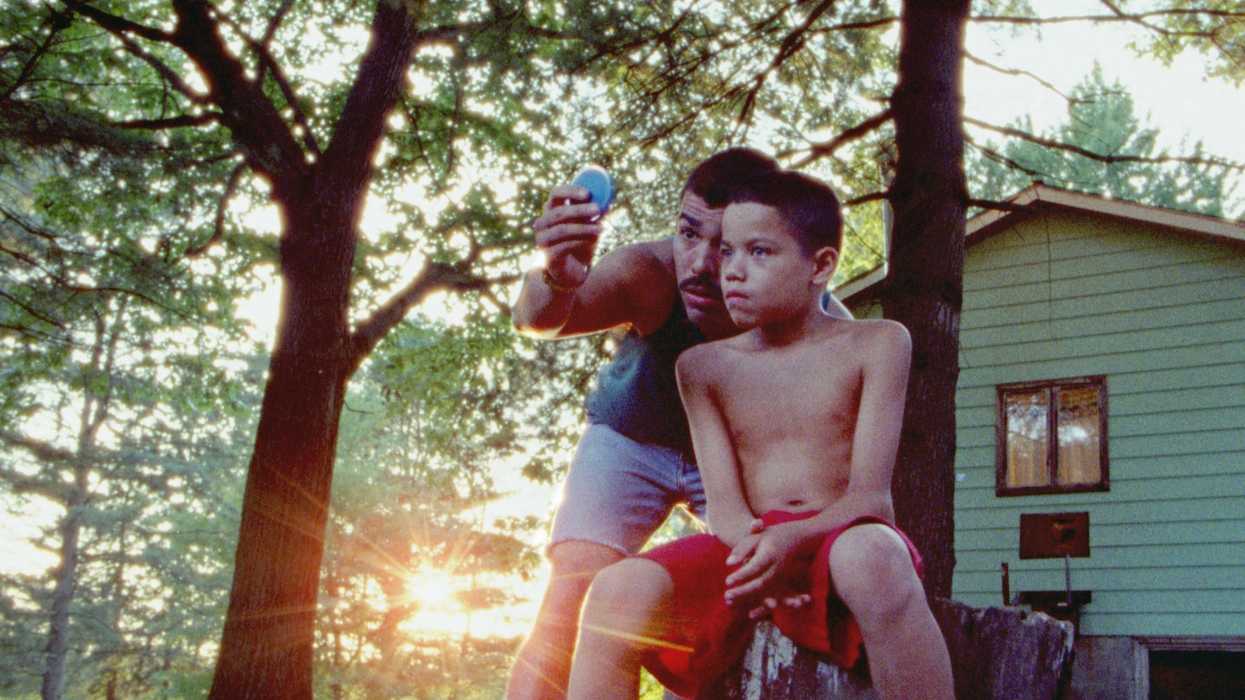
One of the most anticipated films at this year’s Sundance is the film adaptation of Justin Torres’ best selling novel We the Animals. Telling the story of three brothers in the early-1990s in upstate New York, the film combines the reality of a volatile family with the imagined, animated world of Jonah, the youngest brother.
To capture the gritty look and feel of the real world with the imagined world of Jonah, DP Zak Mulligan and colorist Seth Ricart of RCO used several tools from Blackmagic Design, including DaVinci Resolve Studio and Micro Cinema Camera.
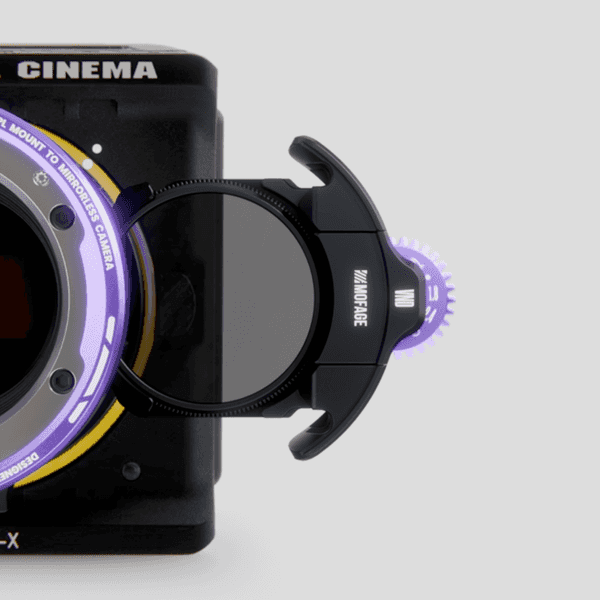
"The Micro Cinema Camera is tiny and has a 16mm-sized sensor, so it was a natural fit to match the look of 16mm film we used on We the Animals."
Shooting with the Micro Cinema Camera
Mulligan decided that the best way to capture the mix of real and surreal was to shoot in both film and digital. He said:
The story is like a visceral memory with elements of magical realism. Super 16mm film felt like a natural fit for the story. We wanted the images to have an immediacy yet still hold the feeling of a memory. If the grain and color of film created the notion of past, then the use of wide lenses, close up, handheld camera, and the language of cinema verite created the immediacy. It’s this dynamic that led to the look of 'We the Animals'.
Filming required much more than just the shots that were planned for a film camera. We the Animals included a large amount of VFX work, aerial shots, and extreme low-light shots. Shooting in digital was the only way to get those shots, and to do this Mulligan used a RED Dragon and the Blackmagic Micro Cinema Camera.
The Micro Cinema Camera is a miniaturized Super 16mm digital film camera with 13 stops of dynamic range that let Mulligan capture RAW images anywhere he needed while closely capturing the same 16mm look and feel that he was getting with his film cameras. And with the camera’s small size, he was able to use it to help capture shots in extremely tight places.
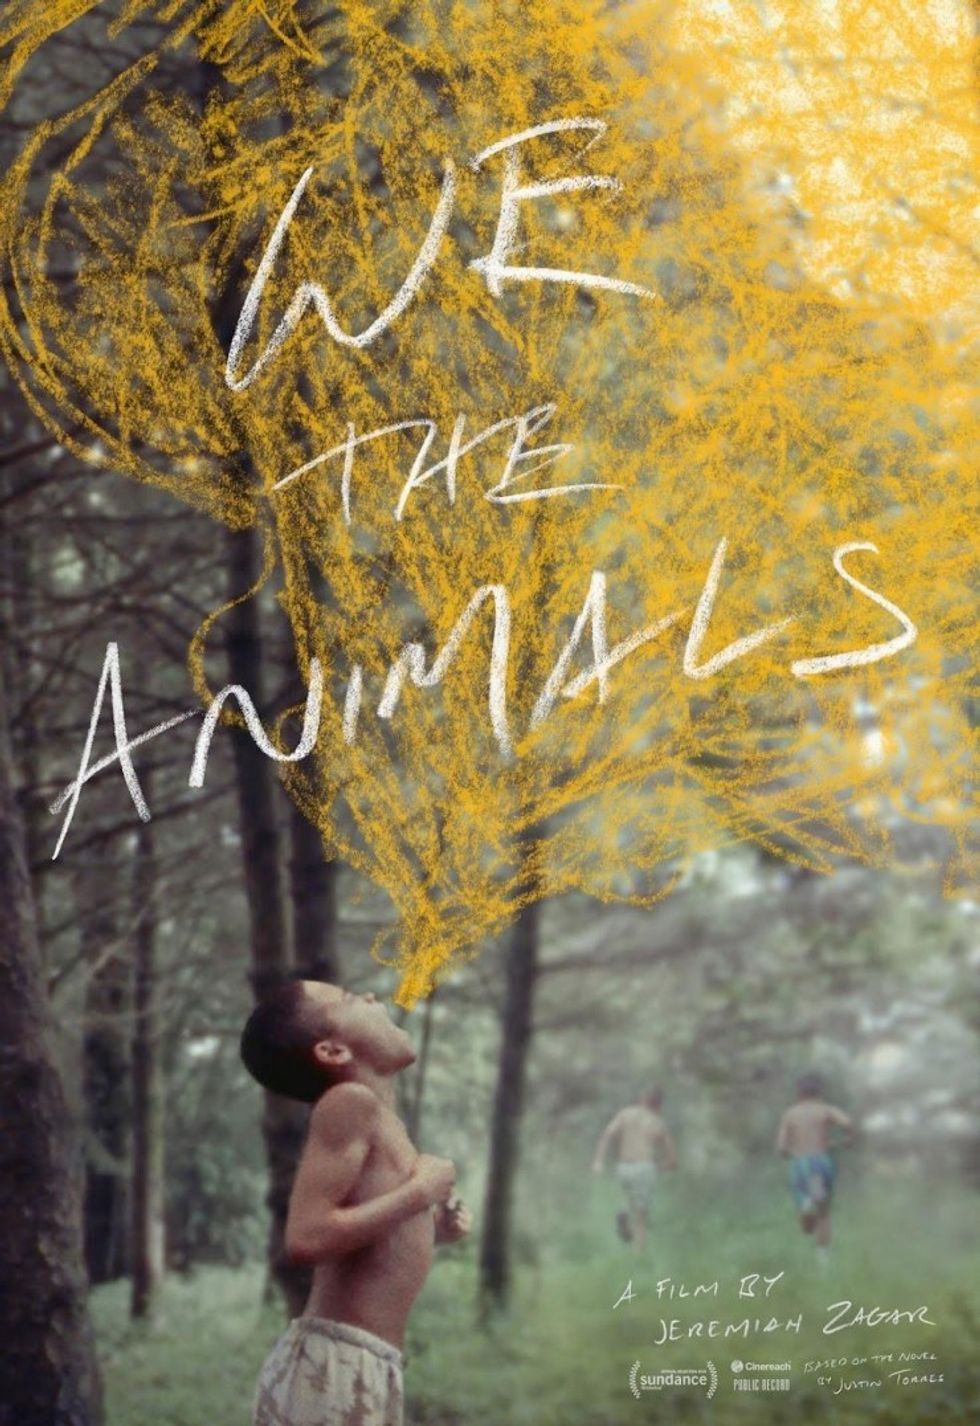 Official Sundance '18 poster for 'We the Animals'
In the film, the Micro Cinema Camera was used for shots with miniatures, as well as exterior driving shots close to the road where other cameras would have gotten damaged.
Mulligan said:
The miniature was too small for other camera bodies to fit through, but it was no problem for the Micro Cinema Camera. Because it has an onboard SD card for recording, it makes it an extremely small and versatile camera. It doesn’t need to be cabled to anything to work, so it can fit almost anywhere. I’ve rigged it to speed rail, C-stand arms, or even on top of other cameras. It’s also light enough to paper tape to almost anything.
He continued:
The Micro Cinema Camera is tiny and has a 16mm-sized sensor, so it was a natural fit to match the look of 16mm film we used on We the Animals. Its size was really helpful and let us use it for a couple of shots where a larger camera was impractical. It’s perfect for tight spaces for use as a crash cam, and its ability to shoot in RAW is one of the biggest advantages of the camera over other small cameras. It has become my go-to camera if I need something small.
"It wasn’t a matter of tying ourselves into any complex tools or LUTs for the film shots, rather we wound up manipulating the image based on our shared instincts."
The Look of We the Animals
When creating the overall look, the aesthetic that shooting on film provided was essential when they were planning for every shot. Mulligan explains:
We were going for a naturalistic look and wanted the film stocks we used to lead the way. The way 16mm film renders color, grain, and highlights all subtly add up to something that most people are able to point to as nostalgic. It reminds us of our own childhood photos or family photos from the past. It also reminds me of what watching a film in the cinema used to be like.
We spent a lot of time experimenting with the right level of contrast and black levels on our film scans. The trickiest part was then matching the digital shots back to the film.
Film really renders greens in stunning detail which was noticeable on summer exterior shots compared to the digital. Using DaVinci Resolve Studio allowed us to create a pretty convincing look to match the digital back to the film.
Ricart not only combined digital and film footage, he also used DaVinci Resolve Studio to change the moods as the film went through very different scenarios. He said:
The material captured by DP Zak Mulligan and Director Jeremiah Zagar was stunning. It was shot in upstate New York with a wonderful early-'90s set and wardrobe. We started out referencing photographers like Arlene Gottfried and Bruce Davidson, and we found ourselves shifting incrementally each pass before settling on the looks for each scene. It wasn’t a matter of tying ourselves into any complex tools or LUTs for the film shots, rather we wound up manipulating the image based on our shared instincts. We would set looks on key shots and then expanded them over the scenes, watch them down, discuss and adjust. It’s a natural process, and Jeremiah was very collaborative. He was able to explain the mood he was aiming for and how the sound mix was going to help it along. That gave an informed perspective.
He continued:
Very early in the film Jeremiah and Mulligan sat in on some tests to determine how we could combine the digital and film. That test was able to inform how the film would be shot. From these tests we generated LUTs for editorial and on-set previews so they could see an approximation of how it would look. We did a good amount of R&D to achieve consistency, testing a variety of LUTs and grain tests, but because the s16 exposures were so varied and responded so differently, a LUT on the RED footage didn’t quite hit the mark. So, we created our own process and dialed it in per scene or shot with DaVinci Resolve Studio.
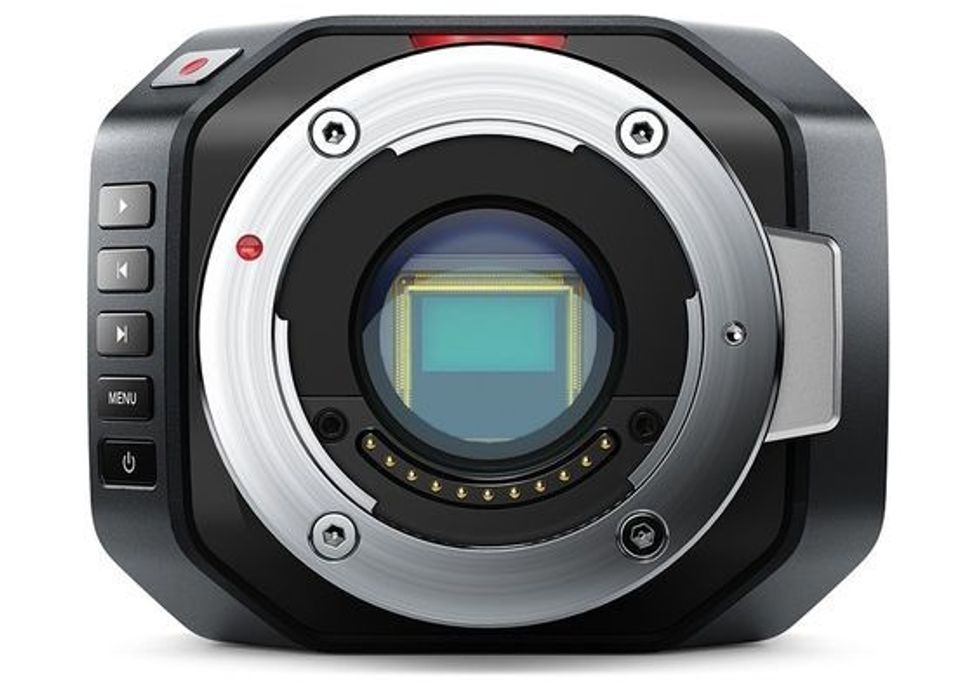 Blackmagic Micro Cinema Camera
Ricart used DaVinci Resolve Studio to grade more than 1,400 shots for the film, as well as a large number of animated shots.
Most of the work in DaVinci Resolve Studio, aside from emulating s16 on the Red footage, involved Resolve’s lift, gamma and gain tools. We definitely shoehorned shots together from different times of day which required a fair amount of keying and tracking faces. Some day-for-night and some underwater shots.
Developing the gritty look and feel of the film was primarily done by choosing to stick with the look that film gave, as well as in the set design, wardrobe and location. Ricart described the process:
We did use DaVinci Resolve Studio’s noise reduction tools on the digital media so it wouldn’t have two sets of noise (the noise in the actual digital footage, and the grain emulation we applied). But the main part of serving the grittiness was letting the film grain be. We didn’t de-noise very many of those.
Because the film is structured around "chapters" divided up by the animation, we were able to shift the mood of each chapter in different directions. This was aided by a consistent and bright grade done with DaVinci Resolve Studio on all the animation which refreshes the eyes between scenes so they can live on their own a bit more.
VFX plate shots, in particular, got Ricart's attention with DaVinci Resolve Studio. Mulligan would shoot plates of 16mm grain for highlights, mids, and shadows, and would then build the grain on a per shot basis using different grain passes in DaVinci Resolve Studio to emulate the density of grain on real film. From Ricart:
The biggest advantage we have had with DaVinci Resolve Studio is its speed. As we worked, we were able to constantly update dustbusted frames, VFX, and conform. We were able to play these back in real time which is incredible considering these were 4K DPX or 6K R3D. A big part of our process is working non-destructively with the original media so we can to adjust the image at any stage. The editing tools were also hugely useful and enabled us to make edit adjustments on the fly as required by the director, even during the color session.