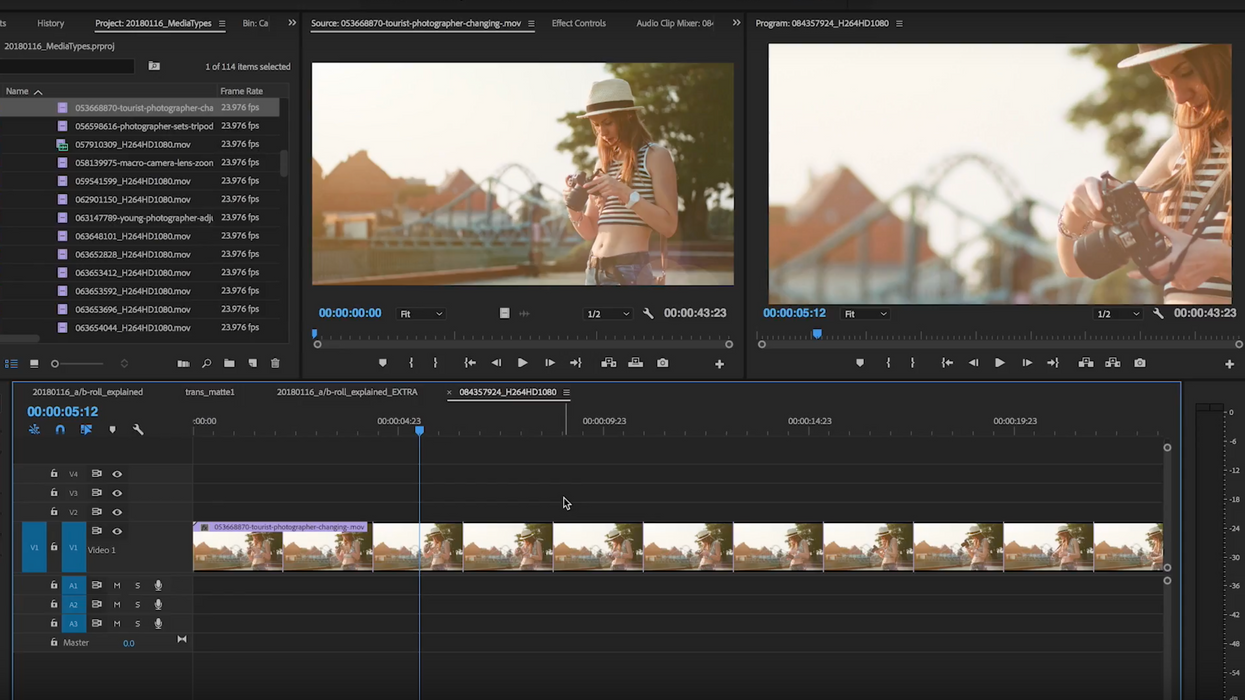
Here's How to Work with Multiple File Types When Editing Your Project
If you're editing a project that uses a bunch of different kinds of media, you'll want to check this video out.

You did it! You shot and collected all of the necessary footage, including 4K, SD, archival, and stock footage, for your project and you're ready to head into post. Huzzah! The itchy part about that is knowing how to conform all of the different kinds of media types you've used. Skipping this integral step can mean big problems down the road, so in this video from Pond5, you'll learn all of the steps you need to take in order to adjust all of your media to fit your settings.
Those who are used to a single-camera setup may not be as experienced working with multiple file types as, say, a documentarian who uses a lot of low-res creative commons footage along with their 4K interview footage and b-roll. However, this is an important technical lesson that all filmmakers ought to know, should they ever find themselves working on such a project.
Getting started
One of the first things to understand is if you're using footage taken from multiple sources, chances are they're not all going to have the same frame rate, aspect ratio, resolution, or codec. So, before you do anything else, you'll want to conform your data by converting it to your preferred settings using a media encoder.
Next, you'll have to choose the settings of your sequence. If you drag and drop a clip into your timeline, most programs will automatically adjust your settings to match that clip, so be aware before adding anything into your timeline. However, if you prefer to go through each setting individually by hand, you can absolutely do that as well.
What you should know about settings
Like I said earlier, your media may come with different frame rates, aspect ratios, resolutions, and codecs, and it's important to understand how each of these things will affect the look of your final product.
- Frame rate: A chosen frame rate is often determined based on what kind of media you're producing. Is it a cinematic film or TV show? Then you'll want to use 24 fps. Is it a web video or vlog? Then 30 fps will do just fine. Is it a sitcom, sports event, or a lovely telenovela? 60 fps it is!
- Aspect ratio: Films don't often bounce from one aspect ratio to another (unless you're Wes Anderson making The Grand Budapest Hotel), but documentaries definitely do. It's important to establish the aspect ratio of your project so you can add letterboxing or pillarboxing to the media that doesn't fit.
- Resolution: If you're using media with multiple resolutions, you'll need to upscale that media to your chosen resolution so you don't lose any detail. So, if you're shooting in 4K, you'll want to upscale your HD or SD footage or SD to 4K.
Exporting
Finally, you'll need to do a few things to make sure you export your final project correctly. You can match your sequence settings to your export settings by selecting that option in your NLE (if it has it) or by going through and matching each one manually. But what if you need to deliver your project with, say, a different frame rate or resolution than your sequence settings? Simply change those settings before you export and you should be good to go.
Hopefully now you have a better understanding of how to work with different media file types, which will help you avoid some of the more frustrating editorial moments.
Source: Pond5


