It’s odd to think about, but for many of us of a certain age, the only true look back into a particular period and style is from the films and shows from that era that we consume. For example, while I grew up with VHS and DVDs, I was just past the time of Betamax. But, I knew what one looked like because I also grew up watching shows like Cowboy Bebop (which features an entire episode with a Betamax as a central part of a storyline).
These specific anime styles can be filled with nostalgia, as well as wonderment for a bygone era you might not have even known. Let’s check out how VFX artist Jack McVeigh lays out his process behind his popular jackmcv.art Instagram profile to learn the subtle nuances of recreating this ‘90s anime style.
And, no matter your fandom, you can also learn a thing or two about composition, even if you aren't an animator.
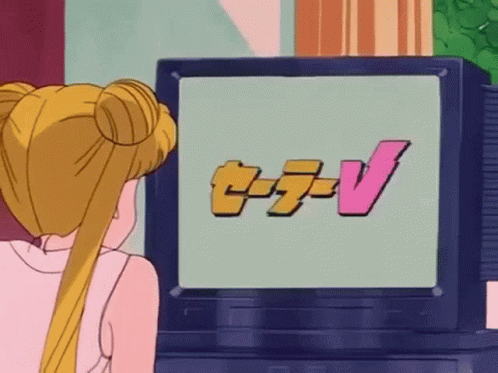
It's a Gundam!
As you can see in some of the examples from McVeigh above, the particular effect he creates can be quite beautiful—and oddly relaxing. It’s also clearly not some small feat, nor something you could easily recreate in your regular run-of-the-mill NLE like Premiere Pro. (After Effects? Maybe.)
To get his level of sophistication in composition, parallax, movement, and linework, McVeigh steps into the wide, wonderful world of Blender.
Which, luckily for us, McVeigh has given us a great in-depth tutorial that takes you through his process from start to finish.
To his creative-community credit, he also shares behind-the-scenes from his Instagram so that you can go from this:
 Credit: jackmcv.art
To this:
 Credit: jackmcv.art
To this:
 Credit: jackmcv.art
The most interesting thing we see is how when McVeigh hearkens back to '90s anime, he creates something cinematic with a static shot. There's a subtle movement, which in turn breathes life into his shot. Due to the tedious process of animating by hand, anime artists utilized static shots as much as they could. But by adding movement and creating parallax, what was once a simple drawing becomes a cinematic ballet.
Just from this small series of Instagram videos, we can learn so much about composition for both animation and live-action filmmaking. You don't always have to move the camera. Sometimes, you can let the world move around you. But if you're an animator, please read on.
Getting Started with Blender
For many filmmakers and video editors who might not be super familiar, Blender is a 3D computer graphics software toolset that is great for all types of animation, motion graphics, and 3D modeling. Being open-source, it's developed by a community of creatives and run by the Blender Foundation.
This means it's free. Forever. You can even write your own Python code for it and modify the software as needed.
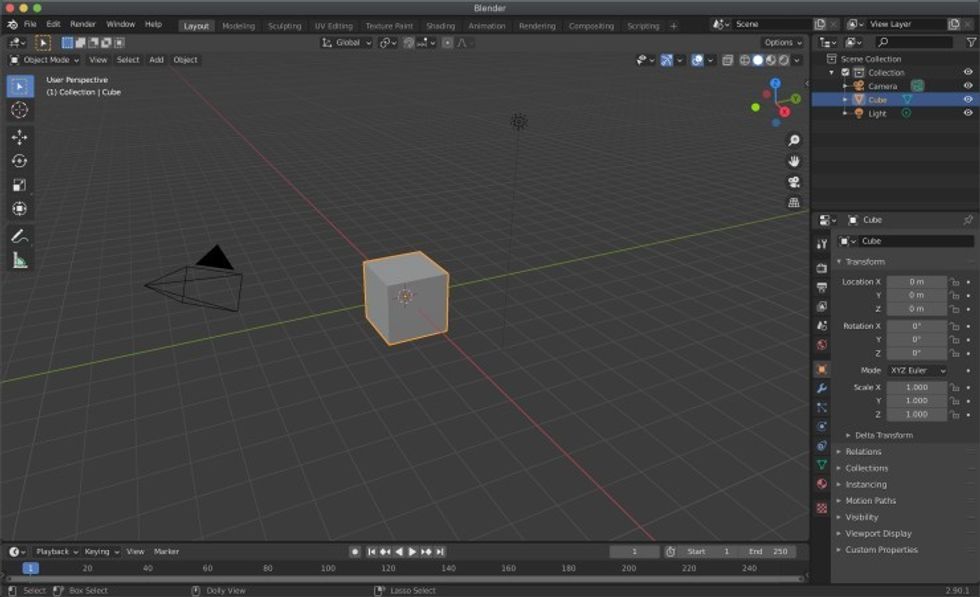 Don't forget to delete your Blender cubeCredit: Blender
While it can be a little bit intimidating for those just starting, it's no different than when you opened Final Cut or Premiere Pro for the first time (or certainly After Effects). If you follow McVeigh's helpful tutorials closely, you can be up and running in no time.
To help you along your way, here are some of the Blender elements which McVeigh goes through in his tutorial:
- 0:00 Intro
- 4:35 Composition and Setup in Blender
- 11:16 Parallax and Movement
- 14:26 2D & 3D Assets
- 15:45 Color, Linework, and Post Effects
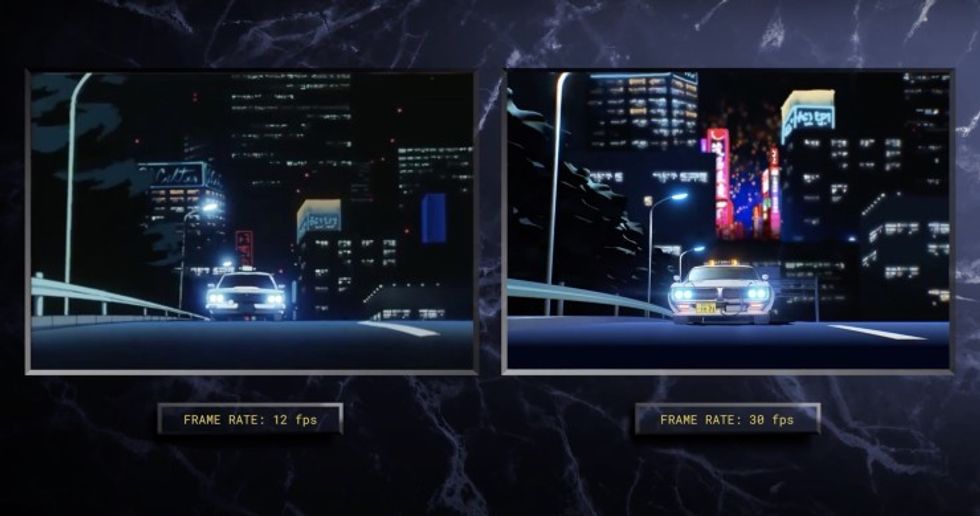
- 22:34 Frame Rate
You can also read up on how to create your own 3D materials or textures and even bridge the gap between Blender and After Effects in these articles:
- Learn How to Create Your Own Custom 3D Materials the Right Way
- How to Create Your Own Textures in the Open Source 3D Program Blender
- Bridge the Gap Between Blender and After Effects With BlenderAE
So, Class, What Did We Learn?
If you took a peek at McVeigh's video before getting this far, what did you find? If not, let's chat a bit more about what cinematographers could have learned.
First, we already mentioned letting the world move around your camera. While the camera world churns our gimbals and internal image stabilization, '90s anime has taught us that sometimes all you need to do is watch in order to find the movement in your frame. To give a more abstract view of this concept, McVeigh's Instagram video above doesn't actually have the train moving. The background image of the city is moving, along with the row of houses.
While we can't do this in live-action cinematography, we can find spots where the world moves around us. This can be having our camera in a car or on a train but pointing in a perpendicular direction to the direction of movement.
 Anime on the left, Blender on the right. Both frame have movement happen around the subject.Credit: veryveig
Second, we can see how McVeigh wraps his subject in background and foreground elements. This concept isn't utilized to its full potential in most indie projects. So if we take anything away from these videos, it's this—creatives need to find their focus or subject and then build their foreground and background around it. What you point your camera at is only one-third of your frame. Don't neglect the things in front of and behind it.
Hopefully, with this tutorial and inspiration, you'll be running for your camera or animation software to recreate some of your favorite '90s anime vibes. And be sure to share your thoughts (and compositions) in the comments below!
Source: veryveig