Clinton Jones (formerly of the Corridor crew) has been killing it lately with his own content.
He has created one of if not the biggest online render competitions ever (actually three of them at this point). He has released a few of his own products and asset packs. However, most of all, he has been very generous with his knowledge as he learns and accomplishes new goals in 3D.
I appreciate the fact that when he puts out a new asset or product, he shows you how to make it yourself if you want to.
In his latest video, Clint shows you how to make your own endlessly tile-able and extremely high-quality 3D materials. This includes your diffuse, roughness, and normal map. I've seen a lot of walkthrough content on this subject, but none of them have ever actually inspired me to go out and do it myself quite like this one did.
As more and more aspects of working in CG merge with using real-world objects and things (photoscans, LiDAR, motion capture, etc.) I find myself becoming more and more entranced by it and obsessed with it. I love that I can just walk around with my phone now and take a few pictures of a wall or surface that look neat, and within a matter of minutes have that same wall or surface in my 3D program of choice as a photo-real object.
Making materials has always seemed complicated, or at least time-consuming on such a level that I'd rather just go ahead and purchase some pre-made materials, or just find some free ones. This video really showed me that it's a pretty quick and fun process that I'm definitely going to dive into.
 Credit: Clinton Jones
Stitching Photos for High-Quality Textures
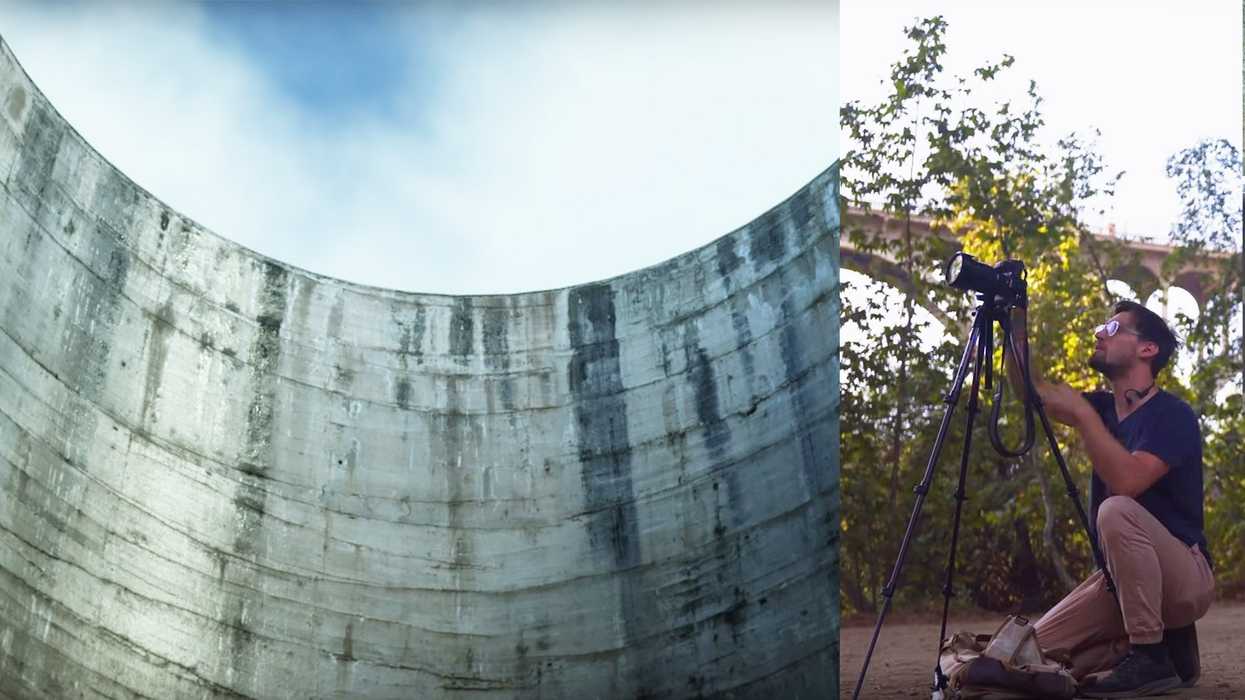
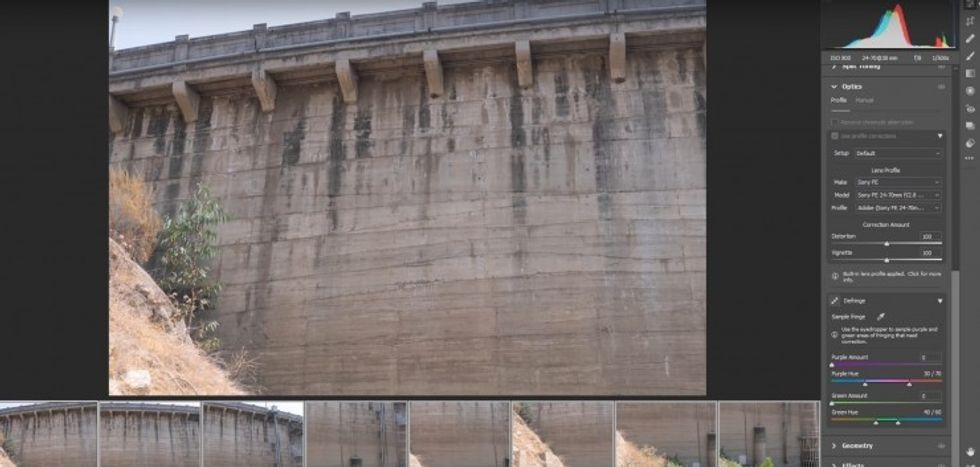
In the video, Clint shows two different highly applicable methods for creating very high-quality materials. Both versions are using panoramas, but depending on the subject, you may have to do a linear panorama or a traditional one.
Traditional panoramas are the ones where you can leave the camera in one spot, and just move the angle with a tripod to capture the object, with linear panoramas requiring the actual walking along your surface and capturing it from multiple different angles and stitching them together.
Regardless of which method you intend to use, you'll then go ahead and stitch everything together (Clint uses Photoshop for the traditional approach, and Lightroom for the linear approach). This will allow you to have a giant resolution texture for true photorealism.
 Credit: Clinton Jones
Make It Tileable
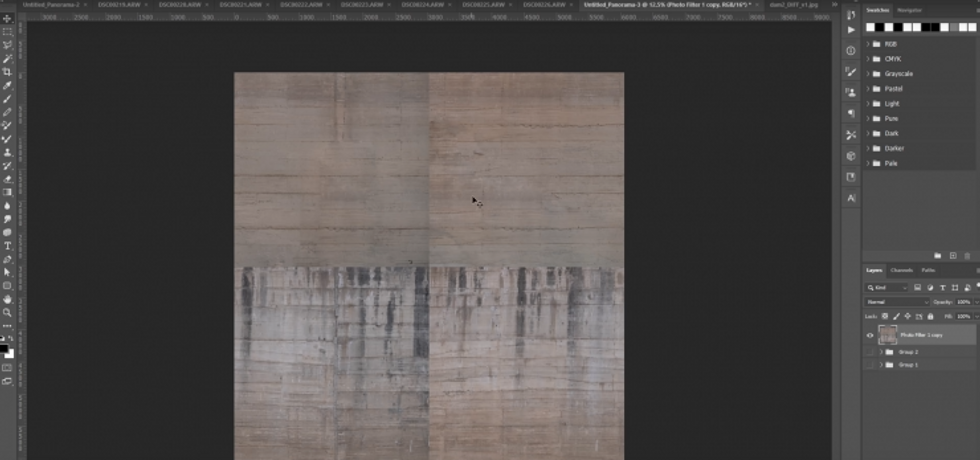
A CG texture must be fully tileable. You should be able to see no edges or seams on any portion of the texture.
In Photoshop, you use a filter called "Offset" and then drop in half the resolution for vertical and horizontal, and it will create this strange cross-section of your image. From here, it's just a process of using all of our favorite photo manipulation tools to get rid of all of the seams. Using things like Content Aware Fill, the Healing Brush, and the Rubber Stamp Tool, you just diligently and carefully cover up the edges of the cross-section, making it so that the image can be repeated multiple times in every direction without any edges visible.
 Credit: Clinton Jones
Make It PBR Friendly (Normal Map, Roughness Map)
To take your texture to the next level, you'll want to prep it for PBR (Physics Based Rendering). This means creating various maps that the software can look at for other aspects of what makes a material look like it does. How shiny is it and where? How bumpy is it and where?
In the video, Clint shows how to make a roughness map (which dictates the shininess of an object and allows you to control where the shininess is).
A roughness map is a grayscale image that has white values down to black values. The white values generally tell the software what is supposed to be shiny, and the black values are not shiny at all. For a good roughness map, you can generally just make a black and white version of your image, and just make decisions based on where you think the shiny parts would be, and make them white.
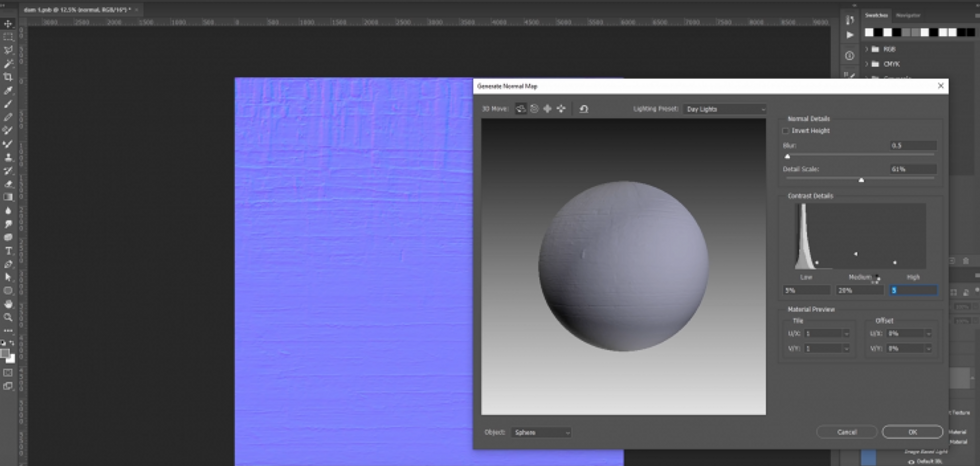
Then, he shows a really handy tool in Photoshop for making normal maps. Normal maps tell the software what areas would be recessed or protruded from an object. They can be used for bump maps, or in some cases displacement maps (though those are usually used separately and are also black and white).
I honestly had no idea that Photoshop just had a normal map filter. I always thought it was a much more involved process.
 Credit: Clinton Jones
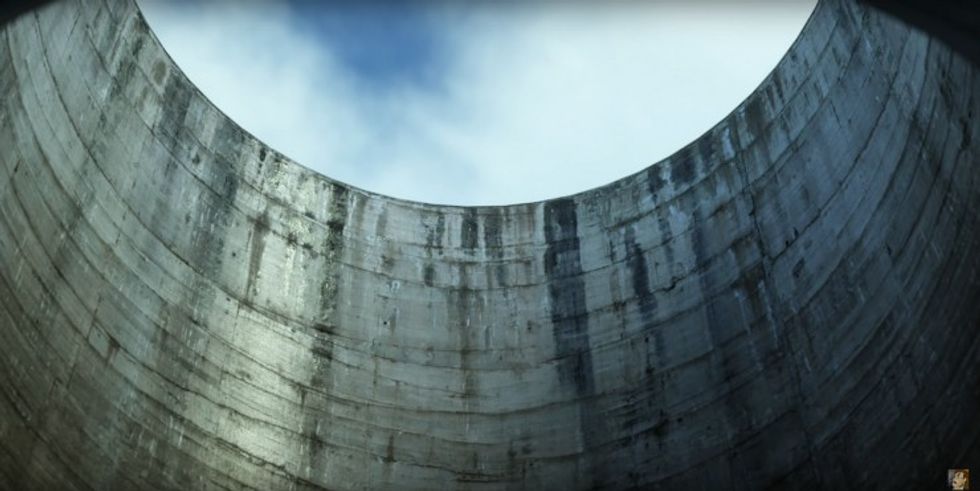
Making your own textures has never been easier to do. I for one will be heading outdoors at some point this week to capture some textures of my own. Big thanks to Clint for showing us the way.
Source: Capture and Create your own Custom 3D Materials | FULL WORKFLOW