The typical technique for animation is moving an object, taking a picture of it, then slightly moving it again and taking another picture. This is the case for hand-drawn animation, with each drawing serving as a frame, and stop-motion animation, in which each photograph serves as a frame in the animation.
But what if instead of moving the same object, you can make a duplicate object that’s a little different? Then it’ll have more of a “POP!”
Replacement animation is an exciting and efficient way to do that. It's a form of stop-motion animation that takes all the fun from preschool arts and crafts and puts it into the creative and complex work of film!
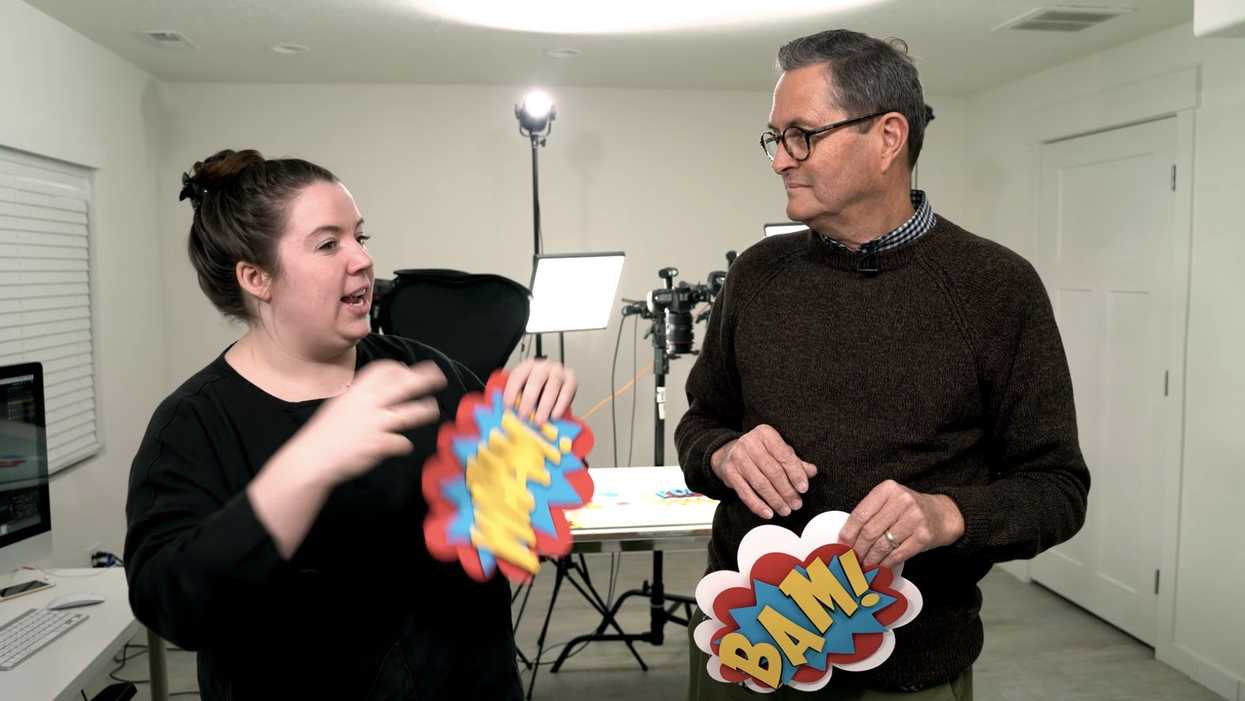
Check out this video from The Slanted Lens for a full tutorial on how to do this vibrant form of animation. Animator Trisha Zemp walks us through the process!
Getting Started
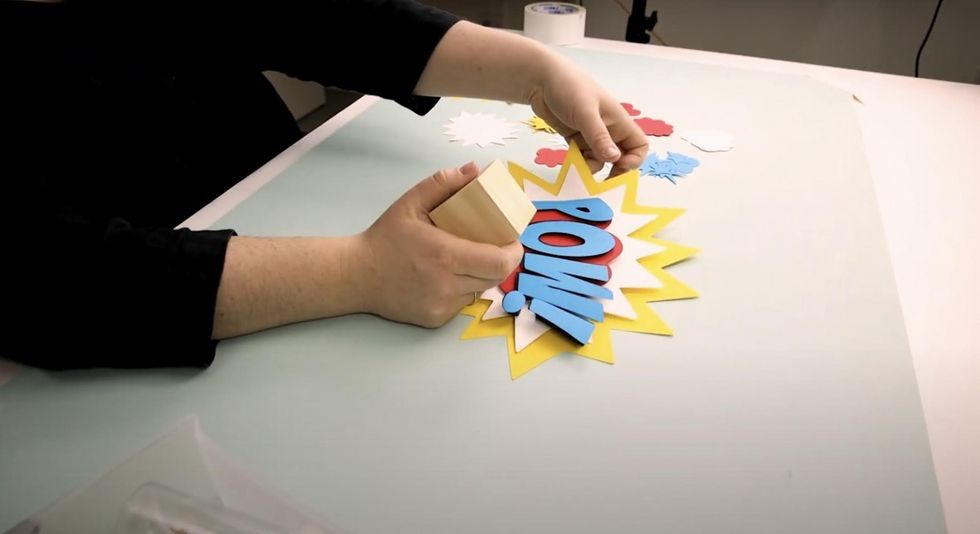
Before taking any photos, you need to solidify your surface so your paper subjects don’t move when you don’t want them to. Zemp chooses to tape every corner of her surface to avoid movement.
For placing the paper, you may want to prepare tools such as rectangular blocks to give the frame some depth. These will come into play later, though.
 Credit: The Slanted Lens
Setting Up Your Shot
Getting the first frame is easy—it’s just blank!
For the most effective/vibrant animation, the next shots that lead up to the big “pop” effect will be layered. Starting off with a small-shaped paper, the artist continually adds different blocks under different pieces of paper with each shot. This brings the shapes physically closer to the camera.
Consistency
Each shot will be in the same spot, but the paper shapes will vary in color, form, and size. A key to achieving that vibrant colorful end to your animation is adding a new color from your color scheme with each shot until a pattern has been created.
You can also use two pieces of shaped paper to make the subject appear larger in the final cut.
 Credit: The Slanted Lens
Showing Progression Through Size
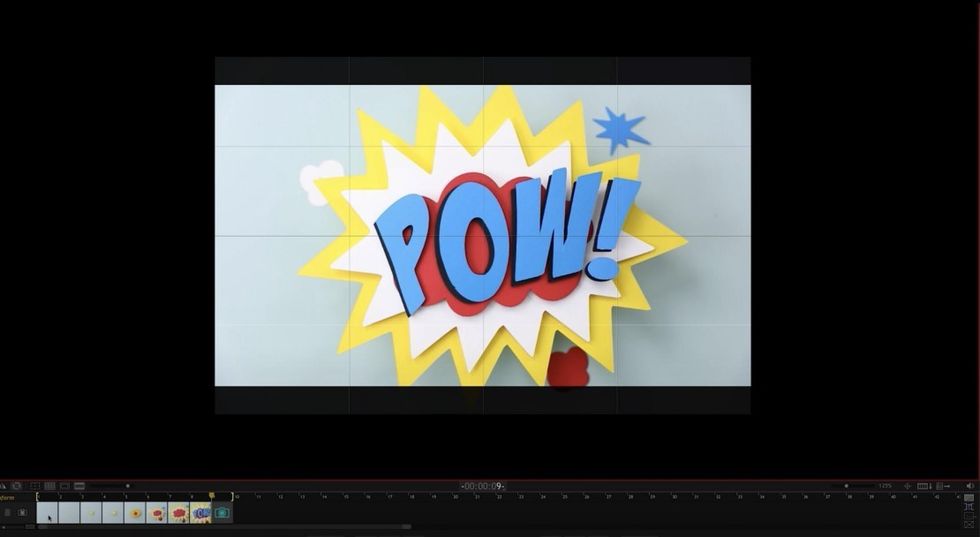
Because the subject of the video is an animated explosion, the artist’s goal is to create the visual of something growing rapidly in size. Once the colors and layers have been established in the previous shots, it’s time to lead into the final frames.
Along with a big piece that eventually will turn into an animated cloud of smoke that says “POW,” Zemp added little cutouts of blue stars and white puffy clouds around the explosion. Think comic book style!
Final Shots
The last few shots will be adding that final layer of cloud that portrays the explosion effect. As that last shape is added, the stars and clouds that were introduced toward the end are moved around shot-by-shot to create a movement effect within the video.
 Credit: The Slanted Lens
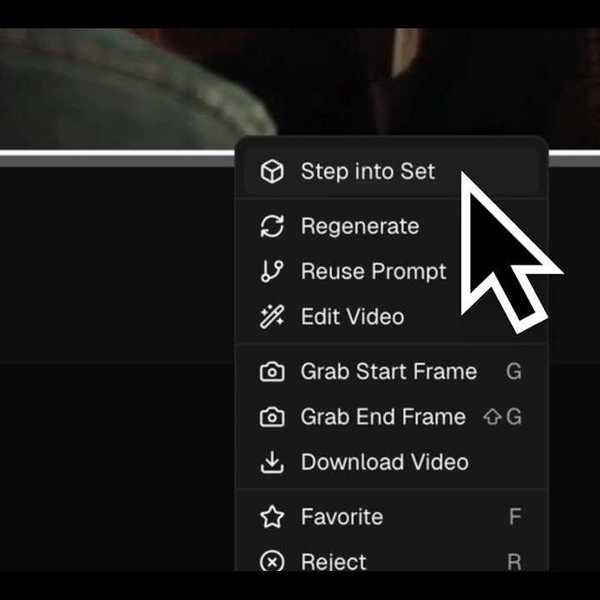
Editing
Once everything has been filmed, the animator shows an edit hack in Photoshop where artists can “paste reverse” the footage to create something like a GIF. Instead of doing the entire animation process in reverse, you just reverse the pictures you already have. Easy!
This is a very simple yet effective introduction to the art of replacement animation.
Have some more tips on how to achieve incredible animation? Leave us a comment below!
Source: The Slanted Lens