You Can Make a DIY Lens with Great Bokeh Using an Old Projector Lens
If you’re looking to capture a dreamy look, but can’t find a lens in your budget, why not build your own?
With an old projector lens and a few special parts, you can not only make a custom lens to your own specs, but it can also have some insane bokeh.
The idea comes from photographer Tom Calton on YouTube, who says the key to building your own lens is an old projector lens. These lenses can be found on eBay for pretty cheap, but other options include used photography websites, estate sales, etc. Prices may be all over the place depending on age, brand, and lens speed. But for under $100 is a good benchmark.
Check out the video below!
The steps
Calton picked up a pair of 50mm and 16mm projector lenses on eBay, both of which had a fast f-stop rating of f1.2, which offered varying results, but were still workable.
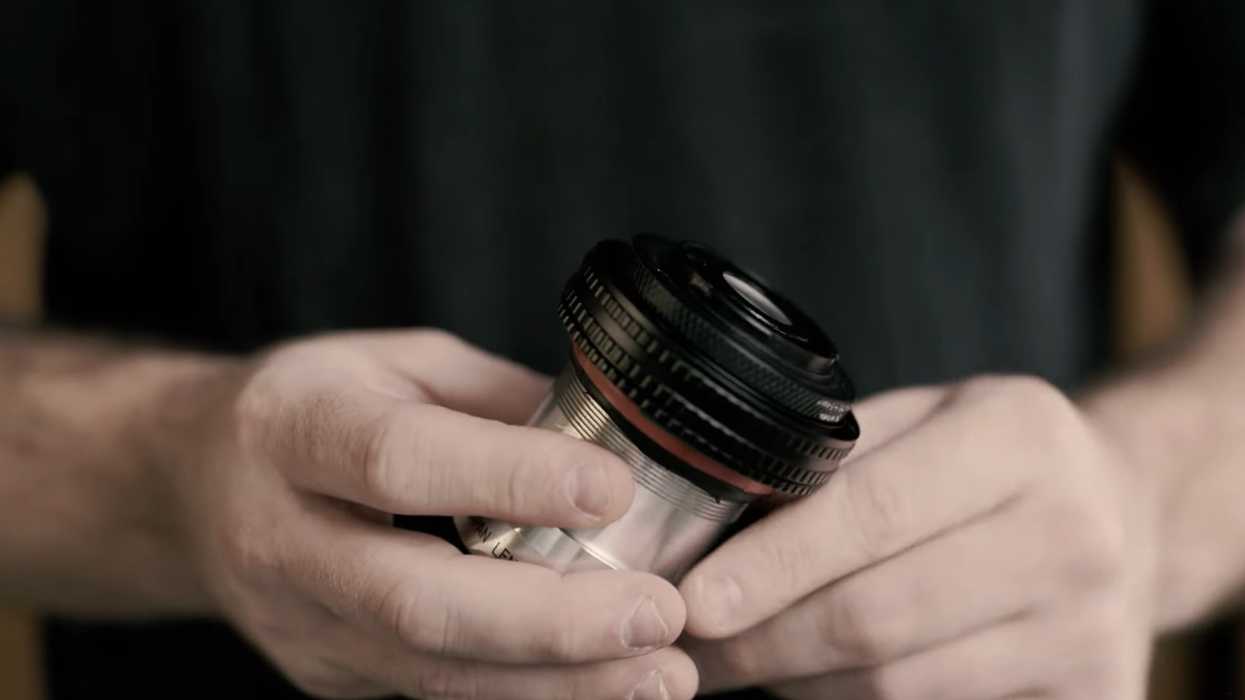
Next comes the focusing device called a helicoid adapter. Since projectors slide the lens into a housing that has the focusing mechanism built into them, you need a way to be able to add that capability to the lens itself. That's where the helicoid comes in, as it will give the projector lens that functionality.
Usually made of a brass or plastic tube, the helicoid is designed with a focusing mechanism built in. Think of it as the lens without the elements. There are a wide variety of sizes and shapes, so it makes sense to find your projector lens first and then measure the diameter with a pair of calipers. That way you can search for a helicoid with a similar diameter to fit it in.
Carlton used an m58 to m58 model, but there are also EF and even Nikon Z mount adapters. So there’s a good chance you’ll find one close to your needs. Moreover, if you can’t find one for your camera mount, don’t fret. You can always use a lens adapter ring that will mount the entire lens array to your camera.
Putting this kludge together will require some help in the form of cut rubber bicycle tire inner tubes and some good old-fashioned electrical tape for fine-tuning. The key is to be able to firmly grab your projector lens while being able to block out any light leak coming from putting the lens and helicoid together. Carlton has a hack for this, as slipping rubber onto the lens will take some doing. Simply soak the rubber in boiling hot water first to make it malleable enough to fit around the lens housing.
Now that you have it all together, it’s time to calibrate things to find the focus range and that will require sliding the lens until reaching the proper distance from the end of the lens to the image sensor. This is usually where the rear lens element is level to the lens mount.
Don’t do this while the lens is attached to the camera, as you run the risk of damaging the sensor and the rear lens element if they impact. You also want to be sure the lens is clear of the mechanical shutter if you have it enabled.
This is going to be a bit of trial and error depending on the lens you use. One lens may have a very short focal length, and as such, be limited to portraits, while another may have a larger length to enable background bokeh that really pops. Calton does say that the projector lenses do offer a super sharp resolution and insanely swirly bokeh.
The only other issue may be some vignetting, but Calton was able to remove that by shooting in crop mode.
It may sound like a very kludgey thing to do, and you do have to be careful while you’re calibrating the lens distance. But if you’re looking to get a dreamy lens look that you just can't find in a rental lens, and you’re on a limited budget, creating your own lens with an old projector lens and a few spare parts could be your way forward without having to digitally manipulate it in post.
Source: Tom Calton