Make it Beautiful: Color Grading in Premiere
If you've ever felt like you're "color grading with one arm tied behind your back," Adobe's latest update to Premiere might be exactly what you need.
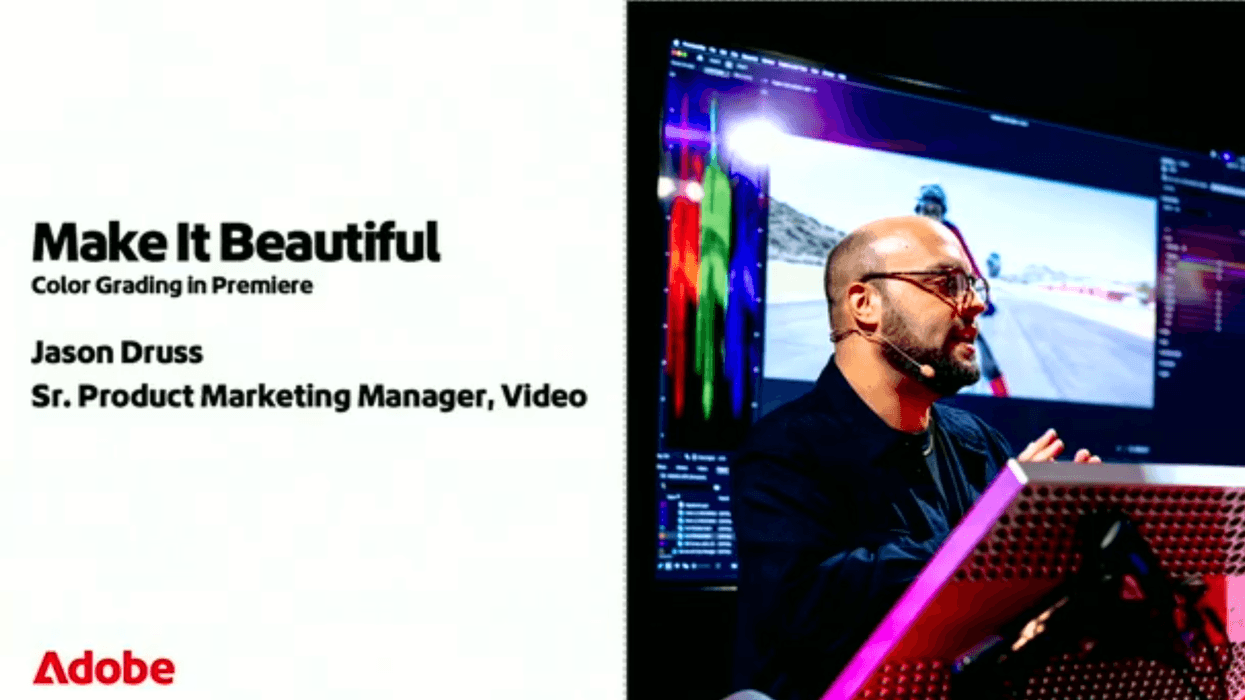
At Adobe MAX, former Warner Bros. Discovery senior colorist and Adobe senior product marketing manager Jason Druss demonstrated how to make videos look gorgeous in Premiere, removing the guesswork and unlocking your creative ability to color like a pro.
Druss started off by noting that there’s been a common issue that anyone trying to color manage their media has faced. We've all been there—you carefully shoot in Log to capture maximum color information, download an expensive LUT pack online, apply it to your footage, and... it looks terrible on 25% of your clips. As Druss puts it candidly: "Does it always look good? No. It doesn't, right?"
The issue runs deeper than bad LUTs. Premiere’s legacy color pipeline was fundamentally limiting. Even when shooting Log format and capturing large amounts of color data, everything was being tone-mapped to Rec. 709 the moment you imported it—like trying to stuff an 18-inch pizza into a personal pizza box.
The Solution: Wide Gamut Color Pipeline in Premiere
Released in Premiere 25.2, Adobe completely rebuilt the entire color processing pipeline. This isn't a patch or workaround—it's a ground-up redesign that solves what Druss estimates are "95% to 98% of the problems that a lot of us have had with color grading in Premiere."
The best part? Implementation is simple. Just navigate to your sequence settings, select Color Management, and switch from "Direct Rec. 709" to "Wide Gamut." That's it. Editors can now focus on the image, getting right to editing with great-looking footage.
Druss explained and provided examples of how this new color management pipeline offers:
- Native color management for Log and RAW formats
- Automatic normalizations for SDR and HDR without technical LUTs
- Consistent results across mixed camera formats
- Smooth, predictable results accessible to editors right inside Premiere
During the presentation, Druss also showcased the Film Impact effects library that includes 94 GPU-accelerated effects and transitions, now included free for all Creative Cloud subscribers. From cinematic vignettes with chromatic aberration to volumetric glows, these tools run in real-time and feature a delightful "Surprise Me!" button for instant randomized variations that you then can refine to fit your needs and even save for future use.
In addition, Druss demonstrated the new AI-powered object masking that drastically simplifies masking in Premiere. Need to isolate the sky without affecting your subject? Draw a rectangle mask, add an object mask for your subject, subtract one from the other, and you're done. Bi-directional tracking, real-time previews, and blend modes for every mask make complex compositing workflows surprisingly straightforward.
Color Management For All
Druss demonstrated all of this using ProRes RAW footage shot on an iPhone 17 Pro Max with an anamorphic lens. The message is clear: whether you're working with a phone in your pocket or a complete RED system, you can now "shoot Log video at an extremely high bit rate, bring it into Premiere, color manage it, apply your effects, apply Lumetri, and understand that in just a few clicks you have a color pipeline and a system that can allow you to turn your idea into a physical reality without the guesswork."
As Druss emphasized at the close of his presentation, when it comes to Adobe and color: "We are just getting started."
Ready to Get Started?
The Premiere color management pipeline Druss demonstrated is available now in Premiere. For editors still using the legacy pipeline, your legacy projects will open up and look identical. You'll need to manually switch to the new pipeline for each sequence, but once you do, those settings become sticky for all future projects.
For a comprehensive deep dive, check out Jason Druss's full presentation from Adobe MAX on Adobe.com