New BMPCC Owners, Here's How to Get Snappy, Vibrant Color from Your Flat Footage

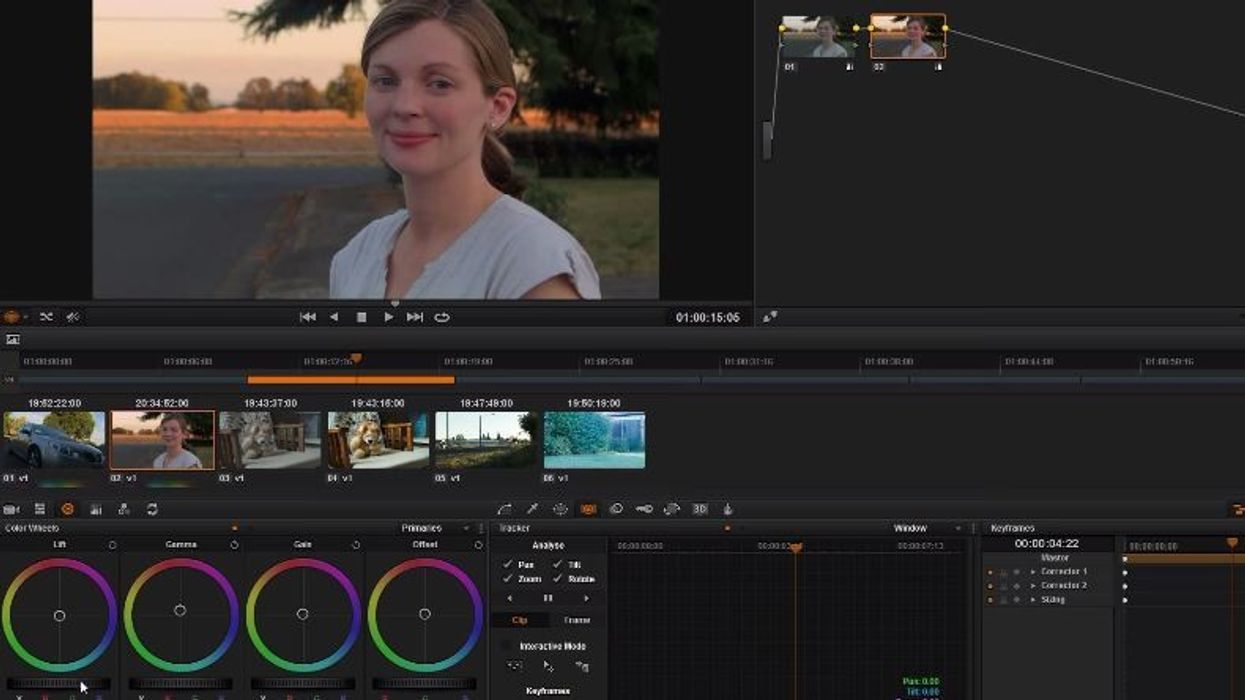
Chances are that, unless you live under a rock, you know that the already-reasonable price of the Blackmagic Pocket Cinema Camera dropped dramatically earlier this month. As such, I think that it is pretty safe to assume that there are quite a few new owners of the bite-sized camera. For some, the post processing of the BMPCC footage will be similar to what they've experienced with many of the other cinema cameras that shoot log footage and RAW. However, for people who are just starting to work with the flat images from the Blackmagic Film Gamma, getting an appropriately colored and aesthetically pleasing image can seem like a daunting task. Luckily, Casey Faris uploaded a fantastic tutorial that will show you how to get snappy color from both your BMPCC ProRes and RAW files inside of DaVinci Resolve.
The techniques used in this video are not exclusive to the BMPCC in the slightest. Not only is this process identical to how you would work on footage from any of the Blackmagic cameras, but the various techniques used in this workflow, from balancing the RGB parade to pushing and pulling color wheels to maintain color balance, are applicable to any footage that you shoot with any camera. These are invaluable techniques for anybody who'd like to learn more about color correction, and for a more in-depth look at some of these principles, especially reading scopes, check out this article (and this one) from our archives.
For those who choose to shoot RAW with the pocket camera, if the coloration process is a bit too time-consuming or confusing, you can use the Camera Raw palette in Resolve to force the footage into a Rec 709 color space, which will give you a poppy image with minimal work. With that said, learning to normalize the colors in log footage is a valuable skill these days, especially considering that more and more cameras use logarithmic curves in-camera to preserve detail both in shadows and highlights.
[via Casey Faris]


