Tutorial: Easily Clone Yourself with Adobe Premiere Pro CC
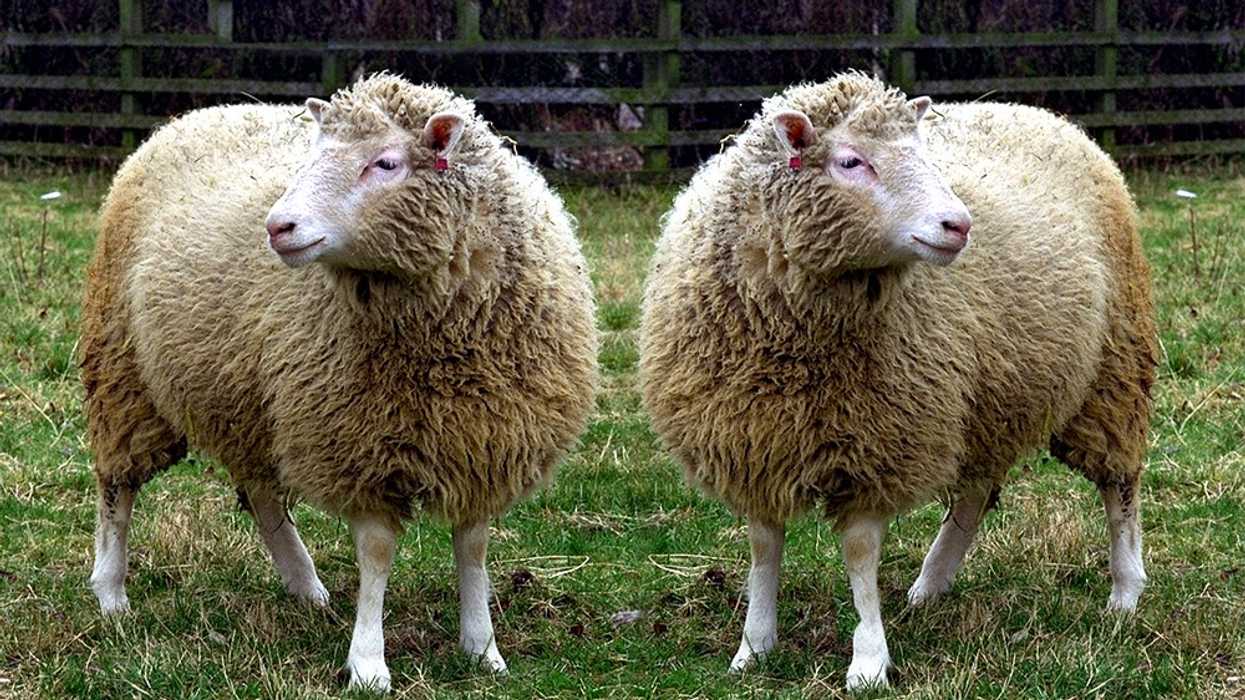
Want to clone yourself? Want to clone yourself?
Director Harold Ramis wasn't the first to use the technique, but the 1996 comedy Multiplicity comes immediately to mind when thinking about the use of cloning as a story device. If you haven't seen it, Doug Kinney, played by Michael Keaton, duplicates himself to manage his busy schedule and family life. Things start to unravel when the clones duplicate themselves–into less competent versions–to free up their own lives.
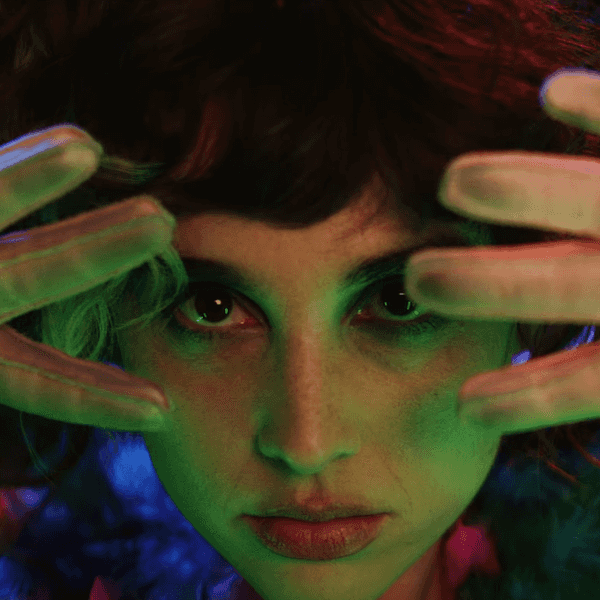
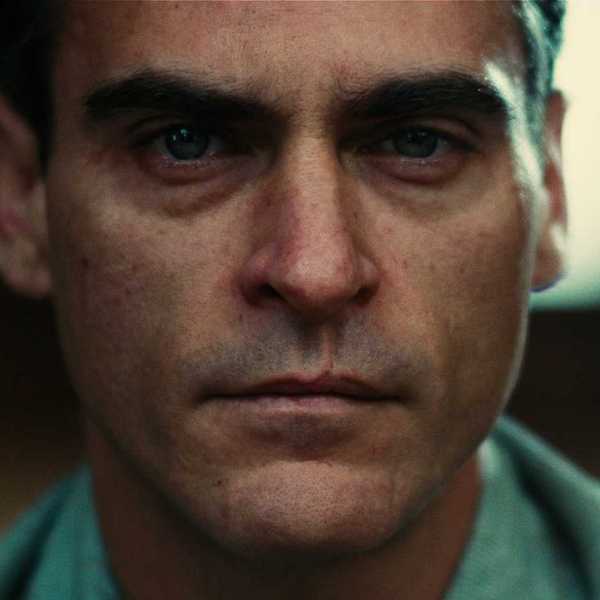
Essentially, cloning is used to give the impression that two or more similar-looking characters are interacting with one another in a scene. Think Ewan McGregor in Fargo season three.
Filmmakers have used body doubles, split screens and editing tricks like L-cuts or J-cuts to accomplish the look, but as many of you already know, today's visual effects and editing software has made it much easier, even for beginners. Filmmaker Peter McKinnon has created a tutorial on how to create such an effect using Adobe Premiere Pro CC as well as Photoshop CC. The meat of the workflow starts at 2:00.
Shooting
Before filming, you're going to need to figure out what method to use. While this video covers the masking technique, you could also use green screen or a little bit of both. For masking, consider minimizing busy backgrounds as it will be easier when combining multiple sources. You'll also need to film the character multiple times depending on the interaction of the scene. The most important thing to remember is to make sure your camera doesn't move. Setting floor marks for each character is another good idea, and you might want to use a stand-in or an object as an eye line. Pro tip: Don't remove the floor marks until you've completed post. You may need to go back for a pick-up or two.
Post
In Adobe Premiere Pro CC, import your footage and stack each clip on top of each other. With your top video selected, use the ellipse, rectangle or free draw bezier tool to create a mask. Move through each clip, masking the character or item so it can be seen without it touching the others. To blend each layer, apply a mask feather or mask expansion to create a seamless background. To finalize the look of all the clips, place an adjustment layer above to easily add a LUT or other color correction.
It's very simple tutorial to remember: shoot without moving the camera, import the clips on top of each other, mask and feather before finalizing the color. If you're interested in similar tips, you can watch our very own Ryan Koo's take or Film Riot's version.
Source: Peter McKinnon