New Tutorials On Dynamic VFX From Red Giant
Seth Worley teaches Better Call Saul and Star Wars VFX innovations.
Seth Worley at Red Giant has a couple of zippy new tutorials out, showing how Red Giant’s VFX Suites can uncannily recreate some of the most popular VFX out there.
Last month it was Stranger Things and Game of Thrones. This month Seth gives us the over-cranked titles of Better Call Saul, and, a magical Force Push from Star Wars. You need Red Giant plug-ins to play, and they're available for download in a 14-day trial.
Better Caul Saul Titles
Seth gets a burst of applause from me for the Saul titles, a tutorial on how to use your company’s elite suite of VFX tools to make something look...
Like vomit. (He admits as much.)
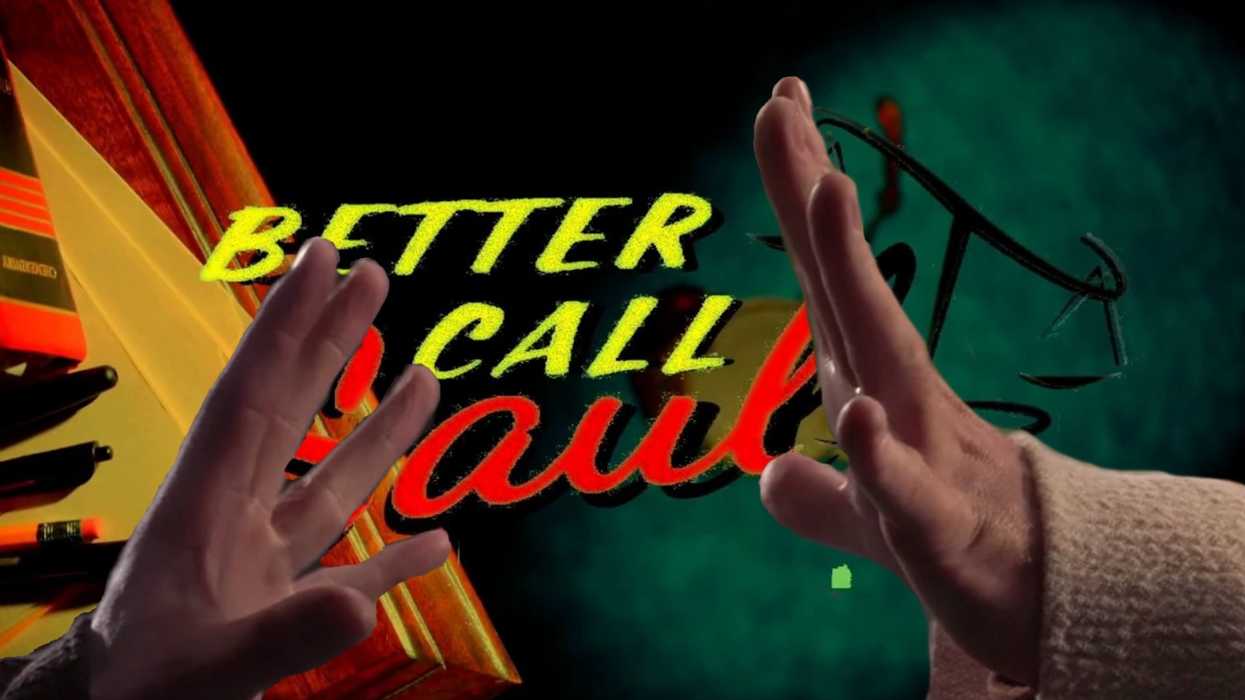
First, he sizes out the Better Call Saul logo with some free retro fonts and applies AV Club’s Public Access preset, which adds a proper amount of jitter and edge-bleed. The next steps slam up the Sharpen, Curves, and Saturation effects to create the extreme color values and artifacting we normally associate with a panic attack.
If it looks horrible, good, you’re doing great.
Seth shows how to create some crappy green screen noise with a color-dodged gradient and a time expression, a very cool tip. He applies Red Giant’s Holomatrix effect - who knows what Holomatrix does in the natural world, but here, it inverses the colors, and Seth keyframes these into quick flashes of color horror consistent with the opening of Better Call Saul, and nothing else. The last minutes of the tutorial create a diamond shape-wipe and stroke some block letters with a red outline, two steps so basic and wrong you will probably never see them in a tutorial again.
Here is the tutorial:
So unless you’re a huge fan of all things broken and bad, is this maybe pointless? Would you ever slam color around like this again, and if you did, would you need instruction in it? The thing is: it’s actually a well-paced, detailed tutorial and if you follow along, your results will reliably mirror his. And I truly believe there’s something spiritually cache-clearing about roughing up an After Effects file whose fields we normally tweak with such tentative care. Besides what could go wrong? It could look good by accident?
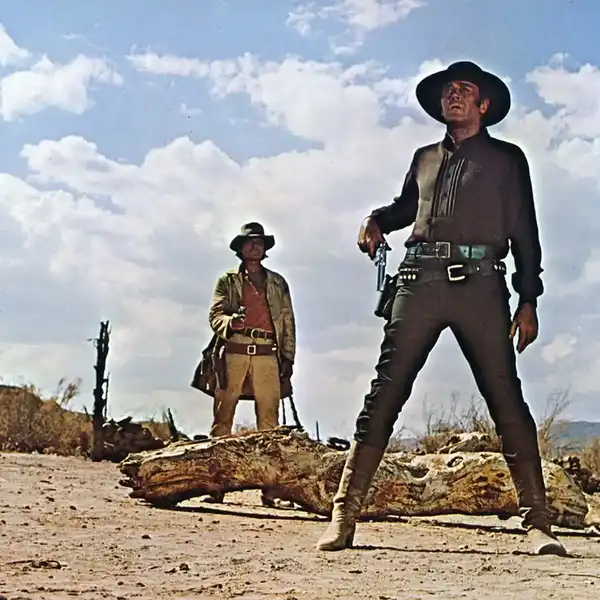
Star Wars Force Push
Ha. Whoops. Wrong video. Kind of. Anyway, you probably know what the Star Wars Force-Push is like.
Let's talk about how you can MAKE it.
First, Seth creates the shockwave by drawing a circle mask on a solid. He duplicates the mask and sets the blend mode of this mask to subtract. He decreases its mask expansion, creating a ring, and he feathers the edges. He adds fractal noise and an unsharp mask to the layer. He then grows the ring over thirteen frames by key-framing Mask Expansion. He sets the shockwave aside.
Now he creates two Trapcode Particular emitters to create leaves and dust and tracks these to fly up from the ground under the blast. He creates a foreground mask around his actor to situate the blast between his two actors.
Now Seth adds Supercomp to integrate the layers. He sets the shockwave layer to be a displacement layer and cranks up “amount” and “softness” until it looks... like a force push.
To the particle emitters, he adds Supercomp’s Foggy Integration preset and tweaks the opacity of the dust layer. Lastly, he uses Supercomp to isolate and add vibrancy to the lightsabers’ glow. He applies RG’s Camera Shake and adds the Car Mount preset, key-framing the jolts to the track with the shock wave impact. He darkens a few areas with Colorista IV and adds a Mary Poppins Returns LUT.
Then the whole tutorial bursts into song, a mash-up of Mary Poppins Returns and Return of the Jedi, which is super fun. Watch it now:
The Force Push tutorial is probably a clear walk-through if you know what you’re doing; none of the effects applied have more than a couple of tweaks to the presets. But Seth breezes over the making of the shock wave and the emitter systems that are the meat of the effect. It’s unfortunate because if you're a hungry novice like me, that’s the burger you're here for. I had to study a screengrab of the timeline to parse out the steps for the shockwave masks. Not that I mind. But then it came to Trapcode, and I got lost. Maybe you already know how to create leaves and dust in 8 seconds in the Effects Builder. If you don’t, well, stick around for the musical number. It really is fun.
What do we expect from tutorials? To learn fast, to be empowered, to be entertained. This tutorial was 50% entertaining, 25% I-could-do-that and 25% wait-what? The wait-what? might be on me. Do I have to watch another tutorial? Or Seth, could you maybe slow the roll. Wink emoji. For real, the toss to Mary Poppins rocked.
The amazing force-push video we featured was from Depayse
Source: Red Giant