This is part two of four in this article series covering virtual production (you can read part one here). In this section, we will cover what is different about working on a virtual production that uses an LED volumetric film set in contrast to a traditional production that uses chroma keying.
So you are stepping into a production that wants to use virtual production toolsets in its workflow rather than a traditional approach. This could mean a few different things for your pre-production and production processes. What I am going to explore in this article is how to prepare for the differences in your shooting process when working on a stage using LED volumetric displays as opposed to chroma keying to composite in the background.
LED Volumetric Displays
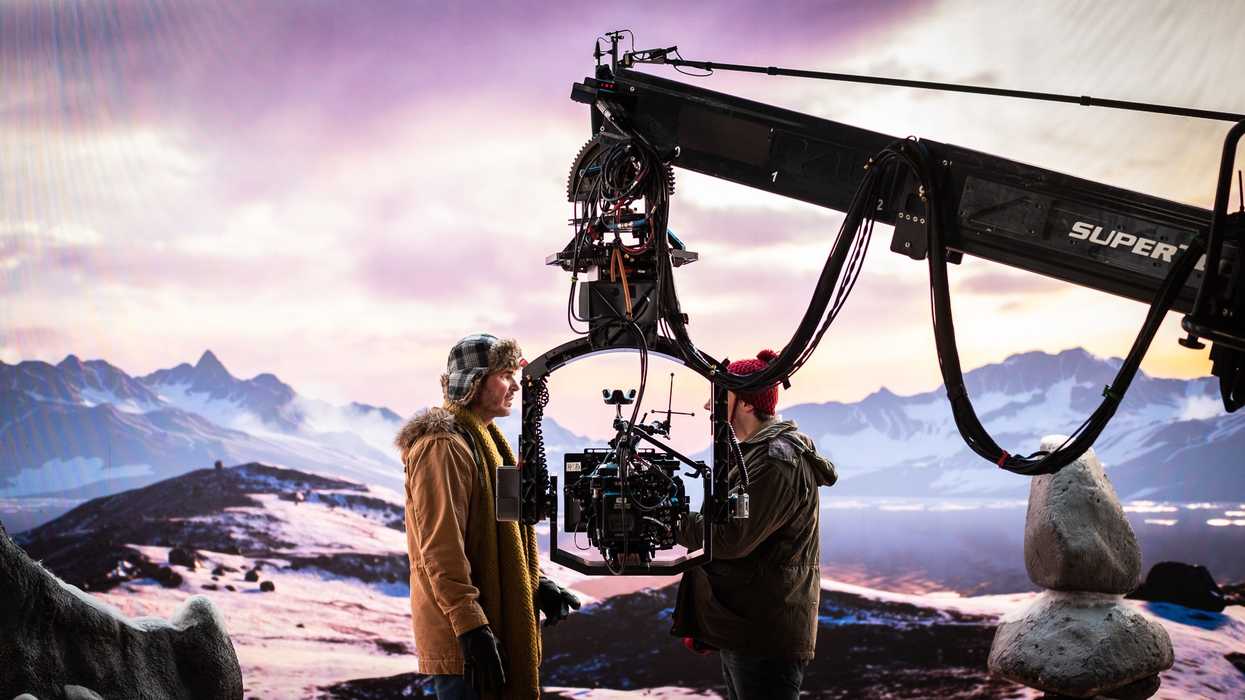
If you need a quick refresh, shooting with an LED volumetric display means using LED panels as a backlight source that renders a "final pixel" image in the background of your shot as opposed to later compositing the background onto a green or blue screen. This is achieved by tracking your camera’s movement in 3D space and encoding that information into a game engine, rendering your background environment so you can achieve parallax (objects moving relative to one another at a distance).
This is an upgrade from standard rear projection and translites where the background wouldn’t move with this camera and the illusion was easily ruined due to the lack of parallax.
 Credit: Luka Cyprian
Where Do the Differences Begin?
It’s important to note exactly where you need to begin thinking about this methodology differently than a traditional production environment. And really that begins at the early pre-production stage when key creative members of the team like the producer, director, cinematographer, and production designer begin breaking down the locations and logistics of accomplishing the script and creative vision.
I’ll give you an example using a story that could involve virtual production techniques:
A young child finds a magical gemstone that transports them to an alien planet occupied by humans that seem less than normal.
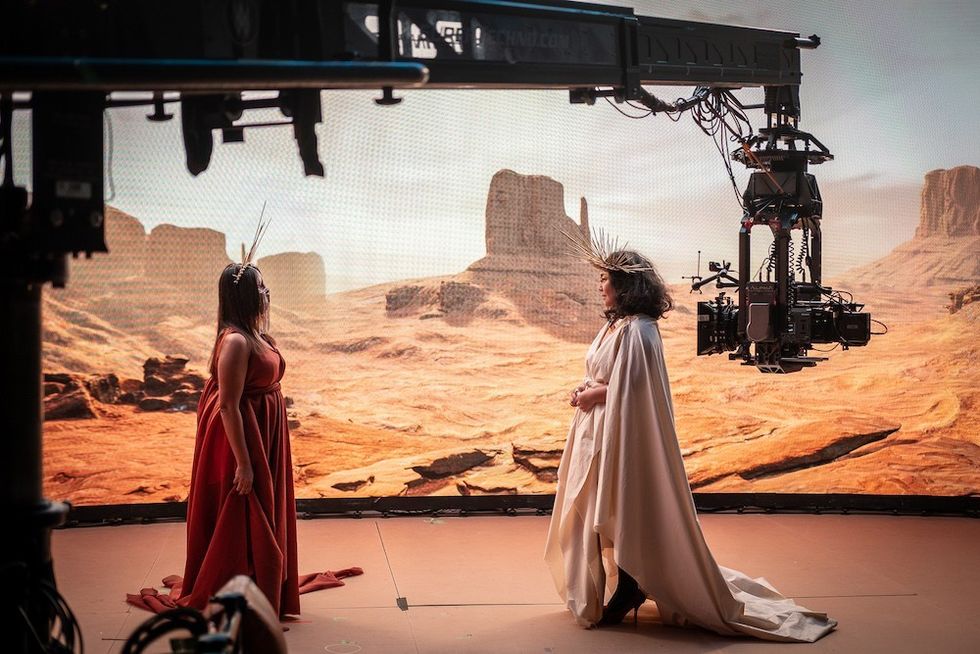
When breaking down the scenes and locations of the story, something stands out: "How do we make the alien planet?" There are many different options available to the discerning filmmaker, like making the entire location on a soundstage, traveling to a remote part of the earth that artistically fits, or creating the entire environment in CG and compositing the actors onto it using chroma key.
Now there is one more option that keeps things local and makes for a more immersive shooting experience: shooting on an LED volumetric stage.
 Credit: Luka Cyprian
Pre-Production
Now that we’ve decided to go for an LED volumetric stage for our film, the differences between the flows of virtual and traditional production begin.
For starters, rather than the traditional workflow in a chroma-key stage where a pre-vis environment is built off of concept art and scheduled to be finished during or after principal photography is completed, in a virtual production, such an environment has to be fully imagined, approved, and created before the camera ever rolls on it. This leads to more pre-production, pre-vis, and prep meetings.
This is where a very important person has to enter the picture—the VFX producer, or VFX supervisor. This is a title I see potentially changing as this new technology and its workflows become more standardized, but what is important now is what responsibilities the VFX producer has.
They must:
- Ensure that the VFX production schedule is set and communicated to all departments so that principal photography starts on time.
- Ensure that the environmental artists and lighting team are talking to the director, cinematographer, production designer, and producer, and that the entire creative team signs off on the digital environment being created.
- Ensure that the art department is in contact with the environmental artists and virtual art department to make sure that any physical assets that exist on the stage are also available to be placed into the virtual environment for different camera setups.
- Ensure that the director and cinematographer have had a chance to scout the digital locations beforehand—ideally in a VR setup for complete immersion—and that they have planned out their blocking and camera setups to flag any potential environmental changes.
 Credit: Luka Cyprian
Production
As we head into production, we have to determine a few key things for our schedule.
- What environments will be ready and available for shooting first?
- What size of LED volume do we need to accomplish the shots we’ve set out?
- What shots are not possible on an LED volume and require a chroma-key background and compositing later?
Now each key role will experience a difference in the way they are used to working. I’ll be covering some role-specific changes for department heads in subsequent articles, but here and now I want to present to you a few key differences in the way the day will flow on a virtual production shoot vs. a traditional on-location shoot.
Setting the Scene
The first thing that needs to be addressed is actually getting the environment up and running on the stage with the orientation and sizing set appropriately. Depending on the system and the scene complexity, this could take anywhere from five minutes to an hour or longer if it’s a slower computing environment.
Now, in an ideal world, you are working off of your storyboards/shot list/pre-vis so you know which direction you will be facing for your first setup. The best way to make sure this is communicated to the stage technicians is to ensure they have a copy of the shot list as well as the saved locations of your camera positions within the engine you will be using.
Next, the camera has to be lined up on its mark and the performers have to be blocked accordingly. Then, any key set pieces in the foreground should be placed to ensure their sizing and scaling match what is seen in the background. Once all of this is complete, it’s good practice to run the sequence once with the camera and performers moving respectively to check if they run into any of the following issues:
- The environment or performers occluding the trackers on the camera.
- The entire scene blocking moving out of the lighting environment of the set.
- Inducing moire by getting too close to the wall with the camera and allowing the panels to come into focus.
 Credit: Luka Cyprian
- Sky and sun rotation and orientation
- Shadow intensity and consistency in the background environment
- The scene’s placement within the virtual location
- Mid-ground in-engine object adjustments or removal if they don’t seem to "fit"
Once all these checks have been passed, lighting can be completed as well as any final set dressing.
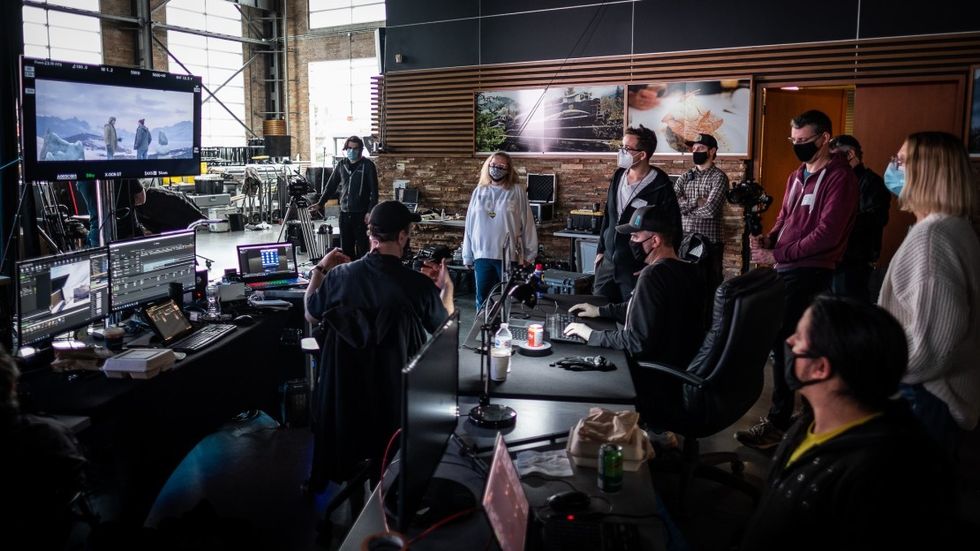
It’s good practice to watch playback on the rehearsal or first take to make sure there aren’t any technical issues you didn’t notice before, such as:
- Background shifting or shaking due to a tracking issue
- Color differences in the LED panels (usually along seams in the wall)
- Moire
If the take was clean and everyone is happy, you can move on and "turn around." This is where things get interesting.
"Turning around" in the volume means the location within the virtual environment moves to match the new orientation of the camera within the scene—but, unlike on a traditional shoot, the camera and lighting don’t do a lot of moving. This is because you can set your new scene background anywhere you want digitally, so all you need to do is readjust on-stage to match, and you are ready to go.
 Credit: Jesman Fabio
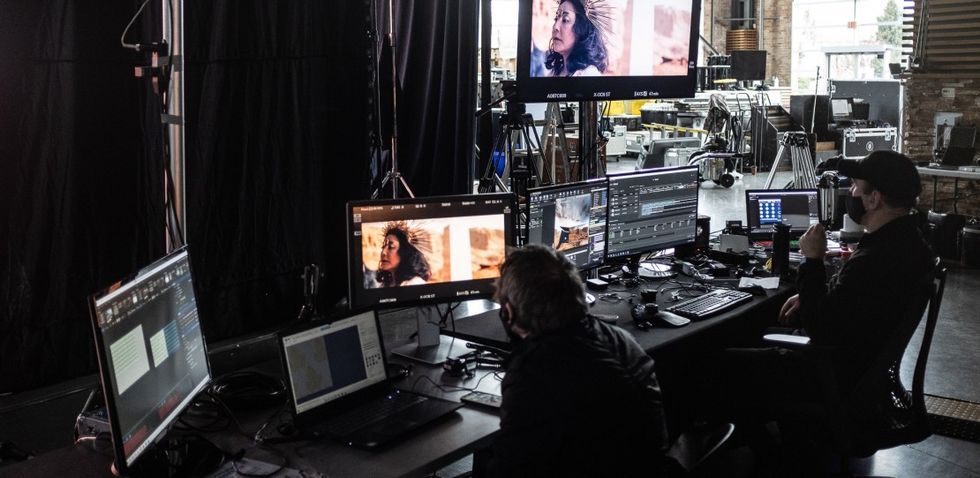
Post-Production
This is really the most exciting part of working in virtual production environments for any business-savvy filmmaker. Because if everything went well while you were in production and you had little to no issues, then the post-production process can be very streamlined and predictable, having eliminated a lot of the “fix it in post” mentality that would otherwise permeate a VFX-heavy production. The few things to consider are:
- Double-checking on the biggest monitor possible for any moire issues and cleaning them up
- Matching any color-shift issues between panels in the final grade
Otherwise, you’re done—print it, it’s ready to go.
What's next? Continue your learning
Things are different for cinematographers who shoot on volumetric stages, and there are new tools at your disposal. Learn what cinematographers need to know going into a virtual production. If you need a primer, we cover the basics of virtual production.
Special thanks to the Director’s Guild of Canada for the use of the photos in this article from our amazing shoot in February 2021. Thanks to our shoot sponsors: ShowMax for providing the Volumetric Stage, Animism for providing the environments and VFX support, William F. Whites for providing the camera/lighting and grip gear.
Karl Janisse is a Canadian cinematographer, photographer, and visual storyteller currently residing in Vancouver, BC, who specializes in virtual production cinematography and workflow design. He believes great images make the heart bigger and the world smaller. Karl also co-founded an online school Pocket Film School that helps bring education about the film industry to people around the world.