The Divide and Conquer Grading Workflow in Premiere’s Color Mode
Let's dive into how to use Color Mode.
You’ve been there. You open your sequence for color, pick a shot somewhere in the middle, fix it, move to the next one, fix that. Two hours later, you’re thirty clips in, nothing matches, and you’re starting to dread how long the rest of the timeline is going to take.
That’s not a skill problem. It’s a structure problem. Clip-by-clip grading doesn’t scale — and it was never designed to. Every decision is isolated, consistency has to be managed in your head, and the work compounds rather than progresses.
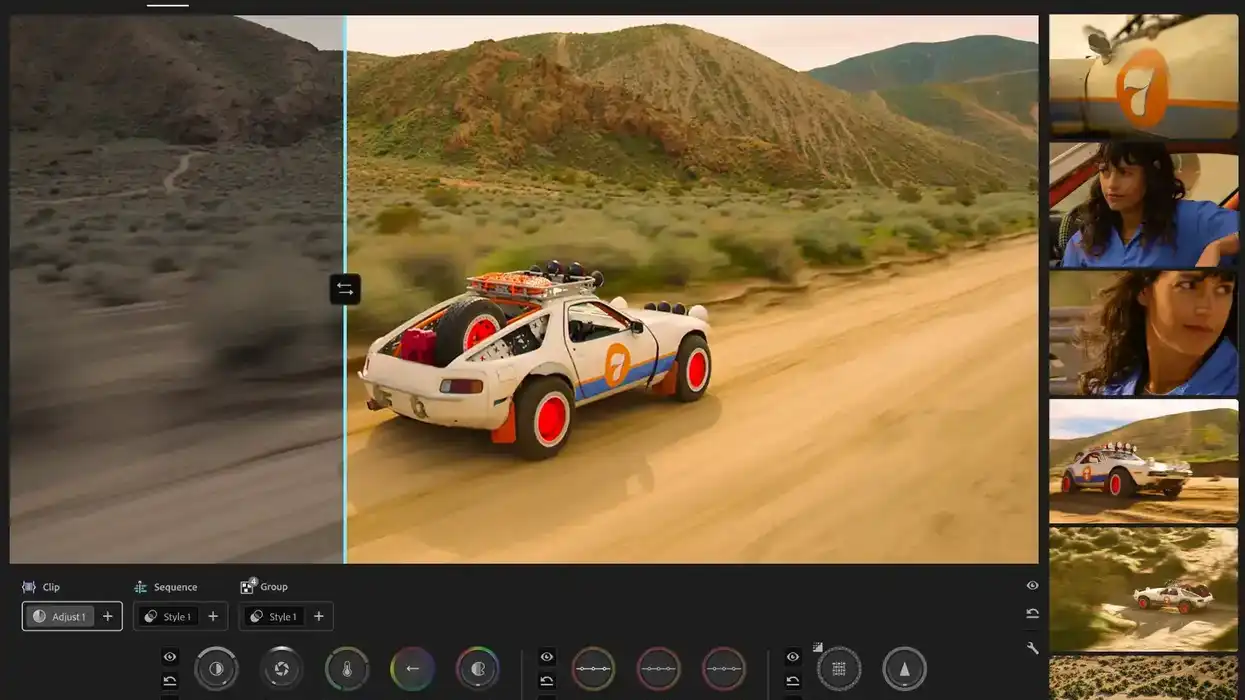
Color Mode in Premiere (beta) is built around a different approach. Instead of treating each clip as its own problem, it organizes color across three levels — sequence, group, and clip — so that one decision can do the work of many. The goal is to establish a look quickly, apply it broadly, and only spend time on the shots that genuinely need individual attention.
Start Wide, Then Narrow In
The instinct most editors have is to start wherever the timeline begins and work forward. Color Mode asks you to do the opposite: start at the top of the structure and work down.
The first pass happens at the sequence level. Apply a style preset to give every shot a shared starting point — an overall direction, not a finished look. From there, refine exposure, contrast, and balance across the entire timeline. In practice, this single pass often gets you most of the way there. A sequence that felt all over the place starts to feel like it belongs together.
The second pass is at the group level. Group your clips by scene, by lighting setup, or by camera type. A backlit exterior behaves differently than a tungsten interior; a camera with a warm bias doesn’t match one that runs cool. Group-level adjustments let you correct those differences once, in one place, without touching what the sequence pass already established.
The third pass drops into the clip level, but only for the outliers. The exposure miss. The color cast that slipped through. The shot that needs something the other two passes couldn’t handle. Because the sequence and group passes have already done the heavy lifting, this list is usually much shorter than you’d expect.
Why the Order Matters
This isn’t just a workflow preference. The order is what makes the system work.
When you start at the sequence level, every decision you make automatically applies to everything below it. Fix the overall balance once, and every clip in the sequence inherits that fix. Move to groups, and every clip in that group inherits those adjustments on top of the sequence pass. By the time you reach individual clips, most of the work is already done — and the clips that do need attention are easy to identify because they stand out against a sequence that otherwise holds together.
If you start at the clip level instead, none of that inheritance exists. You’re making the same decision over and over, small differences accumulate, and the sequence drifts. The grade becomes something you manage rather than something you build.
The shift is conceptual as much as it is technical. Instead of asking “What does this clip need?” you start asking “What level should this decision live at?” Once that becomes the default way of thinking, the work changes. You make fewer decisions, but each one carries further.
What This Means in Practice
For most sequences, the sequence and group passes will handle the majority of what needs to happen. Clip-level work becomes exception handling, not the primary job. That means less time grinding through the timeline, fewer consistency problems to chase, and a grade that holds together without constant comparison and correction.
It also means you can move faster without sacrificing quality. Broad decisions are quick to make and broad in their effect. The time you save on repetitive clip work is time you can spend on the shots that actually benefit from individual attention.
This is article seven in a series of articles on Color Mode in Premiere. In the next article, we’ll cover Color and Contrast Controls — Zones, Not Lift/Gamma/Gain: why the traditional lift/gamma/gain model was left behind and how the zone-based approach changes the way you think about contrast and color correction. If you missed previous articles, start with the first: Why Adobe Rebuilt Color—And Why It Matters for Filmmakers. To try it for yourself, download the beta of Color Mode.