NAB 2023 has come and gone, but we’re still trying to catch up on all the exciting (and terrifying) ways in which AI is quickly changing the landscape of video as we know it. But with that being said, not every new product and service unveiled at NAB has to do with how machines are taking our jobs (or perhaps just making them easier).
While it didn’t quite get the same fanfare as many of the AI innovations this year, Blackmagic Design rolled out some pretty notable updates to DaVinci Resolve which includes a significant new relighting tool.
But what is this new addition to Resolve 18.5? How might you use this beta test relight tool in your own projects? Let’s take a more in-depth look into how to relight with Resolve with the help of some insightful tutorials.
The Highlights of DaVinci Resolve 18.5
As we covered in our initial write-up from NAB, the major headlines around DaVinci Resolve 18.5 have more to do with new AI-based tools and AI-powered support and features. However, that being said, there’s a lot more going on under the hood of Resolve 18.5 than just the neural engine’s uses for text-based editing.
As CEO Grant Petty explained in our interview with him at NAB, while he’s a bit concerned with “the idea that AI will replace creative people,” he ultimately sees it as more of a “super-intelligent search engine” that helps to aggregate content, not replace creatives.
All that being said, Blackmagic Design’s focus for DaVinci Resolve 18.5 has really been more about empowering creatives and editors to streamline their workflows and add tools to help touch up their compositions. And by far the most powerful tool for putting your subjects in a better light, so to speak, is this new relight tool which is now available in beta.
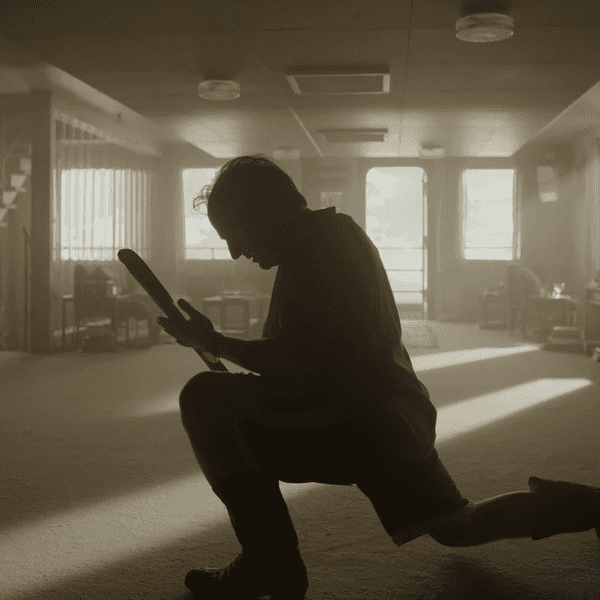
 Credit: Blackmagic Design
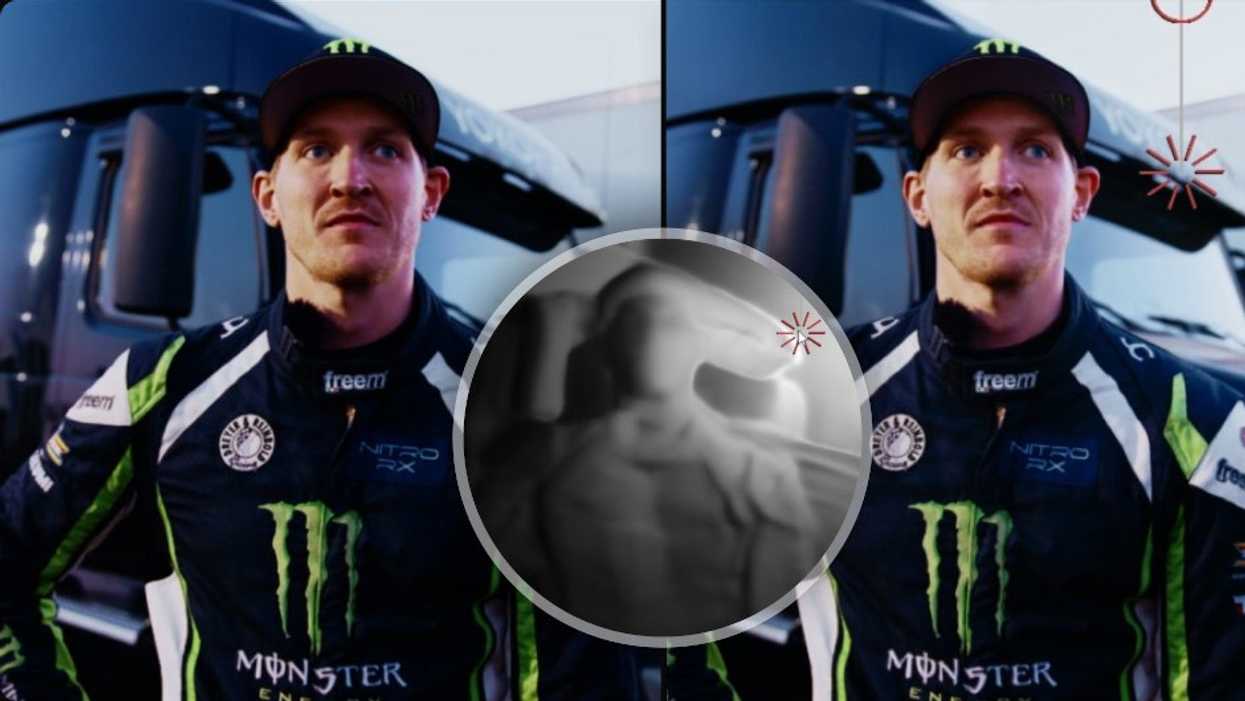
DaVinci Resolve Relight FX
At its core, the new Relight FX tool is designed to let Resolve users add virtual light sources into any composition or scene as a way to creatively adjust environmental lighting. This includes filling dark shadows or simply changing the mood of the composition overall. Light sources can be adjusted directionally to cast a broad light, a point source or even a spotlight, and they can all be adjusted for surface softness and specularity control.
While by no means a lighting replacement per se (please still use lights on your shoots in real life), these touch-up controls can work wonders for editors looking to fill in any gaps or create more dynamic compositions which might have been inadequate from set—or simply as a way to add that extra oomph.
Released as a beta test for Resolve 18.5, we can expect a few more tweaks and bells-and-whistles for this new FX tool, but in general, this is a great preview of how finite and exact lighting and other editing tools will be moving forward for all of the major NLEs like Resolve, Premiere Pro and (probably) Final Cut Pro.
How to Use Relight FX
Now let’s move into an actual tutorial that breaks down some of the workflows and best practices for working with Relight FX in DaVinci Resolve. We picked this tutorial video from Lewis McGregor at Videvo which really gives some good insights into how Relight can be utilized to boost your edits.
To start, all you need to do is add a node to your composition and add Relight. As Lewis explains, this new feature can take quite a bit of processing power so Blackmagic actually recommends you split the burden across two nodes — so for now, you should also add a secondary node with another Relight chained together.
From there, you can create a surface map with the first Relight node, then move over to the second node to adjust the settings. From there, you can see and work with a depth map preview where you can drag your light source and move it across your composition.
You’ll then have three ways to adjust the light in your composition: directional, point source, and spotlight.
Once you’ve selected your method, you can then adjust your different sliders to adjust the light as you see fit. Lewis also shows how to explore different surface properties to change elements like glossiness and specularity. There’s a lot to explore, but once you’re satisfied with your composition, you’ll have to deselect everything and return to your original footage.
The final step is to use the primary wheels to dial in the light to your composition and check your work before rendering and exporting your final compositions.
Wrapping Up
Hopefully, this background information and tutorial guide has given you a solid understanding of this new DaVinci Resolve tool and how it can impact your editing setups. The beta version of Relight FX is available to test with any paid Resolve account, and I’d recommend simply diving into it if you’re really interested in giving it a true review.
Let us know your thoughts, and feel free to share any of your own compositions in the comments below!
- DaVinci Resolve 18.5 Is The Powerhouse We All Need ›
- 7 AI and Neural Engine Features in Resolve Studio 18.6 ›
- Sync Media Directly From the Cloud With Resolve Update ›
- Add New Codecs and AI Stabilization with DaVinci Resolve Update 18.6.5 ›
- Encode New Formats and Manage Media Better With DaVinci Resolve 18.6.6 Update ›
- More Improvements Coming to DaVinci Resolve 19 With Public Beta 5 | No Film School ›