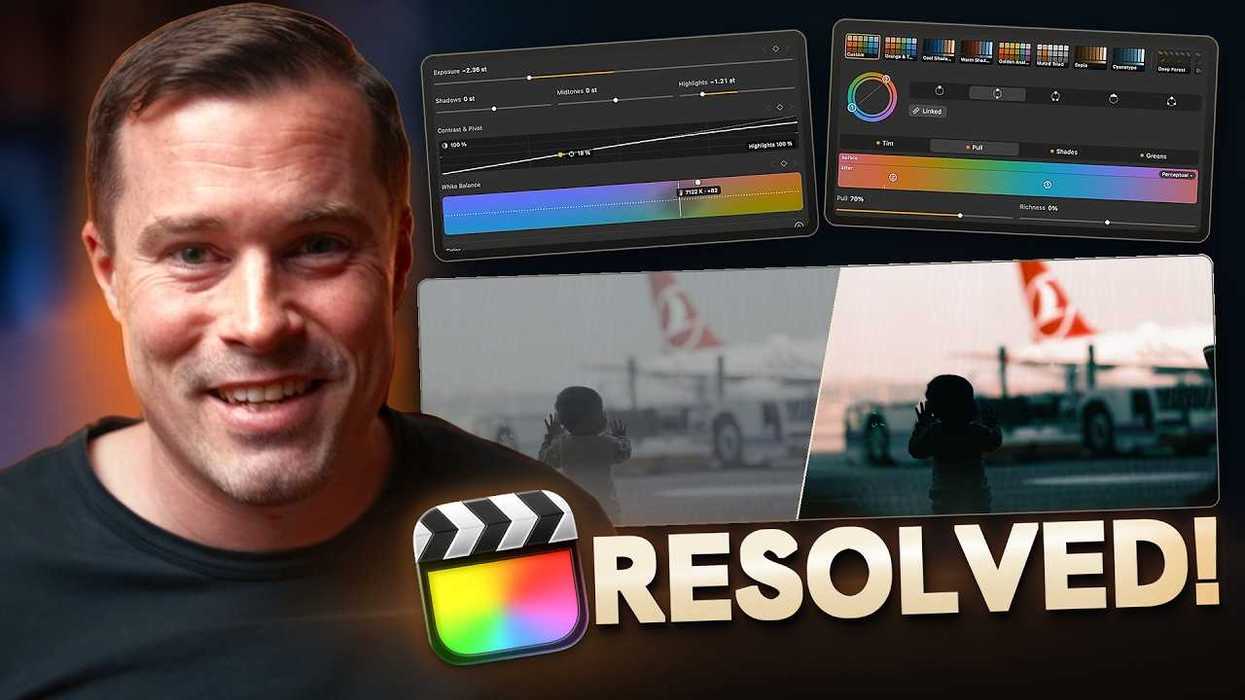
A new color grading plugin for Final Cut Pro on Apple Silicon Macs aims to streamline and speed up your entire grading workflow in FCP.
Developed by filmmaker and YouTuber Pascal Basel, Density 1.0 can prepare an entire timeline in one step, grade groups of clips together, shape looks with Color Style and Film Lab, and deliver SDR and HDR from the same grade.
Let’s take a look at this new color grading option, how it works with whole timelines, not just single clips, and what it could offer for your color workflows in FCP.
Density 1.0 Color Grading Plugin for FCP
A new color grading option is here from filmmaker and YouTuber Pascal Basel, and it aims to bring innovative new processes to your color workflows in Final Cut Pro on Apple Silicon Macs.
The big news is that this plugin can bring a full grading workflow into FCP, as it can work with entire timelines, not just single clips, and let users grade whole scenes together and develop looks that stay editable.
The goal is to provide a way to do one grade for every screen, which can then deliver SDR and HDR from the same grade in Final Cut Pro’s own Inspector.
A Step-by-Step Breakdown
Credit: Density
Here’s a full step-by-step breakdown of how Density 1.0 works for color grading workflows in Final Cut Pro:
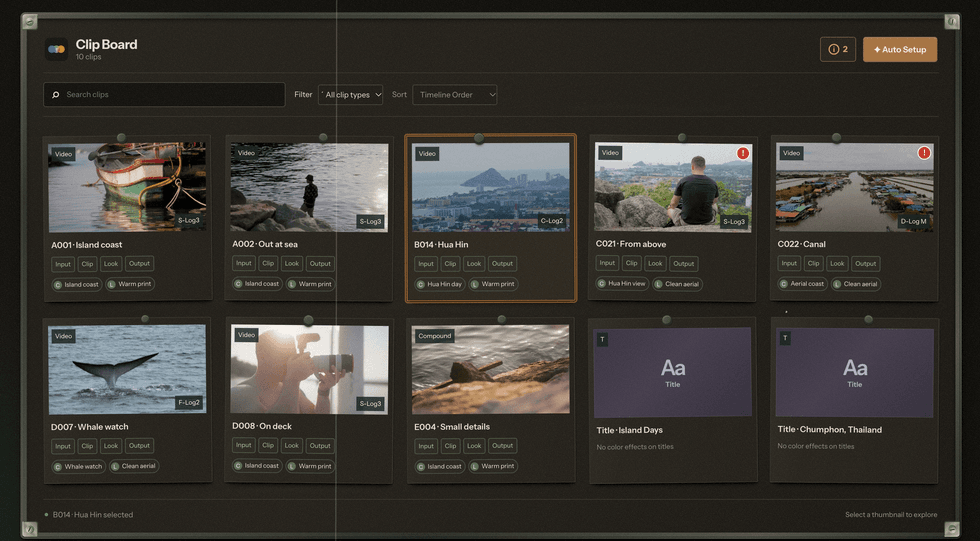
1. Prepare the timeline. Clip Board shows every clip of the edit as a card, so editors can find and select shots without hunting through the timeline. Effects, groups, and looks can be applied to a selection of clips, to everything in the current view (after searching or filtering, for example), or to the whole timeline. Auto Setup prepares them all in one step: the effects, each clip's Log profile detected and its matching input transform set, the Output from the project, the groups and, if chosen, ML Auto Balance, an editable starting point for exposure and white balance.
2. Build your own effect stack. Editors decide which effects every clip gets. In Add Effect Stack and Auto Setup, they pick any of Density's four main effects (Input, Clip Grade, Look Grade and Output) and slot Density Tools or Final Cut Pro's own color effects, such as Color Wheels, into the gaps between them. Set as Default keeps that stack for the next run, and you can apply it to a selection, everything in the current view, or the whole timeline.
3. Convert every camera correctly. Input is the first effect on every clip. It converts the camera's flat Log recording into the working color space, using the input transform that matches that camera's Log profile. Density detects the Log profile from the file for many cameras, so each clip gets the right transform automatically; it includes 27 camera Log profiles, and an Input Rule, such as "file names containing SL3 are Sony S-Log3", covers the rest. Grade Health flags clips with a wrong Log profile or a missing effect, and offers the fix.
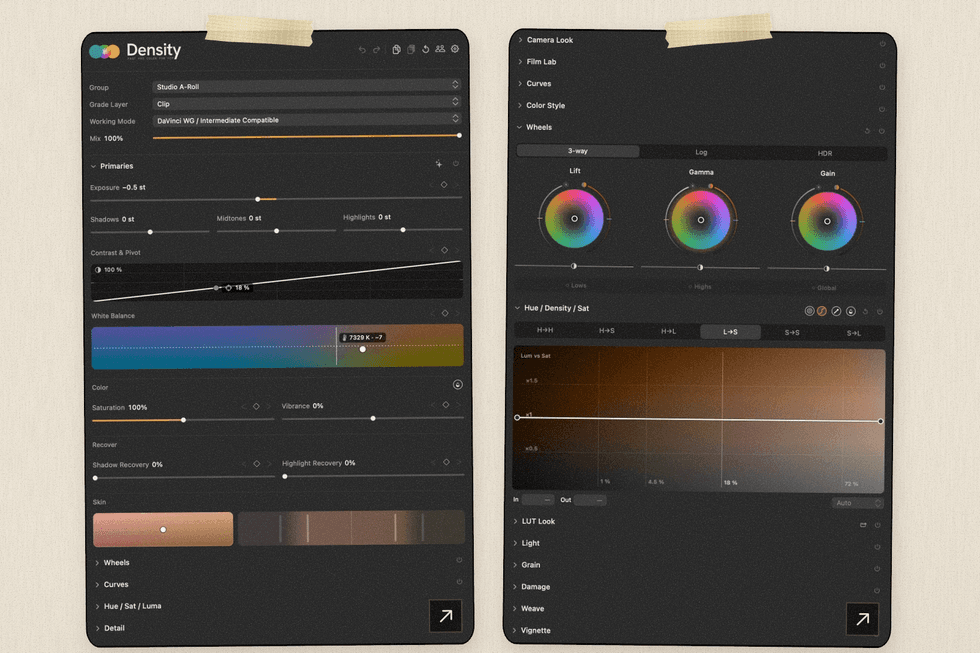
4. Grade scenes together. Groups let related shots share one grade without adjustment layers. In Clip Grade, a group shares corrections around each clip's own layer, so one odd shot can still be fixed alone; in Look Grade, it shares the whole look. Primaries, wheels, curves, and Hue / Sat / Luma, which adjusts one color at a time, sit in Final Cut Pro's Inspector, where masks and keyframes work as usual.
5. Shape the look. Color Style gives a shot's colors a direction. Tint places palette colors in different tonal ranges, such as teal in the shadows and orange in the highlights; Pull moves the colors already in the shot toward the palette; Shades and Greens refine single colors and foliage, while Protect Neutrals and Protect Skin keep grays clean and skin natural.
Film Lab builds film emulation the way a lab does: a negative printed onto print stock, chosen from 57 film stocks, with push/pull processing and printer lights that set the print's color balance. The 72 bundled presets fill these controls rather than replacing them, and you can export the finished look as a LUT.
6. Add finishing tools. Seventeen Density Tools each do one job, as a separate effect on any clip:
• Time-lapse flicker and color drift: Deflicker & Color Stabilizer
• Matching: Chromatic Adaptation, Palette Compressor
• Shaping: Dehaze / Atmosphere, Glow / Pop, Midtone Detail, Diffusion / Mist
• Film texture: Halation, Bloom, Film Grain, Gate Weave, Vignette
• Grading and LUTs: Wheels, Curves, HSLD Tools, HSL Curves, LUT Look
7. Deliver in SDR and HDR. Output prepares the finished grade for the screen it is made for: Rec.709 SDR, P3-D65, Rec.2020 PQ or Rec.2020 HLG. Every camera is graded in one wide working space, DaVinci Wide Gamut or ACES, so a new delivery means a new Output setting, not a new grade.
From start to finish, the goal is to speed up workflows and streamline the process so more work can be done connectedly and quickly, without losing the ability to further hone individual shots along the way.
Price and Availability
Credit: Density
Density 1.0 is out now and is available for purchase as a perpetual license (not a subscription) for a one-time fee of $169. You can also use trial mode, and you can find more info on the company’s website here.
- Cinema Grade Reinvents the Wheel to Make Color Grading More Intuitive and Faster ›
- So, Can You Actually Color Grade in Final Cut Pro Now? ›
- A Simple Trick to Make Your Color Grades More Cinematic & Professional ›
- This Plugin Gives You Pro Color Grading Tools Right in Your FCPX Timeline ›
- Tutorial: Make the Most of CoreMelt's Chromatic Color Grading Plugin for FCPX ›