How to Light a Terrifying Horror Scene on an Indie Budget
You don't need a ton of money to make your horror movie look good on camera.
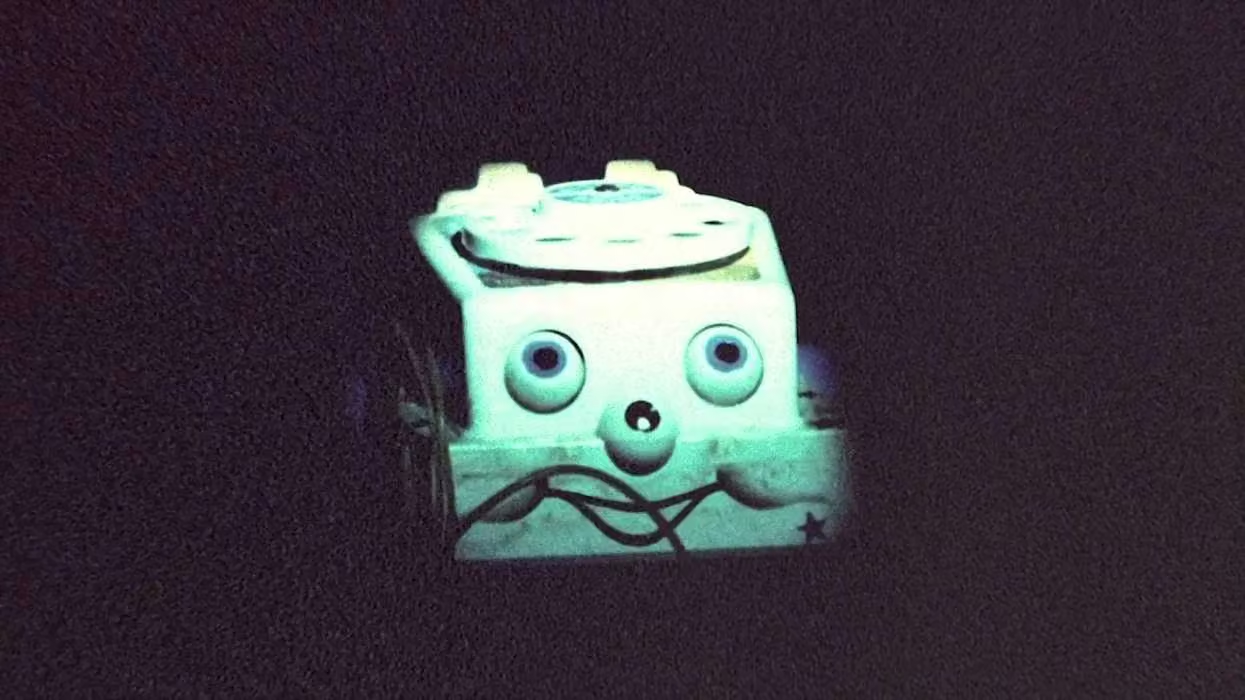
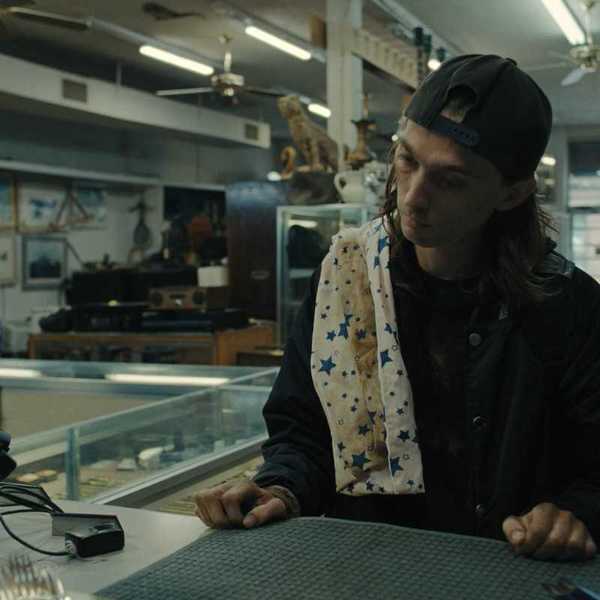
'Skinamarink'
We get a lot of emails here at No Film School, and recently, I got one asking for a few tips on making an indie horror film.
Well, I have never done that!
But luckily, I have a lot of friends, so I called around and got some tips and tricks that I think would help people with the lighting. We'll cover some other aspects of this later.
It all comes down to shaping shadows and manipulating what the audience can’t see.
So today, I want to go over how you can pull off bone-chilling horror lighting without blowing your micro-budget.
Let's dive in.
- YouTubewww.youtube.com
1. Embrace the Power of Negative Space
The biggest mistake beginner cinematographers make when shooting in the dark is trying to light everything in the frame just enough to make it visible. I am sure you've seen these kinds of shorts where they feel like they need a key light to hit every detail.
But that will get you nowhere and make you look like a newbie.
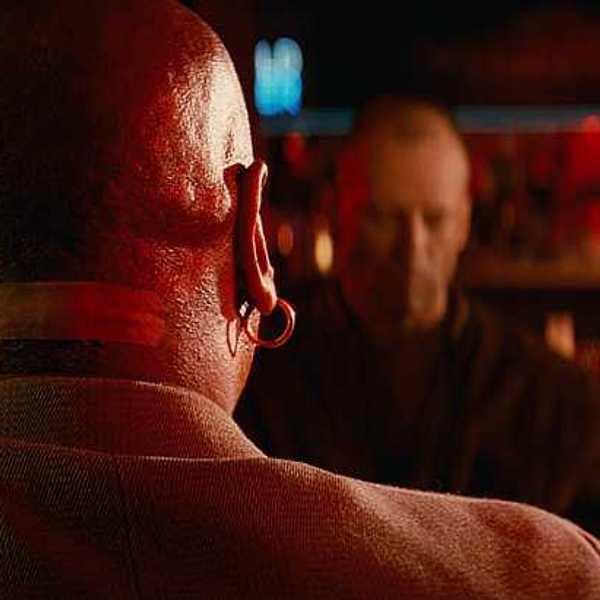
Instead, focus on creating deep silhouette lines or single-side lighting, aka chiaroscuro, to give your project attitude and make it stand out.
To keep your image looking clean...
- Protect your highlights so you maintain image contrast.
- Use a camera with strong dynamic range and nail your base ISO. Check out our guide on choosing the best cinema cameras for low-light shooting to see which sensors handle deep shadows cleanest.
2. Ditch Standard Placements
Unconventional angles combined with a three-point lighting setup allow you to subtly tweak how we see a person on screen.
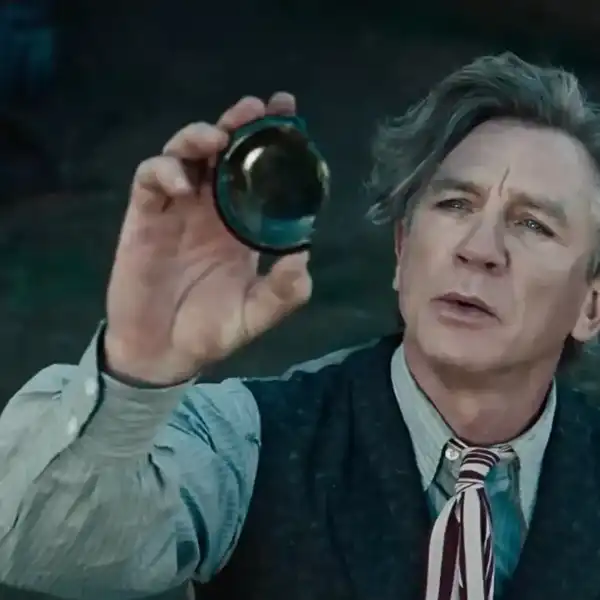
Stop putting lights where you expect them and start moving them around to create a mood or a feeling. Human faces look normal under traditional lighting angles. But if you need to make a character look unhinged or vulnerable, you need...
- Up-lighting (The Ghost Story Effect): Placing a hard or diffused light source below eye level casts unnatural shadows upward across the bridge of the nose and eye sockets. It instantly triggers a subconscious sense of wrongness. Like when you were a kid and put a flashlight under your face to tell a scary story.
- Top-Down Lighting (The Interrogation Look): Hang a small LED tube or bulb directly overhead to cast shadows over the actor's eyes. It'll turn their eye sockets into dark voids. Perfect for a possession.
3. Lean on Practical Light Sources
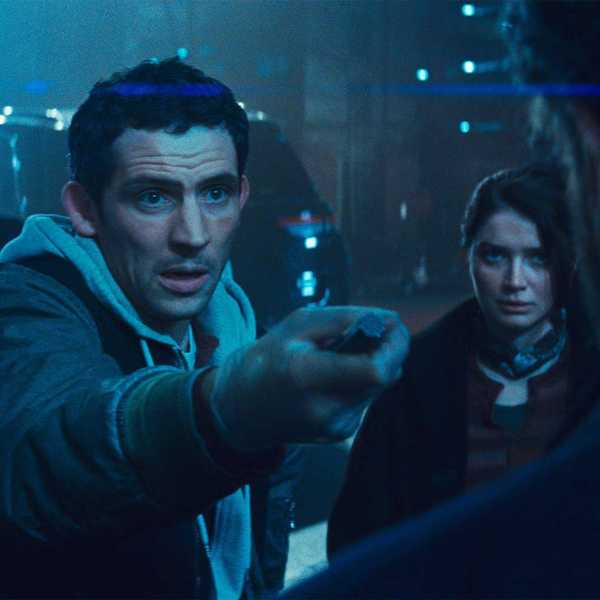
When you get a location, it'll probably come with lamps and overhead lighting. If you turn those off, you can use flashlights or TVs. The point is, there are a ton of free or cheap ways to light a scene that don't require renting a huge 1K rt blast things out.
Instead, get some...
- Dimmers: Put smart bulbs or inline dimmers on every practical lamp on set. Dropping a tungsten bulb down to 10–20% gives you a warm, sickly amber glow that feels organic.
- Movie lights: Place your actual fixtures (like a small LED panel wrapped in diffusion) directly in line with where your practical light source sits off-camera.
4. Create Color Contrast with Cheap Gel Packs
Get some cheap gels! Too many filmmakers are afraid of color, but all of horror is not just black and white. You can add depth with cool tints in the background and then warmth in the foreground.
A simple set of lighting gels and diffusion filters attached to basic LEDs or hardware bulbs can transform any room.
5. Tame Noise in Post-Production
When you're pushing low light on set, you're gonna have some sensor noise in your shadows.
Please do not panic. Do not jack your sensor.
Shoot at your camera’s native base ISO to maximize dynamic range and handle minor shadow clean-up in post.
You can use our DaVinci Resolve workflow tips to clean up grain in your blacks. The most important thing is preserving edge detail so there's real contrast on screen.
Summing It All Up
My goal here is to give you some practical advice you can use on your next project. Get the lighting right, and it will look so much more professional, and it will add to your budget without costing anything.
So, keep your lighting intentional, respect the darkness, and let the shadows do the heavy lifting.
Now, go make something great.