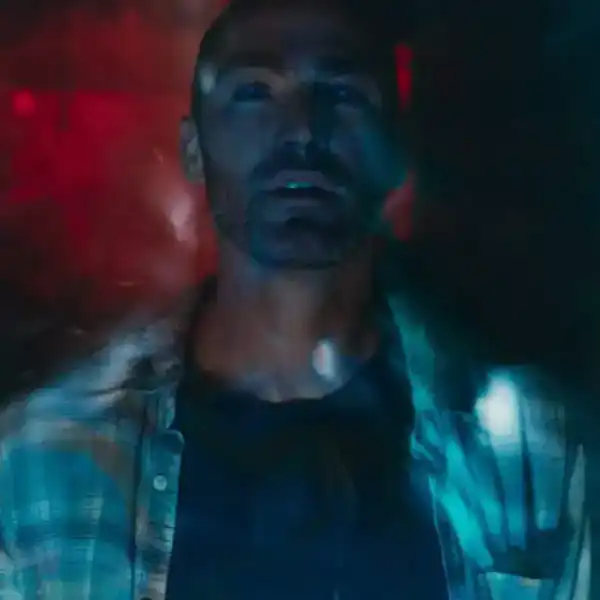
Night shoots. Sometimes the idea alone is enough to cause a panic attack in a filmmaker. They're hard, they take a lot of time, and they create unique challenges for your cinematographer.
Moonlit night exteriors sit at the edge of what cameras can capture, if they're dark enough to feel real. But they still require legible faces and readable geography, otherwise the audience won't know what the heck is going on. In Depth Cine's recent video breaks down five approaches cinematographers use to solve the problem, from the oldest trick in the book to one of the most technically ambitious solutions.
Before diving into technique, it helps to know what you're trying to recreate. Moonlight is low luminance, directional, slightly soft, and cool in perceived color. This is because of the Purkinje effect, where our eyes shift toward the blue end of the spectrum in low-light conditions. That's what you're simulating, regardless of which approach you use.
- YouTube www.youtube.com
Day-for-Night
Ah, the old stand-by. But the oldest solution is still in use for a reason.
Shooting day-for-night means capturing footage in daylight and manipulating the image in post. You're lowering exposure, compressing contrast, desaturating, and cooling the color temperature.
You have several advantages going this route. First, the camera can see everything. Background elements that would fall into darkness at night remain readable, and you're working with the sun, a single directional light source that casts natural shadows similar to moonlight. Plus, it means you and your crew aren't working overnight and getting exhausted.
The technique has its failure points, though. A visible sky with bright details or clouds is an immediate giveaway. Underexposing in-camera is a trap. Shoot at a healthy exposure and take the light away in the grade, or you'll lose detail you can't recover. And without hard shadows, the illusion falls apart, which means you want strong directional sunlight, ideally from behind or to the side of your subjects.
We've covered day-for-night technique and the films that used it best, if you want to go deeper on the approach.
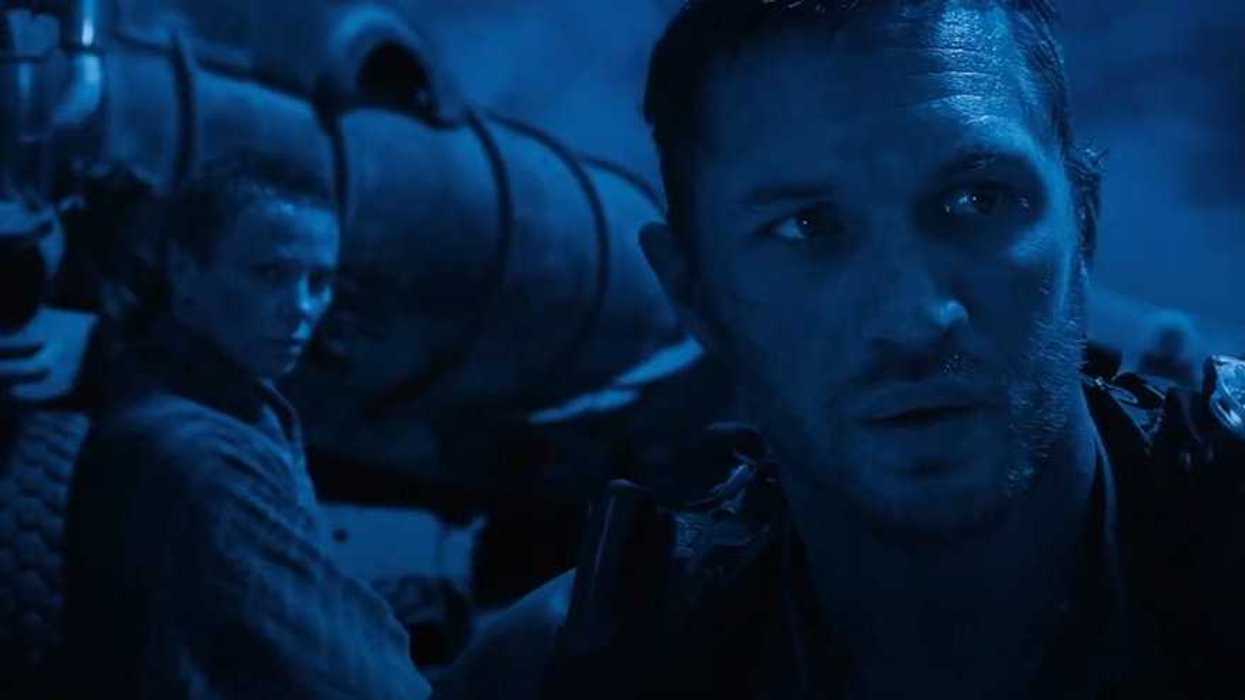
Shooting in the Blue
Blue hour is that 20-to-40-minute window just after sunset when the sky retains ambient dusk light, but the sun has dropped below the horizon. It gives you something day-for-night can't fully fake, which is a genuinely naturalistic, cool ambiance with soft, directional light. Shadows crush naturally, contrast runs high, and the quality of light has a specificity that's hard to manufacture.
The obvious limitation is time. You have somewhere between 20 and 40 minutes before the light totally disappears, which is workable for a commercial or a short non-dialogue sequence, but not enough for extended coverage.
On Killers of the Flower Moon, Rodrigo Prieto shot wide during the dusk sweet spot, then, as the light faded, captured a plate of the sky and replaced backgrounds digitally on the close-ups to maintain lighting continuity.
That buys time, but it requires budget, planning, and a locked shooting order.
We have tips for maximizing your blue hour window if this is the way you want to go.
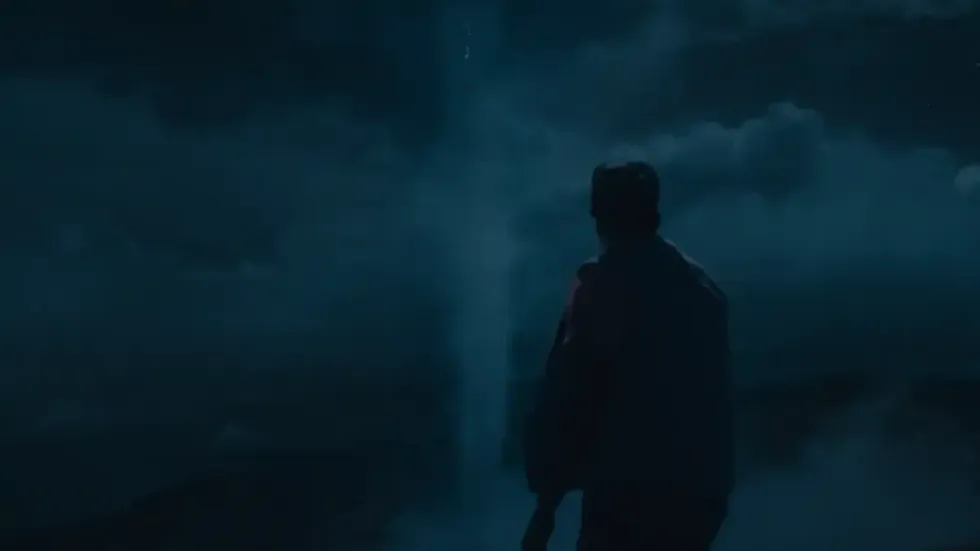
Building a Moonlight Source
The most common solution in narrative production is to create moonlight with film lights.
You'll need a strong, single source placed high, angled down, often behind the subject as a backlight to mimic the moon's position in the sky. Faces are subtly filled with bounced or diffused light.
Unlike blue hour, this gives you the most important thing on a set, and that's more time. You can shoot coverage. You can re-light for different angles. Nobody is watching the clock, except for bedtime.
On smaller productions, this might look like a powerful COB LED (an Aputure 1200, for instance) pushed through a lantern softbox and raised on a high stand. The lantern spreads the light to approximate how moonlight blankets a space.
The video notes it's safer to expose slightly brighter than intended and bring the image down in the grade. Underexposing too aggressively introduces noise and kills recoverable detail.
At larger scales, the same logic applies but with bigger units like Arri SkyPanel S360s, high-output HMIs, or balloon lights rigged on cranes or cherry pickers.
The higher the source, the more natural the falloff and shadow direction.
 Nope Credit: Universal Pictures
LED Volume
Do you have access to a volume? That's a soundstage surrounded by high-resolution LED panels displaying either a pre-shot plate or a CG environment. If you do, you can lock in the perfect blue hour ambiance and play it back indefinitely. Again, you get your time back, but this is a fairly expensive and exclusive option.
The LED wall becomes your base ambient source, and you can layer additional film lights on top. Because the wall emits real light, you get interactive reflections and natural color response in camera rather than the compositing problems of green screen.
However, you are now limited in direction and scale. Big action and wide landscape shots are trapped by the physical confines of the stage. For contained scenes with controlled blocking, it's a strong option.
We've covered the basics of working on a volume and what cinematographers specifically need to know before stepping on one.
Infrared
For large-scale night exteriors with extensive movement across vast terrain, none of the above approaches solves the problem. That was the challenge Hoyte van Hoytema faced on Nope, and his solution is the most technically ambitious.
Infrared cameras are sensitive only to specific wavelengths of light. Shooting in natural sunlight with an infrared filter produces a monochromatic image with sufficient luminance but with dramatically dark skies. Van Hoytema first developed the concept on Ad Astra, using infrared to create a believable lunar surface by combining infrared luminance with color and texture from 35mm film.
On Nope, the technique evolved. Using decommissioned 3D stereo rigs, two cameras were mounted to capture the same image simultaneously. In post, working with colorist Greig Fisher at Company3, the luminance data from the infrared footage was composited with the color and texture from the film negative. Additional VFX light elements were added later to complete the illusion.
The result was night footage that let the audience see deep into the darkness without the image feeling artificially lit, something traditional night-time film lighting couldn't have achieved at that scale. We covered van Hoytema's process in depth when Nope came out.