Fusion Previews and Stereoscopic 3D Monitoring Improvements are Coming to DaVinci Resolve 20.3.1
DaVinci Resolve gets a new update that adds some nice improvements to Fusion and 3D monitoring features, as well as the ability to search for effects in more languages.
DaVinci Resolve 20.3.1 Update
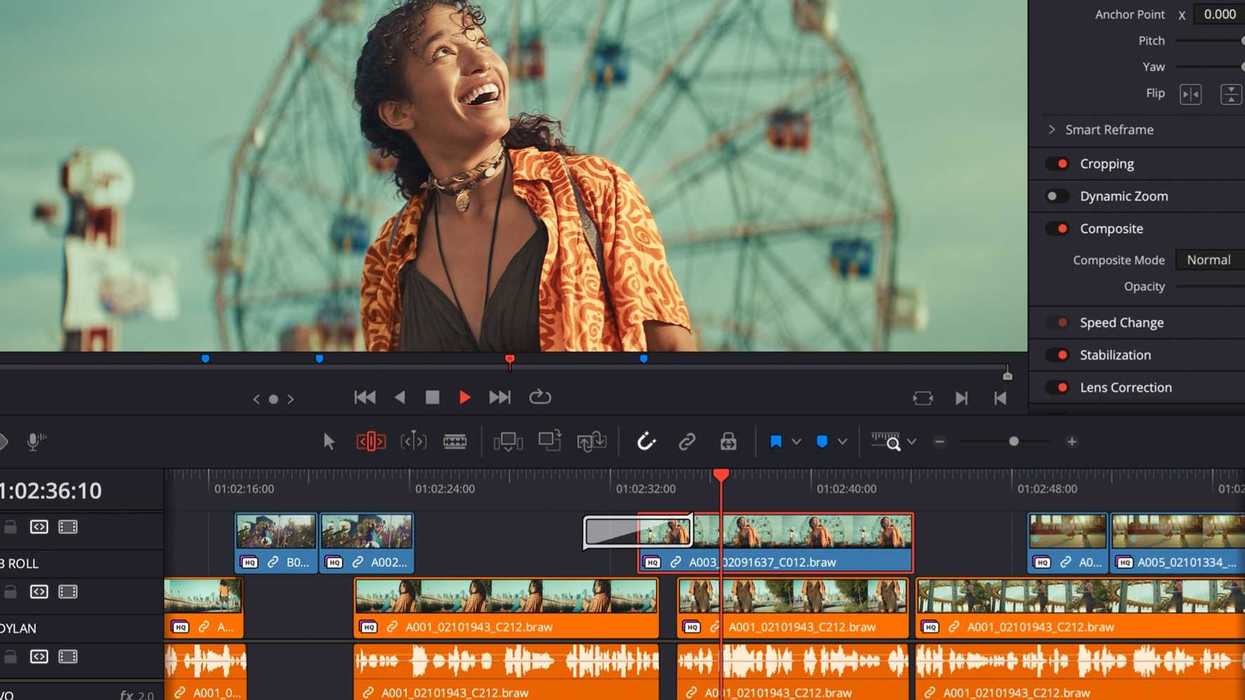
The hits keep coming for Blackmagic Design, or at least, the updates for DaVinci Resolve keep getting released that add new features and improvements. While not the most major update for Resolve, this 20.3.1 update does add some improved Fusion previews for transforms and merges, as well as improved stereoscopic 3D monitoring.
The other big news here is that users will now have the ability to quickly search for effects in Chinese, Japanese, and Korean, so the NLE should be usable and popular in more markets now, too. Let’s take a look at everything new in DaVinci Resolve 20.3.1.
DaVinci Resolve 20.3.1 Update
Again, this isn’t a huge update for Resolve that is set to majorly change how the popular NLE works or anything, but it does address a handful of issues that might have been causing some frustrations if you caught any of these workflow bugs.
The updates address issues where a crash in the metadata view with some custom fields had been popping up, and issues with the stereoscopic 3D video monitoring output and embedding HDR10 metadata should be fixed now as well.
If you’re curious, here’s the full list of features that have been added or updated with DaVinci Resolve update 20.3.1.
- Addressed a crash in the metadata view with some custom fields.
- Addressed an issue with stereoscopic 3D video monitoring output.
- Addressed an issue with embedding HDR10 metadata.
- Addressed client preview with viewer overlays on the remote monitor.
- Addressed the effects search issue for Chinese, Japanese, and Korean.
- Addressed issue using embedded Dolby Vision metadata in IMF.
- Addressed incorrect Fusion viewer overlay positions after transforms.
- Addressed the MultiMerge masking issue with concatenated transforms.
- General performance and stability improvements.
Download and Install
This update is for both DaVinci Resolve and DaVinci Resolve Studio, and here are the steps you need to follow to download and install, depending on the type of computer that you’re using.
Installing DaVinci Resolve Software on MacOS
Double-click the DaVinci Resolve Installer icon and follow the onscreen instructions. To remove DaVinci Resolve from your system, double-click the Uninstall Resolve icon.
Installing DaVinci Resolve Software on Windows
Double-click the DaVinci Resolve Installer icon and follow the onscreen instructions. To remove DaVinci Resolve from your system, go to the Programs and Features control panel, select DaVinci Resolve, click on Uninstall, and follow the onscreen prompts.
Installing DaVinci Resolve Software on Linux
Double-click the DaVinci Resolve installer and follow the onscreen instructions. To remove DaVinci Resolve from your system, select the uninstall option after running the installer.
You can find more info and download the update on Blackmagic’s website here.
- DaVinci Resolve Adds Support for Apple Immersive Workflows With Major Firmware Update ›
- A New Hotkey and Major Performance Boosts Highlight Latest DaVinci Resolve Update ›
- New DaVinci Resolve Update Adds Cache Clearing and Fusion Effects Fixes ›
- DaVinci Resolve 20.0.1 Update Improves Its AI Music Editor and Other Features ›
- ProRes Comes to Windows and Linux in DaVinci Resolve’s Latest Update ›
- A Colorist’s Perspective: Practical Comparisons of DaVinci Resolve and Apple Color ›