Your Rough Cut Is Stuck in the Hunt, Not the Cut
How Adobe Premiere’s AI tools help you get to a rough cut faster.
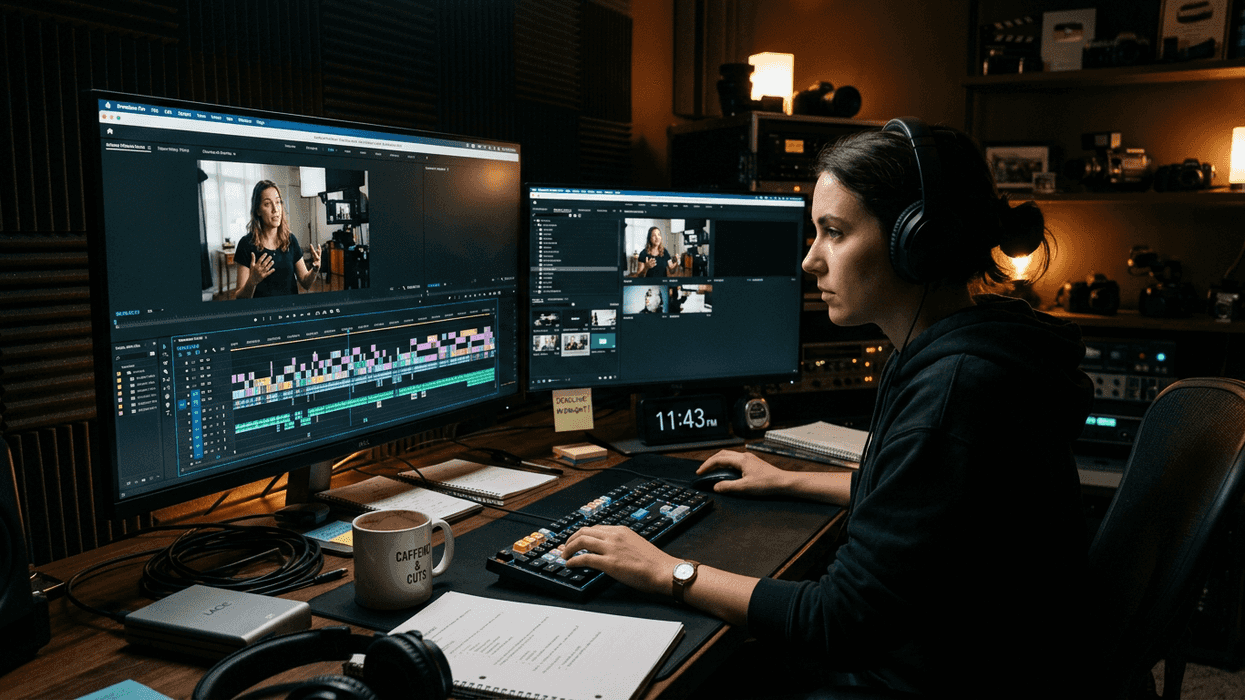
It’s late. You’ve got ninety minutes of interview, a bin of B-roll labeled C0047 through C0212, and a cut due in the morning. You remember a shot of someone laughing by a window. You have no idea which clip it’s in. The first real decision of the night is also the slowest one: what do I even have?
That’s where most rough cuts stall. Not in the cutting but in the hunting. Premiere has a handful of AI tools aimed squarely at that problem, and used together, they change how quickly a first pass comes together.
Find the Shot You Half Remember
Start with Media Intelligence. It analyzes your clips so you can search by what’s in the picture, what’s being said, or what’s in the metadata. Type a description of the shot you half remember from the shoot, and Premiere surfaces candidates. The models run locally on your computer and don’t train on your footage or your searches, which is worth knowing if you’re cutting something nobody has seen yet. Found one frame you love? Use it to search for similar visuals, a quick way to build a pile of options around a look.
Analysis runs in the background (you can watch it in the Progress panel), so turn it on before you break for dinner. If a search comes back crowded, filters help narrow it down.
Cutting From a Script? Find Every Take
Media Intelligence is just as handy when you’re cutting from a script. You know the dialogue is in there, because you can read it right on the page. But you’ve got six takes of the scene and no idea which clip holds which. Run Speech to Text first, then search for a line of dialogue from the script. Premiere finds the spoken words across your clips, so you see every take of that line in one place instead of opening clips one by one. Now you’re comparing performances, not hunting for them: which read lands, which one has the better pause, whether the actor nailed it on take four.
Search covers metadata too, so any scene or take names embedded in your clips are searchable right alongside the picture and the dialogue.
Edit the Transcript Like a Document
Dialogue is where Speech to Text does the heavy lifting. It transcribes your footage, and Text-Based Editing lets you work in that transcript the way you’d work in a text document. Select a line, move it, and the clips trim and rearrange to match. Delete a sentence, and Premiere ripples the timeline closed. Want the dead air gone? Detect and delete pauses. Only need one voice from a two-person conversation? Remove every instance of the other speaker. You read the interview, decide what the story is, and the assembly follows. That’s time back on the clock.
Premiere builds a transcript for the sequence as you add clips, so once your selects are on the timeline, you keep editing in that same document. When the structure feels right, switch to the regular video tools for trimming, pacing, color, and sound. One heads-up: Speech to Text transcribes only footage with spoken dialogue, so your B-roll won’t get a transcript. It stays findable by picture through Media Intelligence.
Clean the Audio Early
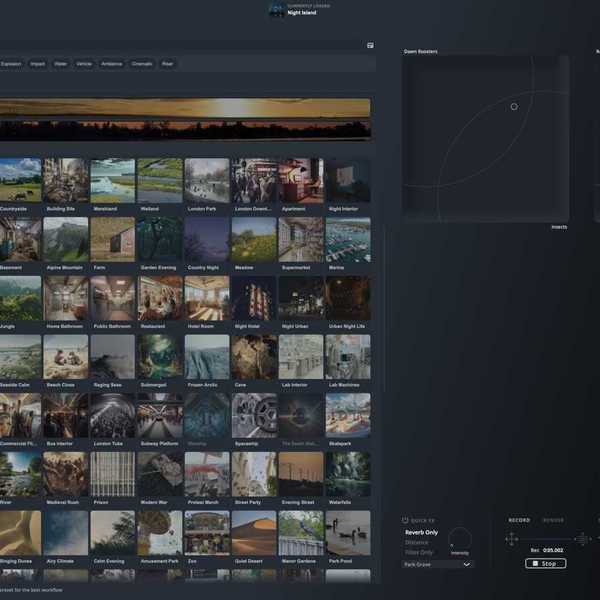
Clean audio makes all of this better. Adobe recommends clear dialogue with minimal background noise for the best transcript, and Enhance Audio goes after exactly that. It separates a clip into speech, music, ambience, sound effects, and reverb, then lets you rebalance them. One of its voice models runs in the cloud and uses generative credits; there’s also an on-device option. We’ve argued before that your edit isn’t finished until it sounds right, and that still holds. But a rough cut you can hear clearly is also one you can judge clearly, so it’s worth doing early.
You’ll find Enhance Audio in the Properties panel in the Premiere beta. Once it’s run, you get separate controls for dialogue, music, ambience, and effects, and you can split the result into individual clips if you’d rather work the stems by hand. Trimming inside the processed range doesn’t mean waiting on another render, so it won’t slow your cut down. To try Enhance Audio, download the Premiere beta from the Creative Cloud desktop app.
Temp Music So the Cut Has a Pulse
Last, music. Generate Music, also in beta, can give you a temp track so the cut has a pulse before you’ve found the real one. Select a range on an audio track, generate, and you get a handful of variations to audition against the picture.
The Importance of a Rough Cut
The rough cut is where a film gets decided: what’s the story, what order, what stays. None of these tools can answer that for you, and none of them should. What they take off your plate is the logistics: the scrubbing, the guessing, and the dead air while you wait to hear how a line plays.
Less time hunting means more time on the thing that makes the cut yours. You get a first pass sooner, which means a second and a third before the deadline. Most films that feel sharp got there on pass number five, not pass number one.
So the next time you’re staring at a bin of clips at midnight, skip the scrubbing and ask Premiere to find the laughing shot by the window. Then spend your energy on what only you can decide: what stays, what goes, and what your film is really about.