While the story of 2026 will always be dominated by AI and its dominating presence in the film and video industry, it’s quietly been a pretty good year for new cameras, as we’ve gotten some pretty cool ones.
In particular, the Leica SL3-P announced last week is quite exciting and intriguing, and it’s also left brands like Atomos scrambling to get their gear and monitors ready to handle these new options.
Luckily,, Atomos works quickly, and the company has a new AtomOS 12.7.0 firmware update ready for its Ninja RAW, Ninja TX, and Ninja TX GO systems, which will get the monitor/recorders ready to handle these new cameras.
Let’s take a look at what’s new with AtomOS 12.7.0.
AtomOS 12.7.0 Update
While ostensibly released simply to update AtomOS to provide raw support for these new cameras, AtomOS 12.7.0 is actually set to add more than that, with new camera filename matching support, improved CFexpress card compatibility, and options for C2C uploading.
The update also fixes some minor outputting issues and should help performance across the board for these systems, as well as enable new camera support. The update is being released for Ninja RAW, Ninja TX, and Ninja TX GO systems, and will all include roughly the same following improvements:
- Raw support for Sony α7R VI
- Camera filename matching support for Raw recording from Sony α7R VI
- Raw support for Canon EOS R6 V
- Raw support for Leica SL3-P
- Improved CF Express card compatibility
- Added option to disable C2C Upload while recording
- Fixed Output UHD to HD downscale for 23.98/24 framerates

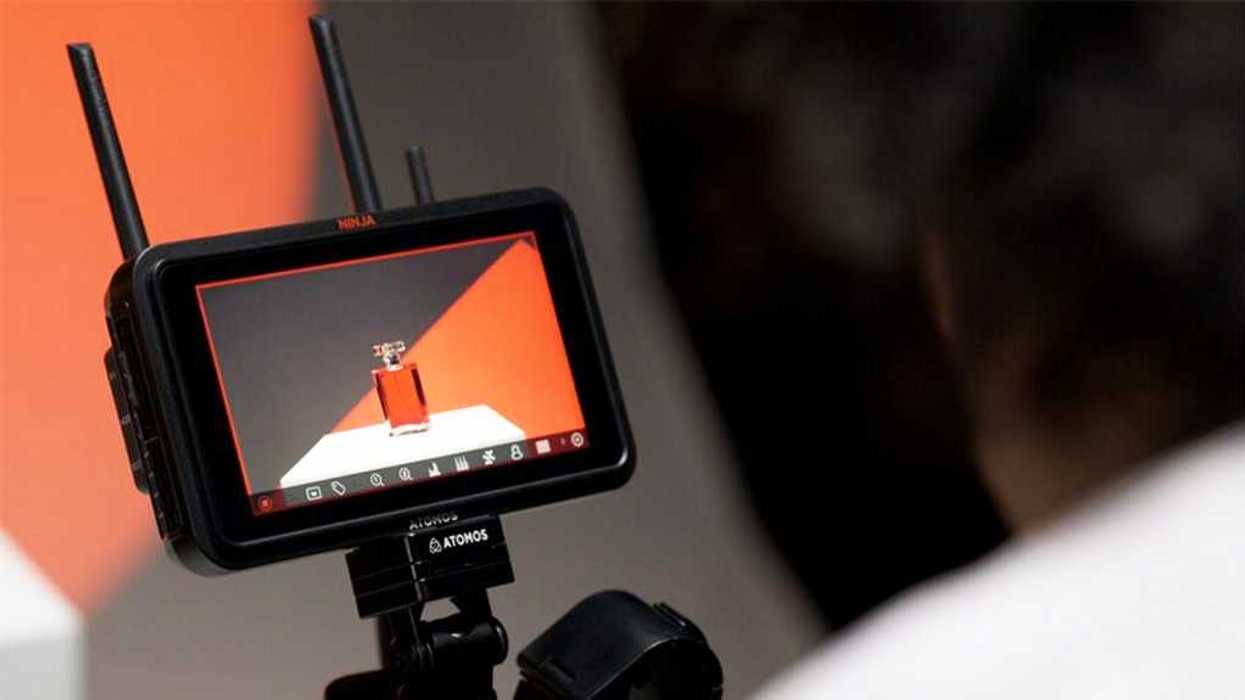
Credit: Atomos
Firmware Update Procedure
If you’re an owner of any of these monitors/recorders and have or are interested in any of the above-mentioned new cameras, here are the steps to update your AtomOS.
To start, Atomos recommends that your device be plugged into a power source before commencing the firmware update (DC power supply, USB-C PD, or battery eliminator).
- Unzip the downloaded file and copy the ATOMNRW.FW file onto a compatible, formatted CF Express card or USB-C SSD media.
- Insert or connect the media to the Ninja RAW.
- With the Ninja RAW powered on, navigate to the Firmware menu, and press the ‘Choose File…’ button.
- Select the file you copied to your chosen Media. The file will be copied onto the device, ready for installation, and the device will return to the Firmware menu.
- When you are ready to proceed, press the ‘Install’ button, and the installation process will begin.
- Once the Installation process has completed, the device will restart, running the new Firmware.
- To verify if the firmware update was successfully completed, navigate to the main menu and scroll to the info tab.
Ninja RAW also offers Over-The-Air updates. For more info, see the Firmware tab on your Ninja RAW.
- New Atomos Update Gives Shogun 7 Multi-Camera Switching ›
- Atomos Drops the New and Improved Shinobi II 5.2” HDMI HDR Monitor ›
- Here’s How You Can Unlock ProRes RAW Recording for Your Canon R6 Mark III Cameras ›
- Your Atomos Ninja Is About to Get Smarter—Integrated Camera Controls Are Coming ›
- These Camera Models Are the Latest to Get Camera Control Support With Atomos Monitors ›
- Atomos' Ninja V Firmware Update Gives Legs to Select Legacy Platforms ›