A Simple Three-Step System for Lighting Any Shot
A new camera won’t make your footage look like a movie.
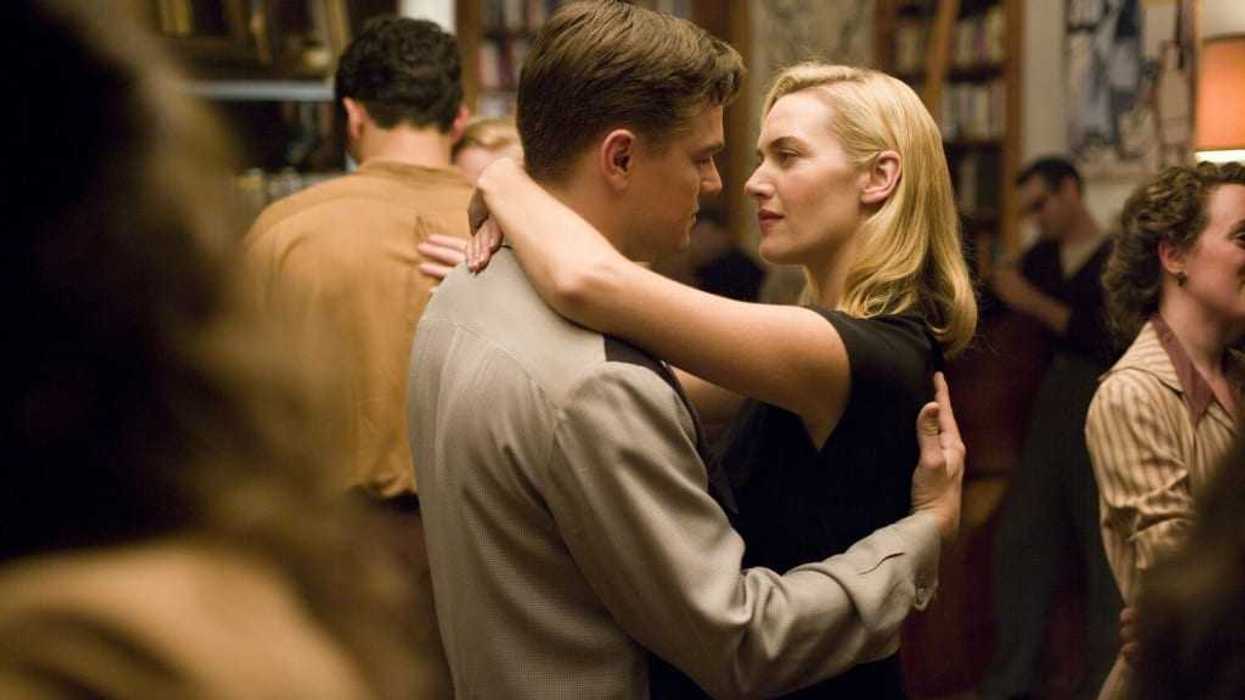
'Revolutionary Road'
The reason you'll hear so many directors and DPs say that the gear doesn't matter to filmmaking is that gear doesn't maketh the filmmaker.
You can have the most incredible camera at the highest resolution with the best-quality lenses, but if you don't know what you're doing with them, that gear doesn't matter. You could shoot on an ARRI Alexa 35 with a set of Cooke lenses and still not get the movie look, because what separates you from the filmmakers you admire is your lighting.
Edward Crockett is a cinematographer and YouTube educator who breaks down camera gear, lighting, and how famous scenes were shot. His YouTube channel is aimed at what he calls "blue-collar" filmmakers, meaning the solo shooters, small-market crews, and people trying to get the most out of the gear they already own.
So that's why we were excited to check out his new video about a simple lighting setup you can apply in several situations that will always look good. Here's the system and how to use it on your next shoot.
- YouTube www.youtube.com
Step One: Motivate Your Light
Crockett starts with his own early mistake. He'd have a window in the scene, put his light wherever felt right, and add a kicker behind the subject for no reason. Then he'd wonder why a setup that looked like textbook three-point lighting still looked bad.
"Well, there's a myriad of reasons that this kind of setup wasn't looking great, but the main reason is that my lighting had no motivation."
Motivated lighting means the light within the scene has a reason to exist from something in the scene itself. This could be a phone screen, a lamp on a table, car headlights, or light from a window.
He uses frames from Blade Runner 2049 and Interstellar as examples. The light appears to come from the windows and practicals in the scene, but it's coming from fixtures placed off-camera to match them. His fix for his own old setup is to put one light outside the window to play the sun and one inside for fill. If there's a lamp in the scene, add a kicker from that direction.
"So, if you've got a window or a practical light in your scene, then when you're adding in your artificial lights, you're going to want to make sure that you motivate your light. Don't just throw a light around. You need to actually have a reason for the direction of your light."
Step Two: Put Your Camera on the Shadow Side
Once you know where the light comes from, the next question is where the camera goes. Crockett jokes that some viewers will already be typing "upstage lighting" in the comments.
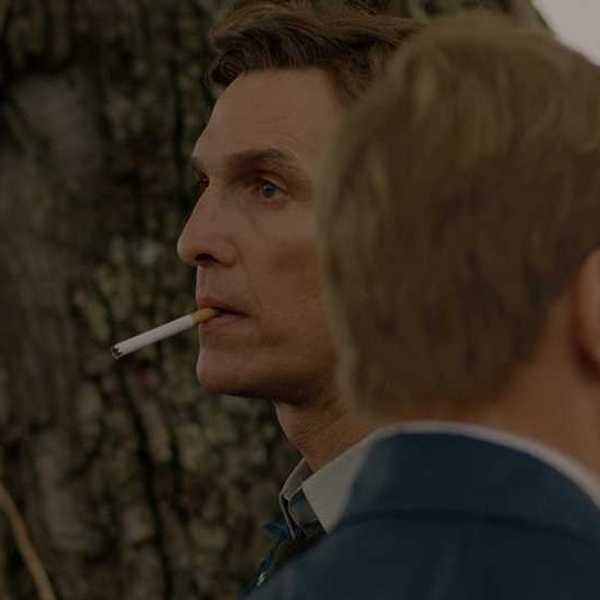
"So, when you're positioning your camera in relation to your subject, you're going to want to put it on the shadow side of the subject. That means that you're never going to have your light be on the same side as your camera. You're going to always want to position your subject between your camera and whatever lighting source you have."
His rule of thumb is to keep the camera at least 90 degrees away from the key light. You can bring the light around when you need fewer shadows, but you never want it behind the camera.
"And what this really does is it brings contrast into your image. It brings definition into your faces. These faces would feel incredibly flat if there was light coming from this direction. If you've ever shot outside and you frame up your shot and you're just like, 'Man, this looks like I'm getting blasted by the sun.' It's because you're not on the shadow side of the frame."
If you're not shooting narrative and are working on the commercial side or maybe doing an interview, you can tweak this a little. You don't need the full-silhouette extreme of Blade Runner 2049. For interviews, he puts the camera just barely on the shadow side and uses a 300W to 600W light through a 6x6 or 8x8 frame of diffusion, a softbox, or a parabolic umbrella.
Step Three: Look for the Checkerboard
His name for the third step is the "checkerboard technique." What he means by this is that you should scan a frame from left to right, and look for alternating areas of light and dark. A bright background, a dark edge, a lit face, and so on.
In a recent shot captured on one of my projects, we decided to leave a car that showed up in the background as a way to create that checkerboard, although we didn't call it that. That kind of variation is something to break up your background so it's not all one blob.
Crockett says, "Now, this technique is going to naturally show up in your images when you start motivating your lighting from the natural source that's already in your scene, and you start shooting on the shadow side. This is kind of just a good way to know if you are executing the first two elements of the system correctly."
So this step is more a check of your first two steps.
Bonus Step: Hard on the Body, Soft on the Face
He adds an extra tip he credits to Patrick O'Sullivan, the Australian DP behind the Wandering DP channel and podcast.
"And it's essentially lighting hard on the body and soft on the face. It's a way for you to actually use hard light in your scene."
Hard light is sharp and defined, while soft light is diffused. Hard sun through a window looks great on a set but not always on a face. You can use diffusion above the subject so it softens the light on their face while hard light still hits their body. His example is Revolutionary Road.
This is a bonus because it's a step up in difficulty for most. Get those first three steps down, then think about elements like this. Heck, get even fancier.