How to Light a Documentary Interview in 30 Minutes
Learn what to light first when the clock is running.
The greatest asset anyone has on a set is time. You can't spend hours perfectly lighting a shot or getting the exact take you imagined. You just can't, because time is money, and you can't ask dozens of people to wait around for you while you try to achieve an imagined ideal. All you can do is prep as best you can, work quickly, and know what to let go.
Interviews are a bit of a different beast. DPs in those scenarios aren't looking at a lot of set-ups; they're looking at one or two, and they can be cinematic. But even then, your subject is waiting, the client is hovering, and the light keeps changing. So what do you do first when you only have a slice of the day?
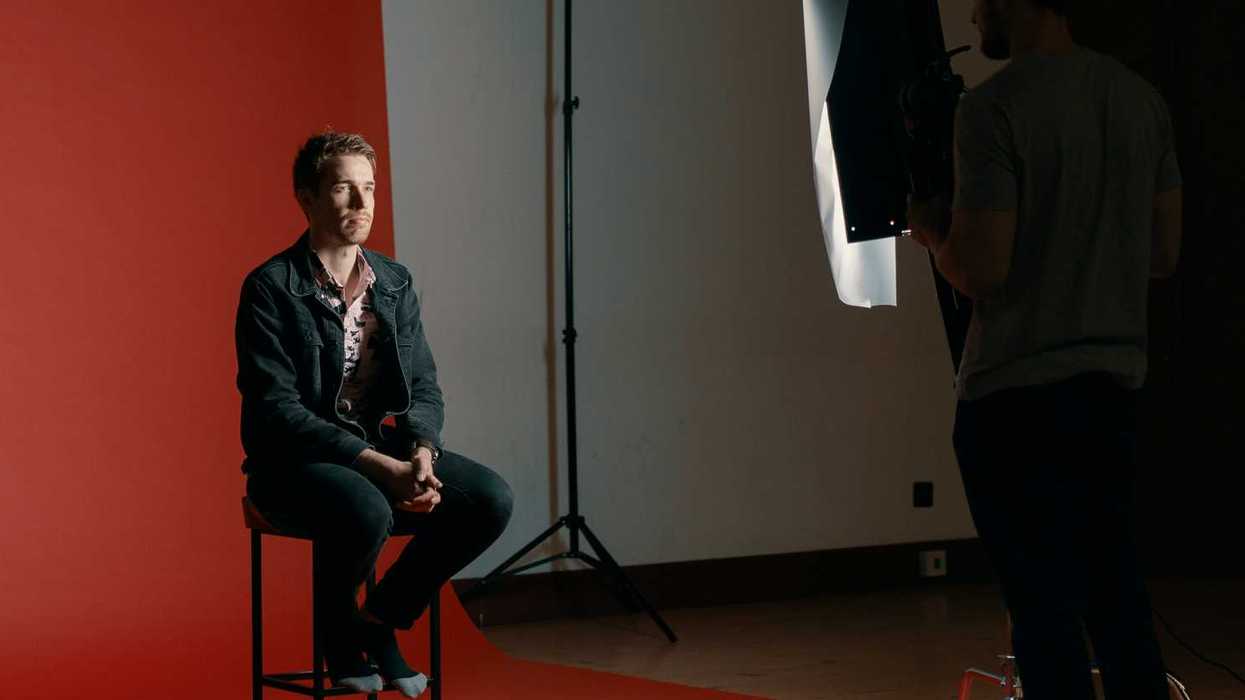
U.K.-based documentary filmmaker Theo Gee, a London director, editor, and producer who's also half of the production duo Bousher & Gee, breaks his process into five levels in a recent video. Each level adds polish, but each one also costs time. He starts with the frame, then thinks about the light, the neg, then a mix of artificial lights.
"Most documentary interview lighting tutorials on YouTube have one fairly important thing that I and probably you as well almost never have on a real shoot, which is an infinite amount of time," he says.
Let's learn more together.
- YouTube www.youtube.com
Level 1: Frame, Expose for the Window, Then Key
If you only have 30 minutes, this is the biggest part of the job, and Gee says it's enough. What comes first is the frame, not the light. He finds his shot handheld, then drops the tripod onto it to save time. From there, he looks for a reason the light exists.
"I'm always looking for some kind of motivation for the main source. So, at the moment, we've got a really nice window out there that we're going to use as our main source. We always want to be shadow side of that for our A-cam angle."
His B camera goes tighter, and it also stays on the shadow side.
"So with B-cam, always shadow side. Just looks more cinematic. I don't know the logic as to why it looks more cinematic, but it does."
Gee NDs down until the window sits where he wants it on false color. Then he lights the subject to match. Don't forget to turn off every practical in the room first so you can see what you're working with. What you end up with is some nice, natural contrast.
Level 2: Add Negative Fill
Level two is about taking light away. In a bright room with white walls, Gee would look for more contrast.
"If we were in a very bright room, if we're in a room where there was lots of spill of this light, I would be putting up a big kind of black negative fill on the right-hand side to create even more contrast on that face."
Negative fill means subtracting light instead of adding it. You place something black, like a flag, floppy, duvetyne, or black foam core, on the shadow side of your subject's face. It absorbs the light that would otherwise bounce back onto that side from walls, ceilings, or other things in the room.
On this shoot, the dark walls already did that work, so he skipped it. Read the room before you rig.
Level 3: Block the Real Sun
Now for controlling that pesky sun. Natural light can look nice, but it changes quickly. With more time on a shoot, Gee adds a fake sun. He places a light outside the window with a Fresnel to focus the beam and dapple hard light across the background, which gives the frame texture and warmth.
Ideally, he said he'd flag off the real sun entirely, since passing clouds keep shifting the exposure mid-interview. He didn't have time, so he rode the clouds. When the sun came out and darkened his subject, he pulled the grid off the key to win back some output.
Level 4: Separate with a Hair Light (and Use Power)
Next comes a subtle hair light on the shadow side to pull the subject off the background. And his lesson here is about both placement and power sources.
"When I'm doing interviews for documentaries, which can last one, two, sometimes three hours, I really dislike having any lights that are powered by batteries like V-mounts or anything like that. I always try and plug everything into a power source because you don't want anything dying on you mid-interview when someone's in a really emotional moment, and suddenly the light dies."
The hair light put a small reflection in the window, and a stand leg crept into the frame. On a tight schedule, he'd leave both and fix them in post.
"It's a static frame, so you just export a wide frame, paint over them, and slap that back on in the edit, and that solves that problem."
Obviously, if the shot is moving, you can't do this easily. You'll need to rework the frame.
Level 5: Mix Hard Light with Your Soft Key
The last level is like a flourish. After the big soft key light, Gee adds a harder source beside it so the light on the face feels more like real daylight.
No light, he says, is perfectly soft or hard only. It's a mix, which this replicates. That echoes what DP Will Stone told DOP Camp about mixing qualities of light through a window.
The full build took Gee about an hour and a half to two hours. That might seem like a long time just for lights, but remember he got the initial set-up in a fraction of that time and spent the extra hours tweaking to make it look even better.
If you're on a set, get your baseline done so you're ready to go. If you have some time to play, do it, as long as it doesn't hold anyone up.