Stop Trying to Fix Your Sky in Post
Use this tool instead.
If you're shooting outside, there's a scenario you'll likely hit as a filmmaker. You've got a great location with perfect natural light, but you still face a hard choice. Do you expose for your subject or expose for the sky? Either the subject drops into shadow, or the clouds blow out to hot white.
This is the dynamic range gap at work. The human eye can perceive up to around 20 stops of dynamic range; even a high-end cinema camera captures significantly less. Your camera simply cannot hold a bright sky and a properly exposed face in the same frame without help.
You might say to yourself, "I'll just fix it in post." For the love of Pete, no! There's another solution.
Check out Woody James' video on the subject here.
- YouTube www.youtube.com
Post Can't Save You Here
When highlights clip, the data is gone. There's nothing to recover in a color suite because the sensor never recorded it in the first place.
James shows this directly in his video. Expose for the subject, and the sky is a flat white ceiling. Flip it, and the subject goes dark. No grade recovers absent information.
As we wrote in our review of the NiSi IRND filters a few years back, there's still one category of filtration you absolutely cannot recreate in post, and neutral density is it.
Internal NDs (the kind built into cameras like the Alexa or the Blackmagic 6K Pro) reduce overall light coming through the lens but do nothing to balance two exposure zones against each other. That's a different problem requiring a different tool.
What a Graduated ND Filter Does
A graduated ND (or "grad") is dark on one half and clear on the other, with a transition zone in between. You position the dark half over the sky, the clear half over your subject, and the filter brings those two zones closer together without touching your aperture, shutter, or anything in post. There's no color shift on a quality filter, no depth-of-field trade-off.
Graduated NDs also work vertically, which is useful when you're shooting through a window and need to balance a bright exterior against a darker interior, a trick that sometimes gets overlooked. This tool has been on professional sets since Ridley Scott started using it on The Duellists in 1977, his first feature.
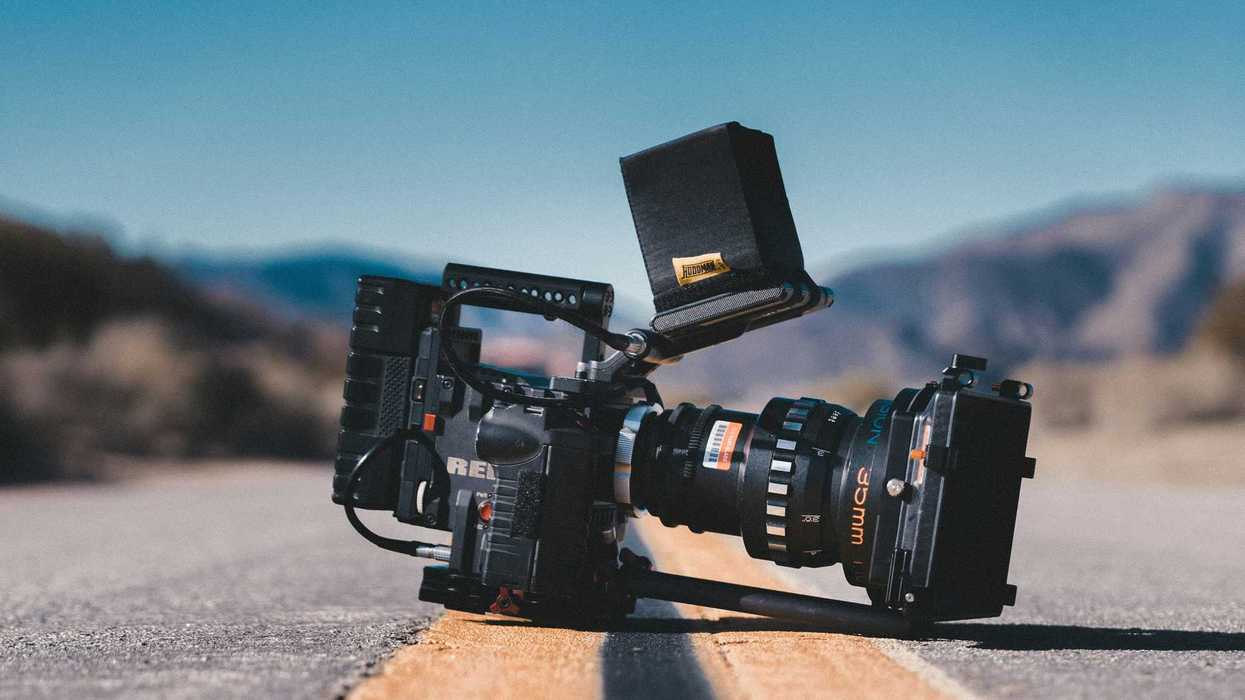
Why You Need a Matte Box to Use One
A screw-on filter won't do this job. Graduated filters need to slide vertically in their holder so you can position the transition line exactly where your horizon sits, and that changes shot to shot, lens to lens.
A matte box is what gives you that control. A matte box serves two main purposes. It cuts unwanted lens flares and gives you a housing for easily swappable optical filters in front of your lens.
It mounts in front of the lens on rails, with drop-in filter trays that let you reposition or swap glass fast.
The tradeoff is cost and bulk. Good matte boxes aren't cheap, and cheap ones tend to fail under harsh production conditions.
There are options for alternatives, like this CineShade, which is more like a lens cap.
- YouTube www.youtube.com
Soft Edge vs. Hard Edge Grads
Not all graduated ND filters are interchangeable, and lens choice determines which one you need.
A soft edge grad has a gradual, feathered transition. It's forgiving on wider lenses, where the gradient needs to spread across a wider field of view.
A hard-edge grad has a crisper, more defined line, which is necessary on longer lenses, where compression tightens that visible transition zone, and a feathered edge reads as muddy.
James demonstrates both in the video, and the difference on the longer focal length shot is striking. Generally, the rule to remember would be that wide gets soft, long gets hard.
One consideration to remember is that a hard-edge grad becomes tricky when your horizon isn't clean, with buildings or treelines breaking the line. Remember to scout ahead and figure this out before the day.
How to Use One on Set
Mount your matte box and drop in the grad. James recommends starting with a 0.9 (three stops of density on the dark half, which is exactly what James uses here). Look at your monitor with the filter in a neutral position, then slide it down until the transition sits at or just below your horizon. Fine-tune from there.
A soft edge gives you more forgiveness on placement, while a hard edge requires precision. Roll a test frame, check your highlights, and adjust before you roll.
If you need help with prep, peep our guide to ND filters. Common ND ratings run 0.3, 0.6, 0.9, and 1.2 (that's one, two, three, and four stops, respectively). The 0.9 is a strong all-around starting point for most exterior work.
Entry Points If You're Not Rigged with Rails
For filmmakers not yet running a full matte box setup, there are lighter options. We covered the H&Y RevoRing system, which uses a pressure-mount design to attach square filters (including graduated filters) directly to lenses without filter threads or rails.
It's not ideal for every situation, but it's workable for solo and run-and-gun shoots.
Variable NDs are a separate tool solving a separate problem. They reduce overall light across the whole frame and won't split-zone your exposure the way a grad does.
We've got a lens filter guide as a good explainer on the broader filter ecosystem and where each tool fits.
The Bigger Lesson
The "fix it in post" impulse is understandable. When you're on set, you're so strapped for time that you sometimes just want to get something so you can move on. "I'll worry about it later" can become a bigger issue, though.
And while software keeps getting more powerful, there's still a category of problems digital tools cannot reverse-engineer, and it's absent data.
Cinematographers who work at a high level reach for glass because they understand the hard ceiling on what any software can do. The graduated ND isn't a secret or a pro-only tool. Getting comfortable with it is just part of learning to shoot outdoors.